Jump to:
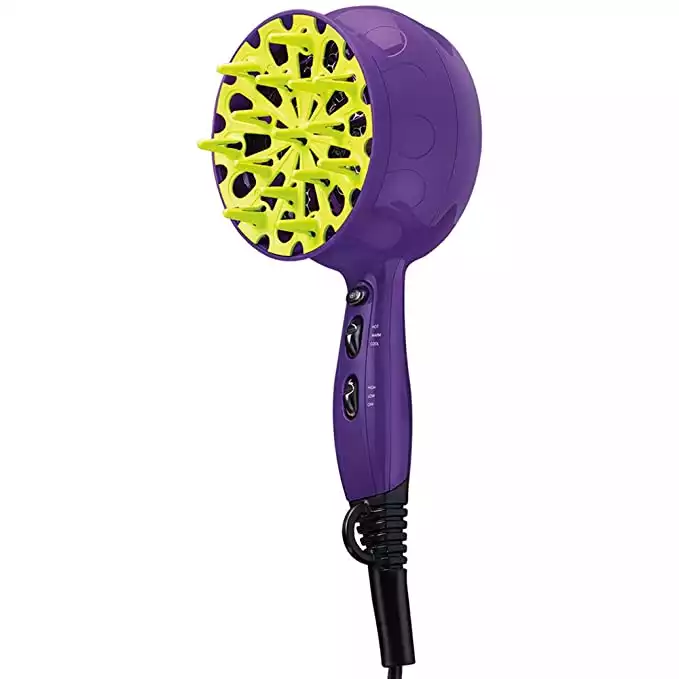
Have you ever seen those models or women on the street with effortlessly wavy curls and wondered how they do that? Well, they might have used a hair diffuser. You know, that alien-looking cup that comes with most blow dryers.
Whether you’ve seen it before or not doesn’t matter, because we’ve answered the question “what is a hair diffuser” (and then some) below to help you achieve the curls of your dreams.
First, What Is a Hair Diffuser?
While curling irons and beach wavers help you get those perfect spindles of curls, a diffuser helps enhance natural curls. So, if you have some weird waves in your natural hair, you can use a diffuser to give them a little boost instead of spending an hour or more manually curling your hair.
The diffuser itself is an attachment for blow dryers that looks like a cup or a hand, depending on the brand you have. Its unique design maintains curls’ form while simultaneously drying your hair.
When you take it out of the box, the hair diffuser might look like a foreign object. But, using it isn’t as hard as it might seem. Here, we’ve provided a step-by-step guide for how to correctly use a hair diffuser.
- Powerful 1875-Watt motor
- Removable diffuser for curls
- Large dryer head for faster drying
- Gentle airflow to preserve curl pattern
- Affordable price point
- Louder than other dryers on this list
- Some don’t like the bold purple/yellow color scheme
- Bulky handle can be awkward to hold
How to Use a Hair Diffuser in 6 Easy Steps
Start with a wet head and end up with picturesque waves. Here are six steps to show you how to diffuse hair to achieve your perfect curly look.
Step 1: Towel Dry Your Hair
Africa Studio/Shutterstock
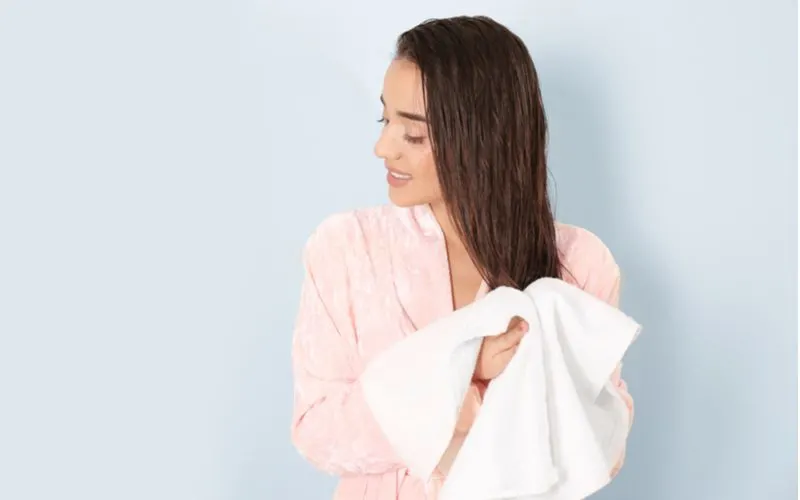
Since a hair diffuser is a blow dryer attachment, you’ll want to start with a wet head. Wet, not soaking. After you get out of the shower, wrap up your hair and go about your daily routine before prepping for the diffuser. You can also towel dry your hair manually for a bit to get rid of the moisture.
But it might be best to let it sit in the towel for a minute or so instead. If your hair is no longer soaking wet, you can gently and loosely comb through it with a wide-toothed comb, making sure you don’t aggressively brush or disrupt your natural wave or curl pattern too much in the process.
Read Next: How to Dry Curly Hair
Step 2: Apply Product to Your Hair
Maryna Pleshkun/Shutterstock
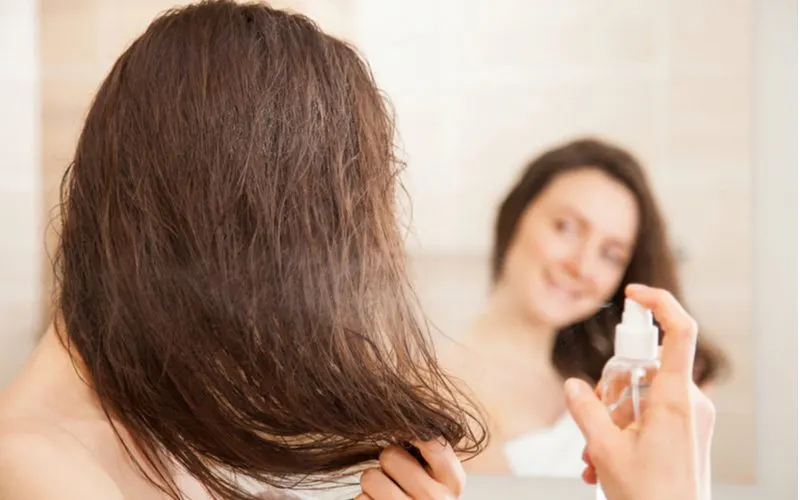
You will get the best results from using a hair diffuser if you apply a mousse, spray, or another curl-enhancing agent to your hair before blow-drying. Using a product will help the curls develop better than they would otherwise without product while also adding volume and texture.
Depending on your type of hair, you’ll want to choose a styling product accordingly. For instance, if you have naturally tight curls, you might want to consider using products designed specifically for curly hair, complete with hydrating properties to nourish and keep your curls bouncy when exposed to the dryer’s hot air.
You can add a sea salt spray for wavy hair to achieve that coveted straight from the beach vibe. That said, the amount of product you use, the brand, and the type are all up to how much you’re comfortable using.
Generally, people with super curly hair prefer a lot of products to minimize frizz, but if you have straighter hair and want to try your hand at a heap of mousse, no one’s stopping you.
Step 3: Clip Your Hair into Sections and Set Your Temperature
Victoras/Shutterstock
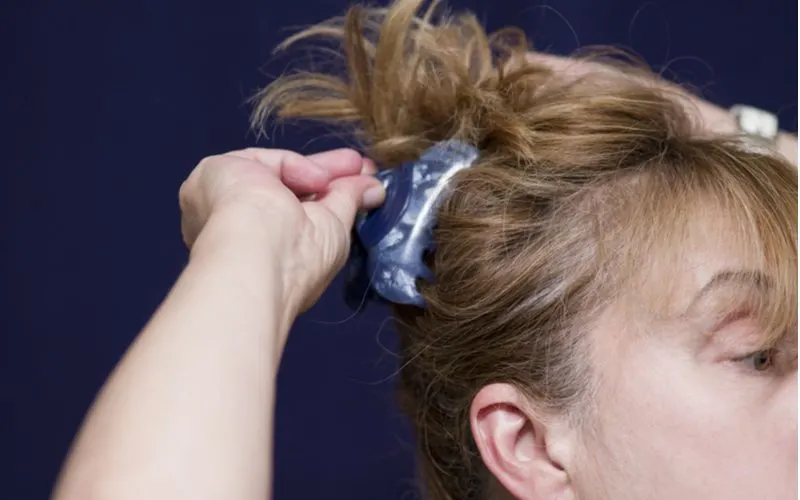
Just before you start the diffusing process, it would be best if you sectioned off your hair. In doing so, you can work more closely with parts of your hair to try out different techniques and get the best results.
Working in sections makes diffusing easier if you have thick hair because you ensure your hidden layers get enough attention. Plus, you get consistent results when you diffuse in sections.
That way, you don’t have to worry about one side of your head looking a little more voluminous than the other. Once you’ve clipped your hair into sections and are ready to begin the diffusing process, set the blow dryer to a medium temperature to keep from overheating and preserve your curls’ bounce.
Step 4: Twist and Insert Your Hair Into the Diffuser Cup
Pixel-Shot/Shutterstock
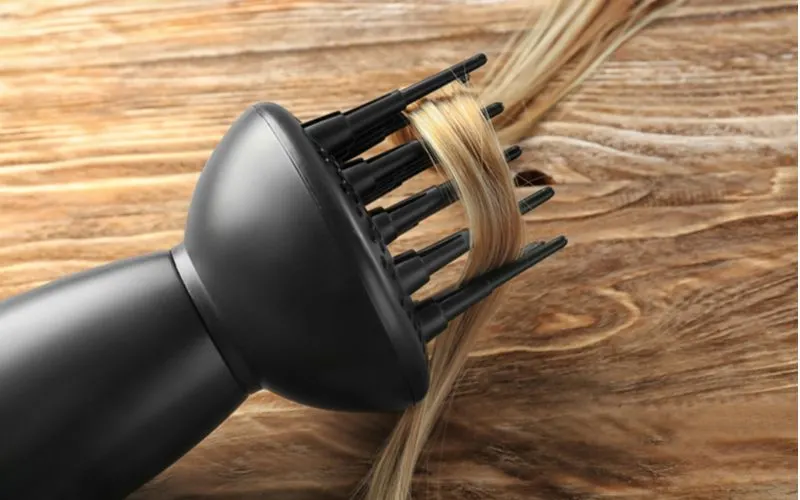
While working within your parted-off sections, take about a two-inch subsection of your hair and twist it as tightly as you want your curls to be. Turning before you start drying will give your curls more definition and bounce than if you diffuse a straight section.
Once you twist the strand, insert its ends into the diffuser cup and bring the device upward toward your scalp but not to the point where it comes into contact. Let the heat dry the section as is until it’s only slightly dry, about 75%.
You don’t want to suck all of the moisture from your hair. Instead, you want to primarily dry but let the natural drying process do the rest. Then, work your way around your head while repeating the twist and insert process.
Step 5: Tend to Your Roots and Ends
Cerrotalavan/Shutterstock
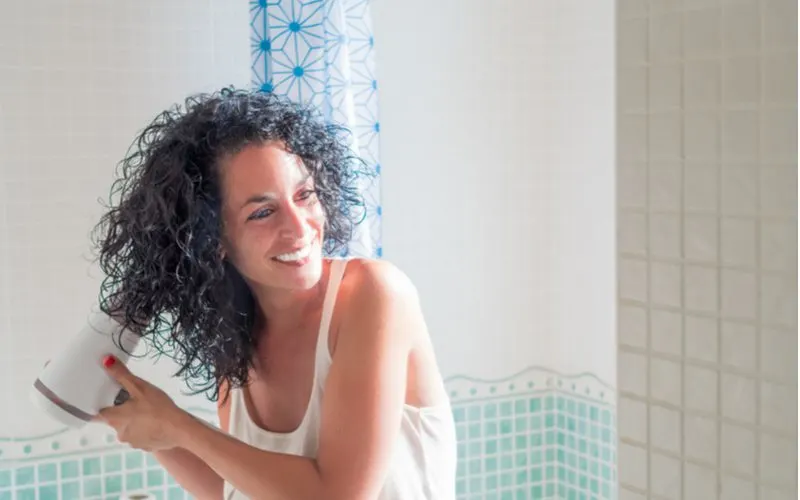
Since you’ve gone around your head with the diffuser but haven’t applied it to your roots, you might wonder what to do with them. Do you dry the bottom half of your head and naturally dry the roots?
Well, you can. Or, you can gently massage your roots with the diffuser’s fingers on low heat. The low heat will keep you from accidentally burning your scalp, while the gentle diffuser massage infuses your roots with a boost of volume.
At the opposing end of the spectrum, you’ll also want to go back and give your ends some attention. After sitting in the diffuser bowl, your ends from the different diffused sections might point in every way. So, you can go back with a round brush and your blow dryer to get every area curled in your desired direction.
Step 6: Apply More Product
Progressman/Shutterstock
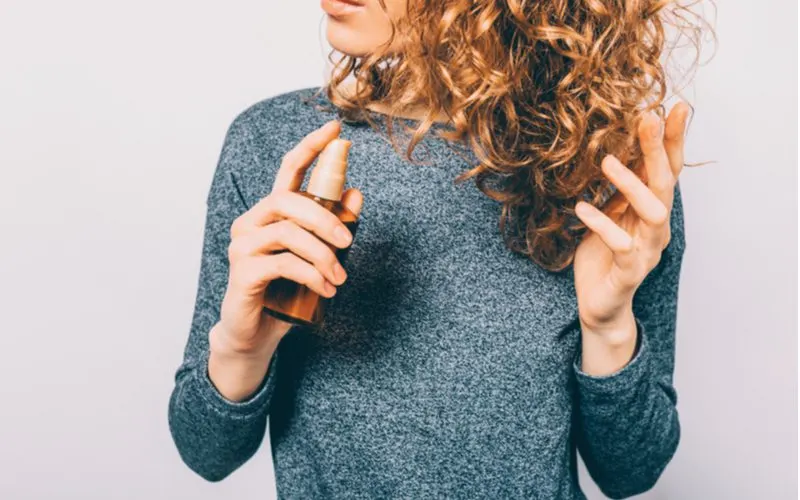
Finally, you can apply some more products to coiffe and finesse your final look. Typically, it would help if you didn’t use the same heavy mousse as you would use before diffusing.
Instead, you might want to use a wave spray or frizz easing oil to minimize any flyaways and polish off the look with some added texture. Then, voila. You’ve successfully used a hair diffuser to create the curls you’ve always wanted.
Read Next: Best Setting Spray
Things to Consider
Even though we’ve covered everything you need to know about how to use a diffuser, here are a few more things left to consider about how NOT to use a diffuser:
- DO NOT handle your curls too much before using a hair diffuser. If you comb or brush your hair excessively before diffusing, it’s more likely to frizz.
- DO NOT dry your hair completely. Using your hairdryer to dry your hair completely when diffusing will make your hair frizzier than intended and might make your hair feel brittle because of the product you used. Instead, let it air dry the rest of the way when you finish diffusing to let your curls take their natural shape.
- DO NOT use excessive or high heat. Even if you would typically use your blow dryer’s hottest temperature when doing your hair, you should avoid doing so when using a hair diffuser unless you want to damage your hair and scalp.
- DO NOT expect salon-quality curls on your first attempt. If you’re only learning how to use a diffuser for the first time, it’s ok if your curls don’t come out perfectly. Using a hair diffuser can get tricky and might require some practice before you nail it.
- Powerful 1875-Watt motor
- Removable diffuser for curls
- Large dryer head for faster drying
- Gentle airflow to preserve curl pattern
- Affordable price point
- Louder than other dryers on this list
- Some don’t like the bold purple/yellow color scheme
- Bulky handle can be awkward to hold
So, What Is a Hair Diffuser?
Volurol/Shutterstock
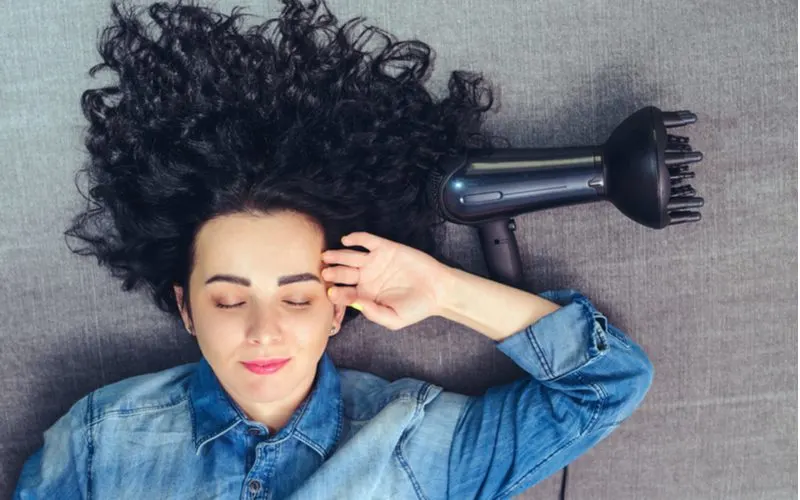
While it’s not meant to curate curls like a curling iron, a hair diffuser can enhance and style your natural curls. The device typically comes with any blow dryer brand and is not nearly as difficult to use as it might look, as long as you remember to:
- Towel dry your hair
- Apply ample curling product
- Section off your hair
- Twist and insert your strands
- Tend to your roots and ends
- Smooth your hair over with some finishing product
Once you master those steps, you’ll forget you ever questioned what a hair diffuser is.

