
Jump to:
Want to learn how to diffuse hair? You’re not alone. Millions of people suffer from frizzy hair messes every day. Fortunately for you, a diffuser can help fix your messy hair. Read on to learn all you need to know.
How to Diffuse Hair in 5 Easy Steps

Progressman/Shutterstock
Diffusing curly or wavy hair isn’t difficult, and it only takes five steps:
- Use a leave-in conditioner
- Add mouse and styling cream
- Dry your hair with a diffuser
- Scrunch your hair to get rid of any crunch
- Finish it off with pomade or shine serum
Like anything, though, diffusing hair takes practice. Everyone’s hair is a little different, and you have to find what works for you. Luckily, the steps we include are pretty much universal.
With the five simple steps below, you can have frizz-free curls full of natural bounce and shine. And it all starts with the products you use when you step out of the shower.
1. Use a Leave-In Conditioner


Parilov/Shutterstock
The key to creating perfectly defined curls or waves with a diffuser is to start with the right products. If you have curly hair, it probably craves moisture, and it’s a good idea to start with a leave-in conditioner.
Apply the conditioner while your hair is wet, and be sure to apply it evenly. If your curls look frizzy while your hair is still wet, they’ll look frizzy when it dries too. So, pay attention while you’re applying the conditioner. You should see crisp, defined curls as you work it through your hair.
If your hair is more wavy than curly, you may want to skip this step. It’s easy to weigh down wavy hair, and usually, wavy tresses need more hold rather than more moisture. So, you can skip the leave-in conditioner.
2. Add Mousse and Styling Cream

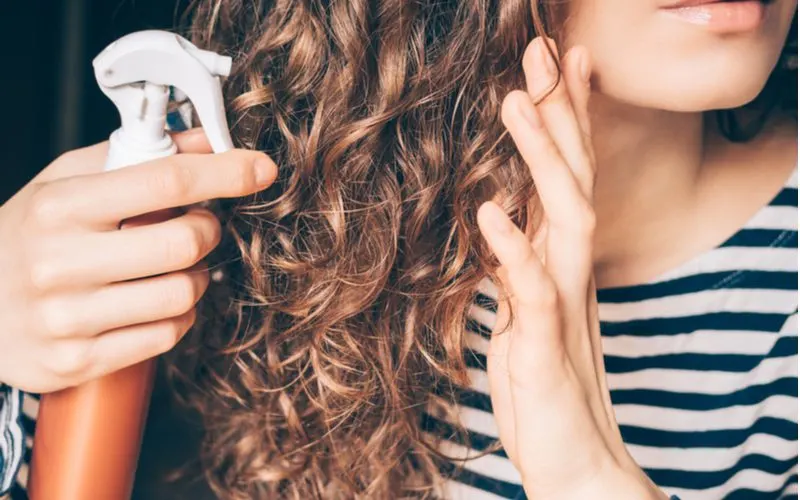
Progressman/Shutterstock
Next, you’ll want to apply a styling cream and a mousse or gel. Essentially, you want a product that will help make your curls a little more manageable and defined. Then, you want to add a holding product or setting spray that will keep your curls in line.
It’s crucial to apply both these products as evenly as possible. So, it’s a good idea to section your hair using clips, especially if your hair is thick. Then move the styling products through your hair using your hands or a wide-toothed comb. By ensuring every strand is covered, you’ll guarantee smooth curls later on.
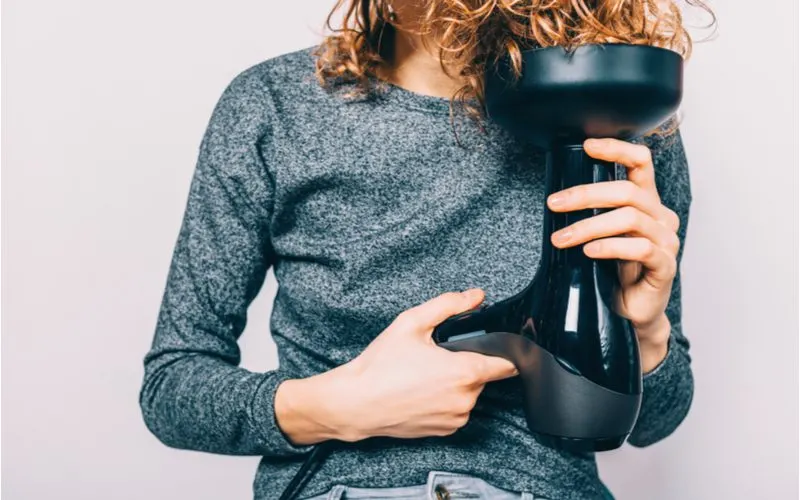
3. Three: Using the Diffuser

Cerrotalavan/Shutterstock
At this point, your hair should be damp, but not soaking wet. So, if you just jumped out of the shower, a diffuser isn’t a great option. You should let your hair dry a little first. You can use a hot blow dryer, but that can cause damage if you do it often. Heat strips hair of natural oils and breaks down hydrogen bonds, which changes hair texture for the better.
But this does damage in the long run. The better option is to wash your curls at night when possible. Apply your conditioner and styling creams of choice, then flip your hair over and wrap it in a t-shirt. Sleeping that way will protect your curls, and your hair should be perfectly damp when you go to diffuse them in the AM.
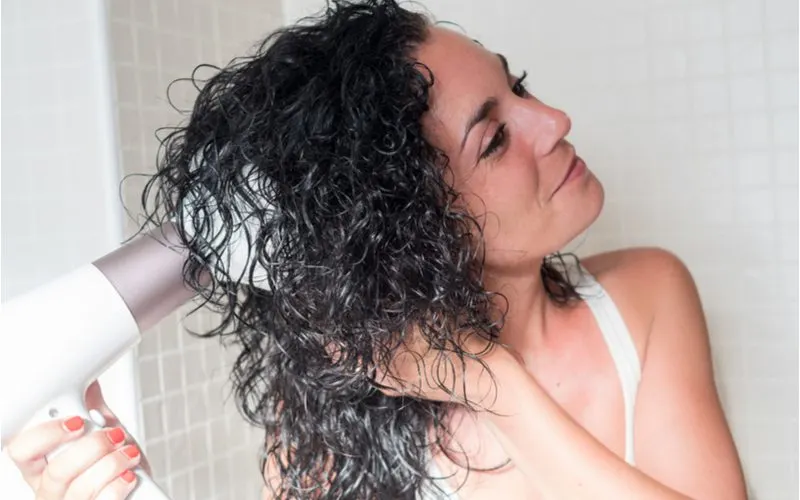
When your hair is damp, not wet, you’re ready to diffuse. Start with your dryer on medium or low heat and consider a low speed. If the dryer pushes air so fast that your curls are whipping around, you’ll create frizz instead of definition. Yes, high speed and heat may get the job done fast, but the results are less impressive.
Once you have your drying on the right setting, flip your head upside-down and hover the diffuser near your roots. Your roots take the longest to dry, and starting here will create more volume.
Don’t be afraid to move your head as you dry. Turning from side to side and bringing the diffuser with you will create movement in your roots, so your curls look natural and bouncy. If you dry in one position, your hair will stay there too, looking stiff and unnatural.
You’ll also want to turn the dryer off each time you reposition the diffuser. That keeps the dryer from blowing curls all over the place and helps keep your hair frizz-free.
If your hair is extra curly, you probably only need to diffuse the roots. The ends can air-dry, which will keep them frizz-free. However, if you have wavy hair, you may want to use your diffuser on the ends to give them a little more bounce and definition.
To use your diffuser on the ends of your hair, lay one section of ends into the diffuser. Then bring the diffuser up towards your roots. Your hair will coil into curls around the diffuser’s tips. Turn the diffuser on and hold it in place until the section is dry, then release and move to the next area of your hair.
Read Next: Best Hair Dryers on the Market
4. Fix the Crunch

Nakaridore/Shutterstock
When you’re done diffusing, you might notice your strands feel a little crunchy. The crunch comes from the product you applied to your hair before diffusing it, and it doesn’t have to be a problem.
To fix the crunch, all you need to do is break the product cast. Do this by pulling your hands through your hair from tip to root. Be gentle so that you don’t create unwanted frizz. If you find that your hair is frizzing a bit despite your best efforts, you can apply a few drops of hair oil or a spritz of hairspray to control it.
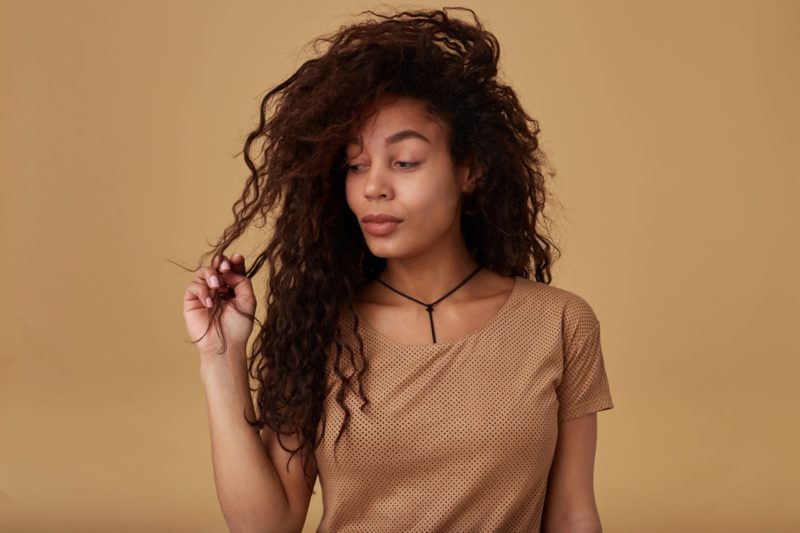
5. Add a Shine Serum or Pomade
Sofia Zhuravetc/Shutterstock
This final step is technically optional, but it can really complete your look. Plus, adding a shine serum or pomade can help you keep control in high humidity areas.
To add serum, to your hair, place a small amount of product in your hands and distribute it evenly over the palms of both hands by rubbing them together. Then smooth it over your hair, but not through it. If you try to work it in too much, you’ll break up the curls, but if you smooth it over the top, just like you’re making a ponytail, the results should be shiny and sleek.
Things to Consider
Diffusing curly or wavy hair takes some practice because everyone’s hair is unique, but these simple dos and don’ts apply to everybody.
- Don’t diffuse straight into your curls. In other words, don’t hold the diffuser like you would a normal hairdryer horizontally to your head. Instead, always flip your curls forward, over your head, and dry them upside down. Doing so creates better airflow and more bounce.
- Do add blasts of cold air now and then. Hair curls as it cools down. So using the cool air blast on your hairdryer as you diffuse each section will help set your curls.
- Don’t touch your curls while you’re diffusing. Doing so creates frizz, so try to keep your hands off your head while the dryer’s on.
- Do invest in a top-notch diffuser. Brand and quality matter when it comes to your diffuser, and spending a little more on a quality tool is a good idea. Look for one from a brand you trust and make sure it’s comfortable to use. Personally, we love the Dyson Supersonic.
- Don’t settle for the diffuser that comes with your dryer. If you like the one that came with your hairdryer, awesome, use it. But if you don’t, know that you can buy a great diffuser separately. Most of them will fit any hairdryer nozzle.
- Do consider a collapsible diffuser. Regular diffusers are bulky and can take up a lot of room in a suitcase or bag. If you travel often or live in an extra-small space, a collapsible diffuser is a great option.
- Do consider a unique shape. Most diffusers look the same, like a shallow bowl with prongs. And that works for most of us, but some prefer a different shape. For example, there are hand-shaped diffusers that provide more airflow and cradle each lock. They can be harder to maneuver, but many curly-haired people swear by them.
- Don’t neglect your equipment. Most hair dryers have a removable filter that you should clean regularly. If you keep the filter clean of lint and other debris, your dryer and diffuser will have a much longer life.
- Do use your diffuser to refresh curls. If your curls look a little flat the second (or third) day, use your diffuser to lift them back up. Just spray a little water on them and diffuse on a cool setting. Your curls will be back to their bouncy selves in no time!
- Do be patient. Diffusing hair, especially on low or medium heat, can take time, but the results are worth it. Your curls should last several days after you diffuse them.
So, How Do You Diffuse Hair?
So there you have it — how to diffuse hair. The process may seem intimidating, but it’s actually really simple. By using the right products, a low heat setting, and the correct technique, you can create the curls or waves of your dreams.