
Jump to:
Wondering how to use thinning shears? Then read on. These hair cutting tools can be beneficial for both men and women when used correctly by adding volume and making your hair easier to manage.
How to Use Thinning Shears: A Summary
Thinning shears add the finishing touch to your haircut by giving it that little something extra that makes styling easy or downright effortless. Thinning shears remove bulk, add softness, and blend the cut to make your style more manageable. And they do all that without removing more length (if used correctly). Using them is really easy, too; just follow these steps:
- Use on dry hair
- Comb through
- Separate areas of hair
- Start with small sections
- Begin cutting near the ends
- Hold the thinning shear on an angle
- Cut and glide through the hair
- Continue through the remaining sections of your hair
This tool is not just for thick-haired people, though. Many men and women with medium to fine hair can still use thinning shears to achieve great results.
How to Use Thinning Shears in 8 Steps
When you follow these steps, you are sure to get the result you are looking for without the problems that can arise from misusing them.
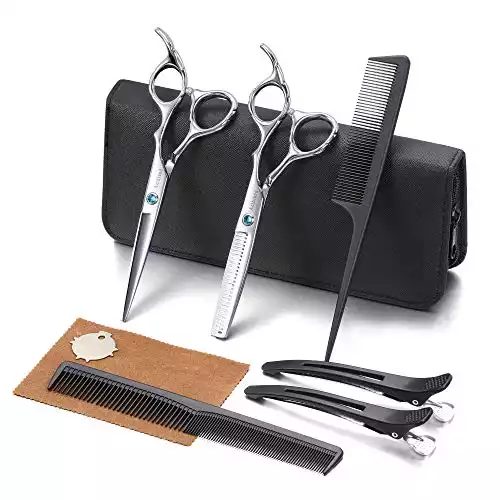
The Tools You Need
First, you should know that there’s a distinct difference between thinning shears and texturizing shears. Both of these hair cutting tools will cut and remove hair, but how they work and their results differ considerably. So it’s vital to know the difference and how to use them.
Thinning Shears
Thinning shears look like scissors, but they can contain 28 to 40 sharp teeth along one blade edge, while the other blade has none. These small evenly-spaced grooves allow for hair to remain inside while different strands get cut from the teeth.
Thinning shears ensure that you will have an even cut throughout rather than a choppy or patchy look. In addition, they help remove bulk and weight from a full head of hair without changing the shape or style.
Texturizing Scissors
Alternatively, texturizing scissors have fewer teeth along the one blade edge. They are larger to enable you to remove more hair at once. This tool can provide more volume and texture to your hair since the smaller strands will help hold the remaining hair up and in place.
Using texturizing scissors can effectively layer your hair and create volume and movement with more drastic cuts.
Step 1: Use on Dry Hair
It is best to use thinning shears on dry hair. This way, you can see the immediate results of each cut rather than wait until the hair dries to know how the style will settle on the head.
You can use them on wet hair, but you can’t see how the hair will lie until it dries completely. Using thinning shears on wet or damp hair runs the risk of you over-thinning your hair and leaving you with a cut that is not what you want.
Step 2: Comb Through
Comb through your hair to remove any knots or tangles before thinning. Running a brush through your hair will help, but it is best to use a fine-tooth comb to ensure the strands are free of snags so you can have the perfect cut.
Step 3: Separate Areas of Hair
Use a hair clip to separate your hair into smaller areas you can thin easier. You want an even cut throughout your head, so tackling one section at a time works best to have a balanced cut. This method can also help you remember which area you have used the thinning shears on so you do not overuse them on one section, creating a problem later.
Step 4: Start With Small Sections
Take one-inch sections of the area you want to work with between two fingers while holding the thinning shears in the other hand. You don’t want to grab too much hair. Otherwise, you may have a choppy, uneven look.
Small areas will be more manageable as you work through your head of hair with the thinning shears. It will also help you keep track of where you were working last to avoid over-thinning.
Step 5: Begin Cutting Near the Ends
Start at one inch above the ends of your hair to begin thinning. Then, depending on the length of your hair and how much thinning you want, you may want to continue upwards on the hair shaft.
For longer hairstyles, move one inch upwards at a time to remove additional bulk to thin out more areas. Remember to stay clear of your crown area. Even with extremely long hair, try not to go more than halfway up your hair strands.
You should never use thinning shears near the root or halo area of your head. Even though thinning this area may temporarily decrease the volume of your hair, once it begins to grow, it will double in the lift, causing significant hair problems.
The smaller strands will help hold up the longer ones, creating excessive volume, and it will take some time before these cut strands will grow out and settle into the rest of your hair. When you want thinner hair that is more manageable, cutting near the root will have the opposite effect, so stay closer to the ends and away from your crown.
Step 6: Hold the Thinning Shears on an Angle
You don’t want to use thinning shears for a straight-across cut. This haircutting tool is there to use after finishing with regular scissors. The specialty blade helps blend the ends of your hair into the haircut for better styling instead of leaving a blunt edge.
To achieve the best soft and blended look, hold them on an angle, with the ends pointed down to the floor or up facing the top of your head. This way, you will have a more flattering and smooth look to the hair, and it will settle smoothly.
Step 7: Cut and Glide Through the Hair
Make a single cut in the strands and keep the shears closed while you glide them down to the ends of the hair. This movement will remove the cut hair, and you should see instant results. The thinning shears should glide down like a comb with ease after you cut a section. If they don’t slide down easily, cut once and remove the cut hair with a comb before assessing if you need to take another pass with the thinning shears.
You can repeat this cutting and gliding motion in the same area if you need more thinning. After each cut, try to manipulate the hair and see how it naturally falls into place before making more thinning cuts in the same section.
To minimize the amount of thinning cuts, you can keep the shears in the open position, gently scrape the hair strands on an angle, and glide downwards. This movement will not cut as much hair as if you closed the blades together.
Step 8: Continue Through the Remaining Sections of Your Hair
Continue to move through the remaining sections of your hair with the thinning shears. Try not to overuse them since thinning too much won’t give you the results you want. Of course, you can always go over your sections again and do a few more cuts if you need, but you can’t put back hair once you’ve removed it.
Things to Consider

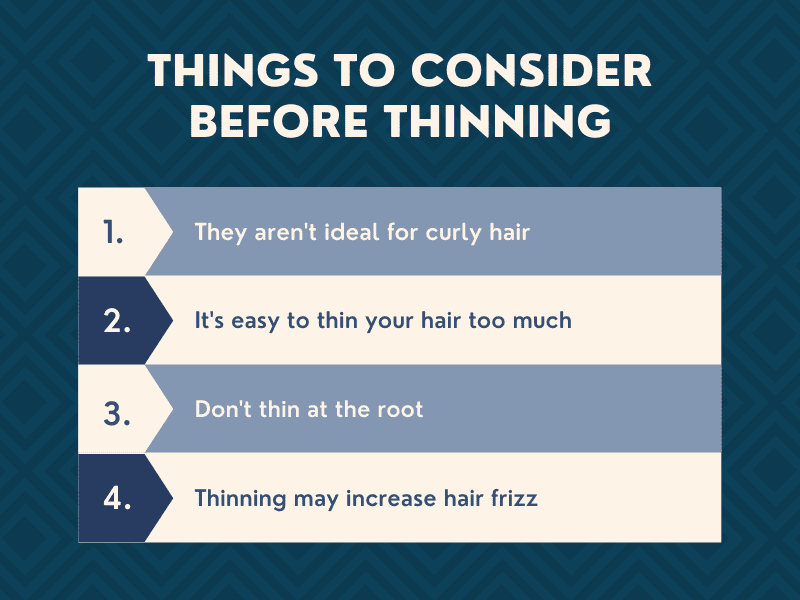
Unfortunately, thinning shears are not for every type of hair. Before you pick up your tools and begin cutting away, there are some things to consider, including:
They Aren’t Ideal for Use on Curly Hair
If you have curly or naturally wavy hair, you may think that thinning it will help tame your wild locks. But, unfortunately, when you thin out hair that isn’t naturally straight, it will only lighten the hair strands, making them rise and appear with even more volume than before.
Overuse of Thinning Shears
If your hair isn’t completely dry or you are new to using thinning shears, you may overuse them by accident and cut back too much hair. It is easy to make too many snips without realizing how much thinning you cause. Take your time and work slowly, so you can ensure you won’t remove too much hair at once.
Don’t Thin at the Root
Remember to stay away from the hair roots and the crown or halo area of your hair. Unfortunately, using thinning shears near the top of your head will not give you the results you want.
Thinning too close to your scalp will create short hair strands that will support the longer ones, creating more volume and lift than before. This result is the opposite of what you’re trying to accomplish.
It Could Increase Your Frizz Problem
If you want to thin out your hair to help tame a frizz problem, thinning shears may not be your answer. Many people with fine hair that live in areas with high or extremely low humidity will experience static and frizz, depending on the weather.
You may want to try other methods of taming your frizz before reaching for a pair of thinning shears. For example, additional moisturizing hair masks are terrific tools to help tame frizz without resulting in thinning it. If you use thinning shears on curly hair, frizz will increase, creating a poofy look to your cut.
This increase is because all hair strands will grow at different rates, and using this haircutting tool can produce split ends and breakage for naturally curly hair. So it is best to avoid thinning shears if you want to prevent more frizz with curly locks.
Other Considerations
If you consider these factors that could create a bigger problem than before, you are sure to use thinning shears correctly. This way, you won’t be stuck with a problematic haircut that doesn’t look the way you want. The more teeth your thinning shears have, the more subtle the changes will be in your style.
If you want drastic thinning for extremely thick hair, you’ll want to choose shears with fewer teeth. This way, you can cut more hair away at once. There are many styles of thinning shears, each with its advantages, depending on your hair type.
You want to choose a tool that will work with your type of hair, whether you have thin or thick hair, and the result you want to achieve.
People with thin hair can still benefit from thinning shears. But they should use them as a finishing touch to help smooth the style and enhance the cut, rather than removing weight and bulk. If you have thin hair, you want to use thinning shears sparingly and only add finishing touches to your haircut.
So, How Do You Use Thinning Shears?
Once you take the plunge and decide to thin out your hair at home, it can make a world of difference in the amount of time you spend styling each day. Remember to keep them angled and low on the strands, away from the crown of your head, and you can have a terrific cut without being weighed down from bulk.