
Jump to:
If you’ve ever looked up how to crimp hair, you’ve likely been overwhelmed by all the different methods and products available. We’ll seek to change that in our complete guide below.
But no matter the method you choose, we suggest starting with dry, tangle-free, and heat-protected hair. Now that you’ve gotten your hair ready, let’s get crimping.
How to Crimp Hair With a Crimper
Here’s how to crimp your hair with a crimper in three steps:
1. Section Off Your Hair
Divide your hair into smaller, even sections. We suggest separating your hair into six sections. If you have very thin or very thick hair, you may want to decrease or increase the number of sections. You can keep the sections separate using clips, pins, or hair ties.
2. Crimp Your Hair
Grab your crimping hot tool. Starting from the bottom sections of hair, place your crimper as close to your roots as possible. Hold the crimp for a few seconds and check to see if the crimp has set. Continue moving down the strand until you finish the section. Repeat this step with each section.
3. Spray Your Hair With Hair Spray
Hold the style in place by applying hair spray. Doing this will set the crimps and make them last throughout the day.
Things to Consider
- The hot tool you decide to use will determine the look you want. There are tools on the market for tight and loose crimped hairstyles—the larger the barrel, the wavier the crimp.
- If your hair doesn’t hold crimps or curls well, we suggest washing it a couple of days before styling. This helps your hair hold the crimp longer.
- If you’re going for more of a wavy look, section your hair into a smaller number of larger sections. The larger the sections, the looser the crimps will be.
- If you want more volume, start crimping as closely to your scalp as possible. For less volume, start further away.
- Don’t brush through your crimps. Gently run your fingers through your hair to loosen them.
How to Crimp Hair With Braids and a Flat Iron

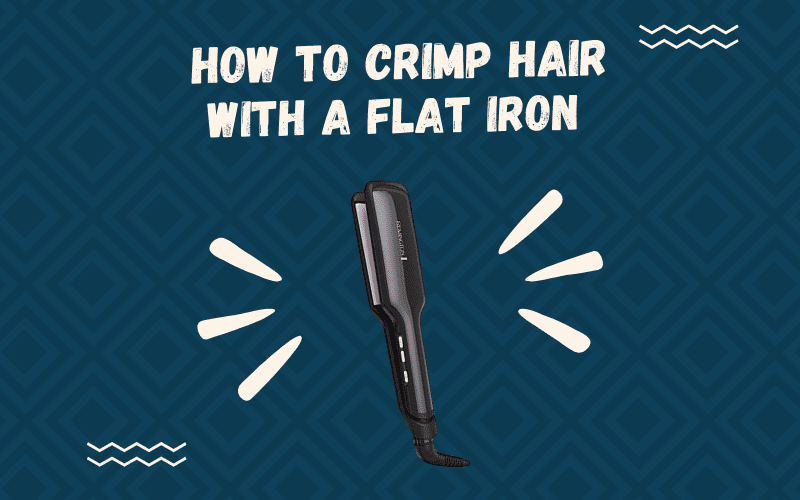
Here’s how to crimp your hair using braids and a flat iron:
1. Apply a Hair Styling Product
Use a lightweight, curl-enhancing mousse if your hair doesn’t hold a curl well. Avoid using too heavy hold mousse or applying too much product. Too much product will cause your hair to become sticky or greasy.
2. Section Off Your Hair
Place the top half of your hair into a bun or a clip. Make sure you separate the two parts with an even line across the midsection of your scalp. Brush through your hair to make sure there are no tangles. Separate the bottom half of your hair into four to six sections.
3. Braid Your Hair
Braid the sections of your hair tightly, using the classic three-strand braid. Secure each braid with a small elastic hair tie to ensure that the braids don’t fall out or loosen.
4. Apply a Heat-Protectant
Generously apply a heat-protectant to each braid. Be sure to cover both the front and the back of the braids to avoid damage when using the flat iron.
5. Apply Heat to Your Braids
Start at the top of each braid and press your straightener against the braid. Hold it for a few seconds, just as you would with a crimper. Continue down the braid, pressing and holding until you reach the end. Wait for the braids to cool before removing the elastic hair tie.
6. Take the Top Half of Your Hair Out of Your Ponytail
Leave the bottom half sections of your hair braided while they cool down. Braid the top half of your hair into another four to six sections and secure them tightly with an elastic hair tie. Try to section off this portion of your hair in the same number of sections as the bottom.
7. Repeat Braiding and Applying Heat
Braid these sections as similar as possible to the way you braid the bottom half of your hair. Same size braids ensure the crimps turn out looking the same. And don’t forget to apply a heat-protectant product to your new braids.
8. Remove the Braids
Let your hair cool completely before undoing your braids. Don’t brush through your hair, or your hair will become frizzy. If you want to loosen the crimps, gently run your fingers through your hair.
9. Spray Your Hair With Hair Spray
Lock your crimps in by spraying them with hair spray for long-lasting results.
Things to Consider
- Wash your hair a couple of days before styling if it doesn’t normally hold curls well. This helps your hair hold the crimp longer.
- If you want a wavy look, braid your hair in larger sections.
- If you want more volume, start braiding as closely to your scalp as possible. For less volume, start further away.
- Gently run your fingers through your hair or use a wide-toothed comb to loosen your crimps. A brush will cause the crimps to frizz.
- If you’d rather not use heat on your hair, you can leave your braids in for an extended time. We suggest leaving them in overnight for best results.
How to Crimp Hair With U-pins
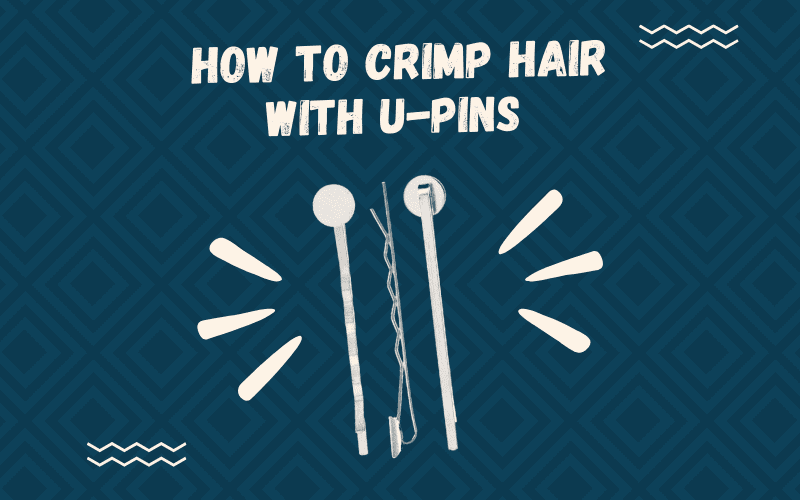

Here’s how to crimp your hair using only u-pins:
1. Apply a Hair Styling Product
Use a lightweight, curl-enhancing mousse if you have a fine or medium hair texture that doesn’t hold a curl well. A heavy hold product may cause stiffness or a greasy look.
2. Grab Your U-pins
U-pins are similar to bobby pins, but shaped like a U, meaning the two sides don’t close or touch. Don’t attempt this method using bobby pins. It won’t work.
3. Section Off Your Hair
Pull a majority of your hair back into a bun, leaving a thin layer of hair hanging over your shoulders. Take a small section of your hair on either side closest to your face. This section should be about 1-inch or 2.50 centimeters wide.
4. Wrap Your Hair Around the Pin
Put the closed end of the pin as close to your scalp as possible with your hair in the middle. Begin to wrap your hair around the pin, weaving it in and out of the prongs. When you reach the end, secure it with an elastic hair tie so it stays in place. Repeat this for each bottom section.
5. Apply Heat
Generously spray the sections with a heat protectant and wait for them to dry. Take your flat iron and press it for a few seconds around the twists, starting at the bottom and working your way to your scalp. Repeat this for each section, and don’t remove the elastic hair tie.
6. Repeat With the Remaining Hair
Starting with the next layer of your hair, continue to sections, weave, and heat. Let your hair cool for 5-10 minutes, depending on the thickness of your hair.
7. Remove the U-pins
Remove the hair tie from the bottom layer sections. Grab the pin at the top of the section closest to your scalp and remove the pin. You don’t want to pull from the bottom. Run your fingers through your hair to loosen the crimps if needed.
8. Spray Your Hair With Hair Spray
Using U-pins to crimp will result in looser waves as compared to the other methods. To keep these crimps in place, you will want to apply a holding spray to make them last.
Things to Consider
- U-pins can be tricky to find. Try looking at your local beauty shop or online.
- If you want a wavy look, use large sections of hair.
- This method is a bit trickier than the others. Consider one of the similar methods if you don’t have much experience styling your hair.
- This method may not be as effective if you have fine and thin hair that does not hold heat well. Use unwashed hair if you want to attempt this method.
- Putting the U-pins as close to your scalp as possible will create more volume. Start a little further away from your scalp if you want to achieve a more subtle look.
- If you don’t want to use heat, leave the pins in overnight. We suggest wearing a hair cap to keep the weaves intact and clean.
So, How Do You Crimp Your Hair?


Just dance/Shutterstock
As you can see, there are a few different ways to achieve the 80’s hairstyle trend that is making a full comeback. These styling methods show you how to crimp your hair to perfection, whether you’re after tight or loose zigzags. A great hair day is just around the corner!