Jump to:
Adding beads to a hairstyle is a quick way to accessorize your look. Learning how to put beads in hair is so easy once you know a few tips and tricks!
Start accenting braids, twists, and hairstyles with beads using a beader or common household items like paperclips and dental floss. It’s all here in our guide!
What the Heck Are Hair Beads?

Jane Rx/Shutterstock
If your braided hairstyles are looking a little plain or you’re all about accessorizing, adding beads to your braids is a time-honored tradition that can banish boring braids and make any hairstyle a little more interesting.
Whether you want to work beads into sleek, protective hairstyles, pop them into a boho braided style, or adorn your little one’s braids with colorful charms they’ll love to wear, the first step is learning how to put beads in hair.
That’s what this guide is all about! Adding beads to hairstyles is nothing new.
While ancient Japanese women were accessorizing their hair with hair sticks and forks, women in West Africa were stringing beads into cornrows as a way to beautify themselves and show their wealth, social standing, fertility, and spiritual beliefs.
Today, putting beads in hair may be more focused on accessorizing than demonstrating fertility and wealth, but the historical significance remains. Women have been adorning their locks with pretty beads for centuries and we’re not likely to stop anytime soon.

skyNext/Shutterstock
Adding beads to modern hairstyles can help you set your look apart, perfectly match and accessorize outfits, and accent intricate patterns of woven hair.
With such a wide variety of bead colors and types available, you can choose beads in the color, pattern, and shape that best matches your style or outfit. You can add beads to hair with or without a special beader tool.
We’ll walk you through the steps for each method so you can learn how to add beads to your hair easily! Whether you use a beader or household items like paperclips, bobby pins, or dental floss, the results will be the same.
You’re going to love being able to bead your hairstyles whenever you like! Keep reading to see step-by-step instructions on beading your hair with or without a beader.
You’ll find a list of the tools and supplies needed for each method and simple directions to add beads to a variety of hairstyles. We’ll finish up with a few extra tips and things to consider!
How to Put Beads in Hair With a Beader
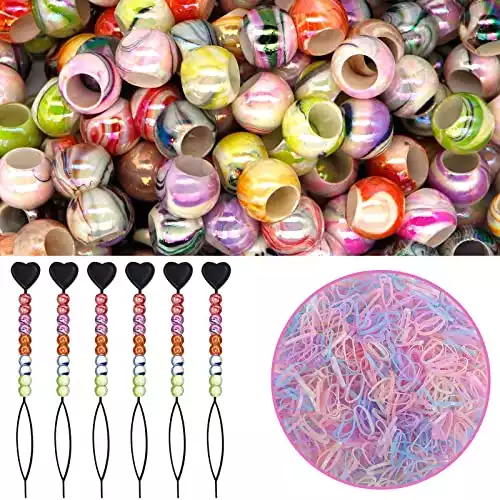
Beading tools, sometimes referred to as “beaders,” will typically be included in a package of hair beads. If you’re using craft beads instead, or your hair beads didn’t come with one, you can purchase a beading tool anywhere hair accessories are sold.
Beading tools look like a smaller version of the topsy tail tool. They are plastic and feature a small loop at the top with a flexible stick that allows you to easily add beads to a hairstyle. They are usually pretty low in cost – you can find them for $1-$5 in most cases.
If you can’t find a beading tool or want to add beads to your hair without using one, skip down to the next section to see other tools and items you can use to add beads.
What You’ll Need
- Beads (choose hair beads or craft beads) in the color and size of your choice
- Beading tool
- Small elastics to secure beads
How to Put Beads in Hair With a Beading Tool
Start with your hair braided, twisted, or styled in locs. Make sure the size of each braid, twist, or loc is small enough to accommodate the beads you’ve chosen. Take a look at the opening in each bead to get an estimate of how big each section can be.
Take a few of your chosen beads and add them to the plastic beading tool. The first bead added will become the bottom bead in your hairstyle, so think ahead about the bead design and pattern you want as you slide beads onto the tool.
If you’re using a single bead color, you don’t have to worry about this. Take one braid, twist, loc, or small section of loose hair and push the ends through the loop of the beading tool.
Keep a grip on the ends of the hair and slide the number of beads you want upward along the tool until the first bead makes contact with your hair in the loop.
Once the first bead is making contact with the ends of your hair in the loop, let go of the ends and push the rest of the beads upward until they slide off the tool and onto your hair.
Take hold of the ends again and move the beads down where you’d like them. Secure the beads in place with a small elastic wrapped tightly around the ends of the braid, twist, or loc. Repeat for any section you’d like to add beads to. It’s that easy!
How to Put Beads in Hair Without Beader
Michae Allen/Shutterstock
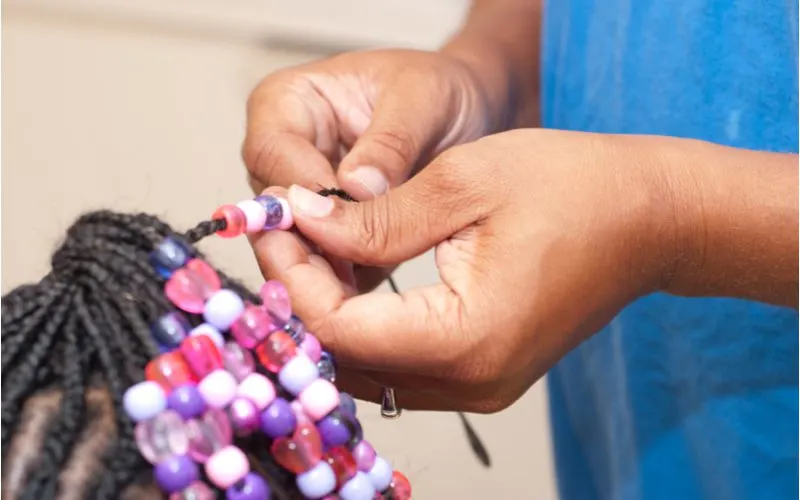
Beading tools are really nice to have and they’re very inexpensive, but if you don’t have one lying around, it’s easy to put beads in your hair without one. You can use a variety of household items to make it easy to slide beads into your hair to accessorize your style!
From paperclips to dental floss, you can be resourceful and use things you already have around the house to make beading easier. We don’t recommend sliding beads onto braids, twists, or locs without the help of some sort of tool.
This is because it can damage strands and result in breakage or more fragile hair. Before using any of these methods, your hair should be braided, twisted, or styled in the locs you’re planning to add beads to.
Use a Paperclip to Add Beads to Hair
Paperclips (or ornament hooks) are made of metal that is thin and flexible enough to fashion into a DIY beading tool.
Chances are, you’ve got a paperclip or ornament hook lying around your house somewhere right now! These household items make it easy to add beads to hair without causing damage.
What You’ll Need
- Paperclip or ornament hook
- Beads of your choice
- Small elastics
How to Put Beads in Hair With a Paperclip
You can use a bent paperclip or ornament hook to thread beads onto your hair easily. If using a paperclip, unbend it completely and bend one end into an elongated, skinny loop shape.
If you’re using an ornament hook, bend one end into a loop. It doesn’t have to be a perfect loop. You just need a large enough opening for your hair to fit through that is small enough for the beads to slide over.
Thread the beads you want to add to one braid, twist, or loc onto the straight side of the paperclip or ornament hook. Use your thumb and forefinger to keep the beads from sliding off, or temporarily bend the bottom of the straight end enough to prevent the beads from sliding off.
Insert the ends of your hair through the loop at the top and hold them securely while you begin sliding the beads upward until they make contact with the ends of your hair.
Let go of the hair and continue pushing the beads upward until they are off the paperclip/ornament hook.
Secure with a small elastic wrapped tightly enough to prevent the beads from sliding. If your beads have a larger opening, you may need to wrap 2 or more elastics for security. Repeat for all sections you want to bead.
Use a Bobby Pin to Add Beads to Hair
You can use a bobby pin to bead hair if you don’t have a beading tool around. This method is very simple and quick to do!
The bobby pin is inserted into the center of your braid, twist, or loc, then beads are slid upward onto the hair before the bobby pin is removed. It really makes the process fast and easy.
It does have the potential to damage your hair if you’re not careful and gentle with the insertion of the bobby pin. Be mindful of how hard you’re pushing and make sure your bobby pin has the protective caps on the ends.
What You’ll Need
- Bobby pin
- Beads of your choice
- Small elastics
How to Put Beads in Hair With a Bobby Pin
Grab the section of hair (braid, twist, or loc) that you want to add beads to and insert one side of the bobby pin through the center of the section. If you feel a lot of resistance, do not push harder as this could damage your hair.
Pull the pin back out and try again from a different angle or further up/down the braid. Squeeze the ends of the bobby pin to close it and slide your first bead onto the ends.
Push it up the bobby pin and onto your hair. Repeat, adding as many beads to the first section as you’d like.
When you’re finished adding beads, use a small elastic to wrap the ends and secure the beads in place. Remove the bobby pin from the section and repeat with the rest of your hair you’d like beaded. How easy was that?
Thread Beads Into Hair With Dental Floss
mdbildes/Shutterstock
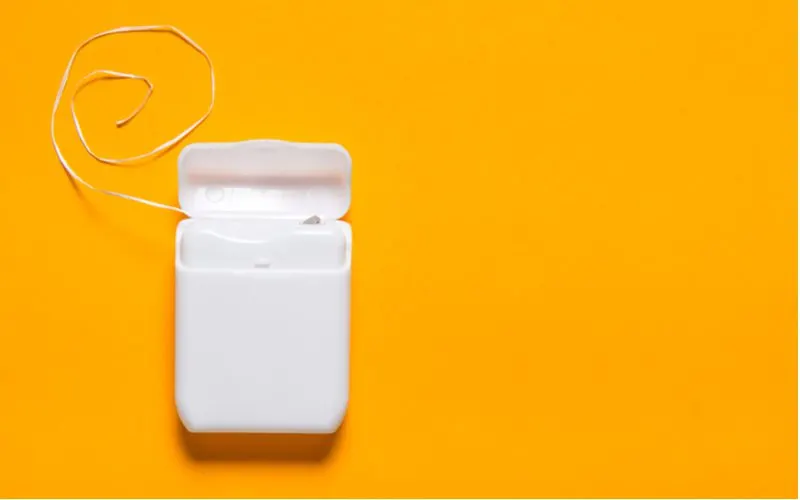
Dental floss may be the last thing you’d consider to use as a beading tool, but it really works well.
What You’ll Need
- Piece of dental floss (about 12” long)
- Beads of your choice
- Small elastics
How to Put Beads in Hair With Dental Floss
Cut a piece of dental floss (or thread) to about 12” long. Fold the floss or string in half. Add your beads to the folded end of the string in the order or pattern you want.
Try pinching right above the looped end to make it pointy and help you “poke” the ends of the floss or string through the beads. Pick up the string of beads and hold the open ends securely to prevent the beads from falling off.
Grab the loop at the top (where you threaded your beads on) and wrap the bottom inch of hair through the loop.
Once you pass the ends of the hair through the loop, point them upward and press them against the braid, twist, or loc. Slide the beads on the piece of floss or string up onto your hair until they’re off the string completely.
Finish by securing with a small elastic to keep the beads in place. Repeat for all sections you want to bead. You’re done!
Add Beads to Hair Without Tools
It’s a little more challenging and has the potential to damage your hair, but it is possible to add beads to your hair without using a tool of any kind.
Fold the end of your braid, twist, or loc upward so it rests against the hair and forms a little loop at the bottom. Squeeze the section right above the loop to make it easier to thread beads on.
Add one bead at a time, pushing the looped hair ends through the bead opening and sliding up until the bead is threaded onto your hair.
Repeat the process to complete your style, adding more beads to that section (if needed) and beading the remaining braids or twists. It’s a slower process than using a tool and you can only do one bead at a time, but in a pinch, it works!
Things to Consider
Putting beads in your hair doesn’t take a lot of time and you’ll love how versatile this accessory is. You can make the process even easier and avoid damaging your hair with beads or beading tools by considering the following things.
- Bead size is important. Bead openings are all different sizes, but most range from a 4mm opening to a 10mm opening. The larger the opening, the larger the braid, twist, or loc you can add it to. The smaller the opening, the smaller your braid or section needs to be. If you’ve already braided, twisted, or have your hair styled in locs, it’s smart to pick beads based on the opening size so you don’t end up with small beads you can’t use.
- Wash, condition, and moisturize before beading hair. Your hair will be better protected against damage and it’ll be easier to slide the beads on if you cleanse, condition, and moisturize your hair before putting beads in. Just use your usual shampoo (or try one of the best shampoos) and conditioner, then follow up with a leave-in conditioner or your favorite hair oil to defend against frizz and fully hydrate your hair. You’ll find beading your hair is a lot easier when you take this prep step!
- Consider adjustable cuff beads instead. If you’re accessorizing dreadlocks or braids with ornamental cuff beads, try using adjustable cuff beads that open and close. You just pop the side open, put the cuff on your hair in the position you want, then close the cuff. It’s a lot easier and works best for thicker braids and locs that most beads won’t fit.
- Be very careful when beading without a tool. The best option is a beading tool (which you can find as low as $1), but even household items like paperclips, ornament hooks, bobby pins, and dental floss are better than using nothing. If you find yourself without any beading tools, be gentle and avoid using beads with a small opening. A tight bead will slide upward against the grain of your hair strands, snagging the cuticle layer and leaving your hair more fragile and prone to breakage (especially if you have high porosity hair). Use the largest bead opening you can if you’re not using a bead tool to avoid damage.
- Maintain your beads longer. Protecting your beaded hair while you sleep will help the style last a lot longer. Wrap your hair in a bonnet or silk scarf at night to prevent snagging and tugging while you sleep. Try not to leave beads in your hair for more than 2 weeks. At that point, you’ll need to take the braids or twists down to cleanse and moisturize your hair before adding beads again.
So, How Do You Put Beads in Hair?
Now that you know how to put beads in hair quickly and safely without damaging your hair, a whole new world of styles is open to you.
Whether you’re excited to rock metallic beads, wooden beads with earthy tones, brightly colored craft beads, or trendy beads that match your outfit (or the colors of your favorite football team), there’s an endless variety of ways to rock beads in your hair.
We love the resourceful methods of using household items as a beading tool. But it’s hard to beat the function and convenience of a true beading tool!
They’re very inexpensive and widely available, so pick one up to make the process that much easier and faster. If you plan on wearing beads more than once, it’s a great tool to have on hand!

