
Jump to:
If you’re wondering how to get dreads, you’re not alone. Dreads are a hot style right now and continue to get more popular. That’s why we’ve made a guide to teach you how to get them.
Wondering How to Get Dreads?
Dreadlocks are a low-maintenance protective hairstyle for medium or long hair. If you want to keep your hair out of your face, make styling easier, and help your hair grow faster with less breakage and shedding, dreads are a great option.
If you’re wondering how to get dreads, you have two options:
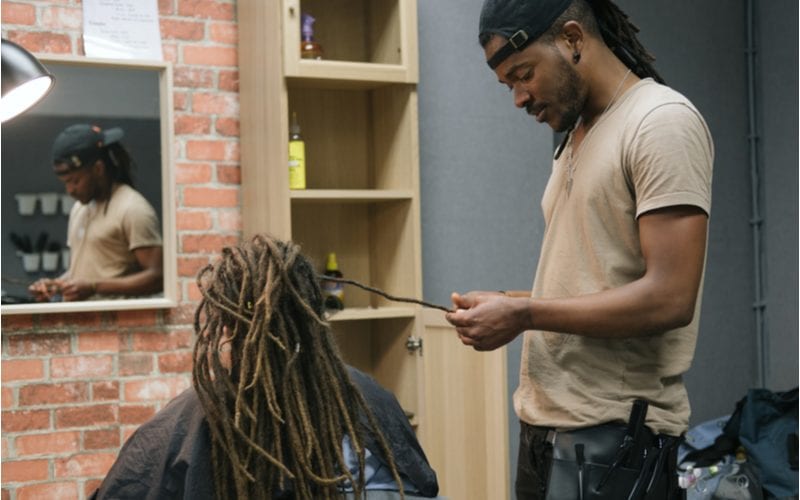
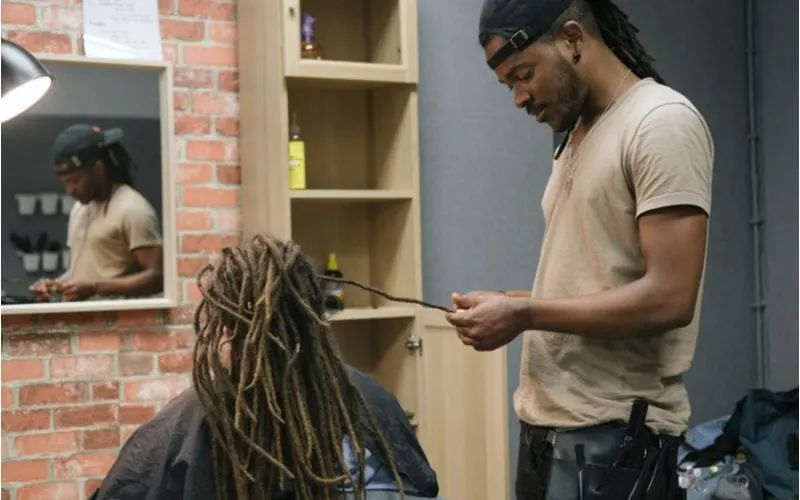
- Pay someone to do it
- Do it yourself at home
It can be intimidating to start dreadlocks yourself, but the process is easier than you might think. It just requires patience! There are several ways to start dreads, but each one results in a different type of loc.
Some methods are best for coarse, coily hair while others work well on finer, straight hair. You’ll need to know the look you’re going for to choose the right method.
Are you after freeform dreads that look natural and require little upkeep? Maybe you’d prefer smaller locs that present more styling opportunities. You might fall somewhere in the middle, wanting medium-sized locs that look natural yet neat.
We’ll keep it simple and show you the 4 easiest ways to start dreadlocks. Learn how to get dreads without damaging your hair and choose the loc style you like best in our guide.
Read Next: What Is a Twist Out Hairstyle?
What Are Dreadlocks?
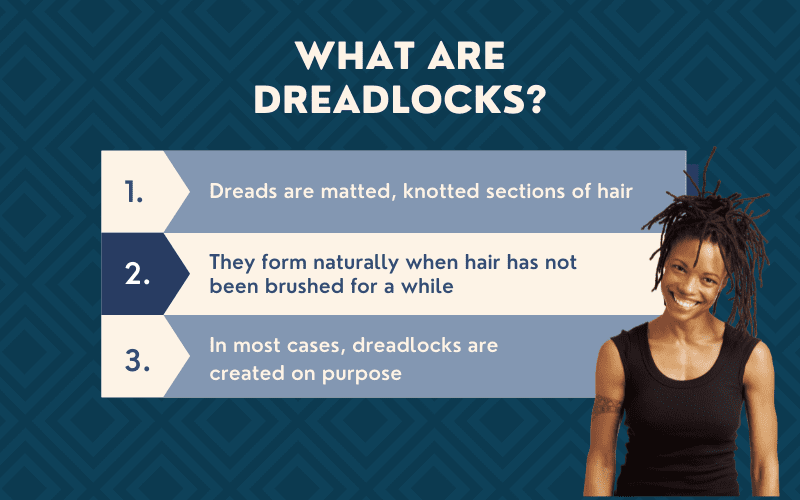

Dreadlocks are matted, knotted sections of hair. They may form naturally when the hair isn’t brushed for a while, but in most cases, dreadlocks (also called dreads or locs) are purposely styled.
When hair is left to its own devices with no detangling or brushing, it naturally forms mats and knots. As individual hair strands get knotted around each other and continue growing, the knots get tighter and encompass more hair.
The result is large, matted sections that can’t easily be brushed out. When locs are done on purpose, you can ensure the matted sections are somewhat uniform and strategically placed for styling and everyday wear. This is what most people want.
When locs are allowed to form on their own without brushing (sometimes called the “neglect method”), they take a while (6-12 months) to begin matting properly.
The resulting locs aren’t uniform in size or shape. If you don’t have coarse, coily hair, you might find that the neglect method gives you dreads that start too far down the hair shaft.
What Hair Type Is Best for Dreads?
AnnaTamila/Shutterstock
Any hair type can wear dreadlocks, but kinky, coarse hair is best suited for this style. Tightly curled hair naturally forms a spiral shape. When ringlets are tightly curled and begin knotting around themselves, they easily form nice, cylindrical, rope-like dreads.
Straight hair is more difficult to dread, but it’s definitely possible. It just requires a little more patience. Since straight hair doesn’t have that natural spiral shape, it has to be trained to grow into cylindrical knots and mats.
This requires a little more work, but it can be done. Getting dreads without using the neglect method means encouraging your hair to knot, twist, and tangle faster than it normally would. You can do this in a few ways. We’ll show you our favorite 4 methods to start dreadlocks below.
How to Get Dreads: 4 Different Methods
Starting dreadlocks is easier than you think. But before you jump in, take a few minutes to learn about the different ways you can start locs. Each method is different and will result in slightly different loc shapes and sizes.
We picked the 4 easiest methods so you can start your dreads at home with confidence. Learn how to get dreads you’ll love below.
Prepping for Dreadlocks
Before you start dreads, you have to prepare your hair for the task. That means starting with squeaky clean hair. Clean, unconditioned hair has more texture and is easier to dread than moisturized, conditioned hair with a lot of slip.
- Shampoo your hair with a clarifying shampoo to remove all traces of oil, dirt, and product buildup.
- Partially dry your hair so it’s damp but not wet.
- Spray your hair with a locking accelerator, if desired. This can help your hair more easily tangle and knot to make the process of starting locs a little faster.
Once your hair is prepped and ready, you can choose any of the 3 methods below to start your locs.
1. Finger Coil Locs
Finger coils are one of the most popular methods used to start dreadlocks. Here, you’ll be sectioning the hair the way you want, twisting each section into a single spiral coil, and pinning it while it dries to set the coil.
The resulting coils will be the base for your new dreadlocks. It takes about 6 months to a year to form locs from finger coils.
This method is best for kinky, coily hair because it relies on the hair twisting around itself into coils. It works best on short to medium length hair – long hair can be dreaded this way, but it takes a little patience.
You’ll Need:
- Spray bottle with water
- Rat tail comb
- Prong or alligator clips
- Coconut oil
How to Start Finger Coil Locs
- Section your hair using a rat tail comb into as many square sections as you’d like. Each section will form a loc. The thicker the sections, the larger the dreadlock will be. For smaller locs, take smaller sections.
- Use your spray bottle to mist the first section until it’s damp.
- Apply a small amount of coconut oil (or other oil of your choice) to the roots, pulling it down to the tips of the hair in this section.
- Start twisting the hair in one direction until it forms a coil, then pull on the section and let it snap back upward.
- Clip the coil in place at the scalp and repeat all steps on the next section until complete.
- Let your hair dry completely and remove the clips from all sections.
You’ll leave these finger coils in place to allow them to form into dreadlocks. This process can take anywhere from 6 months to a year. Since the base of the locs are simple one-direction twists, it doesn’t take as long as some methods for the coils to take on a loc appearance.
But it does take some patience! The benefits of using the finger coil method to start locs are one reason this is such a popular method. It can be done on very short hair (as short as one inch) and results in nice, cylindrical locs that are uniform in size and shape.
It’s also a very simple method that doesn’t require expertise or special tools. On the downside, finger coils may not make it to the loc stage because they can unravel in the time it takes to form locs.
This method is also a pain for anyone with long hair because longer twists take at least 12 months to start matting into dreads.
2. Three-Strand Braid Locs
The familiar 3-strand braid can also be used to start dreadlocks. Most people know how to do a simple 3-strand braid, so this method is easy for most to do at home.
Here, you’ll be braiding the hair in sections to form the base for your dreadlocks. Then, you’ll leave the braids in for a few months to allow the hair to mat and form into locs.
You’ll Need:
- Spray bottle with water
- Rat tail comb
- Small elastics
- Prong or alligator clips
How to Start Three-Strand Braid Locs
- Section your hair using a rat tail comb into square sections. Create as many sections as you want dreadlocks – each section will become its own loc over time. You can use clips to keep each section separate.
- Divide each section into 3 pieces and braid it. You may need to spray your hair with water while you work to keep it damp.
- Secure each braid tightly with a small elastic. Repeat until all sections are complete.
You’ll need to leave the braids in for a few months to allow them to begin matting and forming dreadlocks. You can roll the braids in your palm (moving in one direction only) to help encourage new growth at the roots and stray hairs along the braids to join the budding dreadlock.
The benefits of using 3 strand braids to dread your hair are the ease of the method (you only need to know how to braid your hair) and the different lengths it works on.
Unlike the finger coil method, which works best on short hair, the 3-strand braid method can work on any length 2 inches and up. The disadvantages of the 3-strand braid method are the time it takes for the braid pattern to fade in the locs and the resulting shape of the locs formed.
Braids tend to produce flat locs with less of a cylindrical shape. So, if rope-like dreads are what you’re looking for, this won’t be the method for you.
3. Three-Strand Twist Locs
Three-strand twists are a little trickier than braids but will provide the best base for locs. Three-strand twists are just like two-strand twists with an added section to work with.
Creating 3-strand twists is similar to braiding, but you’re also twisting the strands being braided. We’ll explain in more detail below. This method is best for kinky, curly hair, but it can work on wavy or straight hair as well.
You’ll Need:
- Spray bottle with water
- Rat tail comb
- Prong or alligator clips
- Small elastics
How to Start Three-Strand Twist Locs
- Section your hair using a rat tail comb to create square sections. You can create as many sections as you want dreads. Each section will become its own loc when all is said and done. Use clips to hold each section separately.
- Divide each section into 3 strands to create 3-strand twists. You’ll do this just like a 3-strand braid, but you’re twisting each strand in the opposite direction (counterclockwise) that you’re twisting (clockwise).
- Work from left to right, twisting strands to the left and crossing them over the other two sections all the way to the right side of the twist. Twist as far down each section as you can. Spritz your hair with water if it begins to dry too much while you work.
- Secure each 3-strand twist tightly with an elastic. Repeat until you have finished all sections.
Leave these twists in for a few months (anywhere from 2-6 months) in order to allow the hair to mat enough so that the twist pattern disappears. You can palm-roll the twists, moving your hands in one direction only, to help encourage the locs to form and tighten up the twists.
The benefits of starting dreads with 3-strand twists are plentiful. This method secures your hair very well so there’s less chance of the style falling loose before dreads start forming. It works for all hair types and hair lengths.
But there are a few disadvantages to starting dreads with 3-strand twists. You don’t get instant dreads from this method, and it takes a while for the twist pattern to disappear.
If you have fine, straight, or wavy hair, your hair may have trouble holding the twist as long as it needs to form dreads. And sometimes, twists can unravel and split at the ends, forming misshapen locs that will need to be repaired by a professional.
4. Wool Rubbing
Wool rubbing, also known as lazy dreads, is probably the easiest way to start dreads other than the neglect method. With wool rubbing, you simply rub a wool item against your hair in a circular motion until knots and small locs start to form.
This method requires only one thing: An item made out of wool. Wool rubbing is often a controversial method in the dread world. Some recommend only doing this method once, at the start, to create small budding locs.
Others recommend doing wool rubbing daily to continually knot and lock the hair into dreads. This method is commonly used for straight or wavy hair that is difficult to dread with other methods.
You’ll Need:
- A wool item like a sweater, scarf, hat, gloves, etc.
How to Start Locs with the Wool Rubbing Method
- Rub the wool item on your head using light pressure and a circular uni-directional motion.
- Continue rubbing all over the head in circles until you see knots and small locs beginning to form. You can concentrate your circular rubbing in areas that seem to be less knotted. Make sure you’re making contact with the roots of your hair to avoid starting locs too far down the hair shaft.
- If large mats are forming, you can rip them apart after rubbing to form smaller locs.
- Repeat the process every day to continually tighten the locs.
The benefits of wool rubbing are the ease of the method and limited supplies needed. All you need is an item made of wool and your hands. It’s also a way to start off with locs quickly, as you’ll have budding dreadlocks after your very first wool rubbing session.
The disadvantages of wool rubbing can be a major drawback for some. This method can be painful as the wool fibers pull and snag on your hair. It also makes it hard to control the shape and size of locs being formed.
While you can rip the mats to create smaller locs, this further damages the hair. Finally, people who have tried this method say you should prepare for your hair to look a little crazy for a few months to a year while the locs get tighter and mature.
8 Things to Consider Before Getting Dreads

You know what dreadlocks are, how to get dreads, and what the pros and cons of each method are. The final thing you need to consider is if dreads are really the right hairstyle for you.
There’s a saying in the dread community that’s worth repeating: “Dreads aren’t a hairstyle. They’re a lifestyle.”
This is one hairstyle that demands your time, attention, and more maintenance than you might realize. Here are 8 things to consider before deciding if you want dreads.
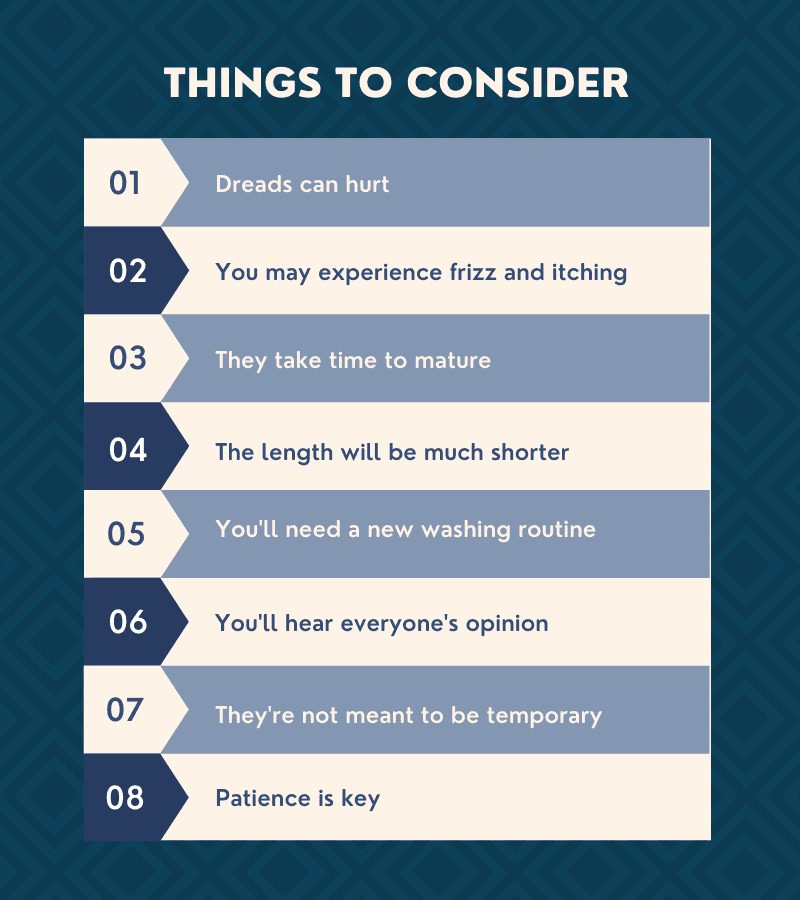
1. Dreads Can Hurt
Depending on the method you choose to start your dreads, it can be painful from the start. Wool rubbing is especially painful, but even backcombing (a method we didn’t highlight) and the methods mentioned here can hurt. In addition to that, sleeping on mature dreads can also literally be a pain.
New dreads are soft and pliable, but mature dreads feel hard and tight. People with this hairstyle report that sleeping can be uncomfortable or even painful when you have dreads.
2. You May Experience Frizz and Itching
Most of us spend a lot of money on products designed to cut down on frizz, but dreads and frizz just go together like peanut butter and jelly. If you have dreads, you’re going to struggle with frizz, especially at the beginning.
There are products you can use to tame it, but the nature of dreads (knotted, tangled mats of hair) means frizz is just unavoidable. This is important to know upfront.
Itching is another issue dread-heads report commonly. Without regular combing and brushing to help exfoliate the scalp, you may notice flakes and itchiness. You can combat a dry scalp with moisturizing products and oils but know that itching is going to be a part of getting dreads.
3. They Take Time to Mature
If you expect perfectly groomed, uniform dreads from day 1, you’re going to be sorely disappointed. Dreads take time to mature and fully mat into locs. At first, they might look strangely shaped, stick out at odd angles, or obviously show the pattern of the braid or twist you’re using to start them.
This is normal and part of the process, but you should know what to expect. That way you won’t be cursing us for thinking that we gave you bad instructions.
4. The Length Will Be Much Shorter
Even if you have long hair, getting dreads means you’re going to lose a lot of that length. You will lose, on average, about 20% to 30% of your current length when you dread your hair.
It’s a result of knotting the hair in such a tightly bound hairstyle. So don’t expect that long hair necessarily equals long dreads – they might be much shorter than you think.
5. You’ll Need a New Washing Routine
Most of us have had our hair-washing routine set for years if not decades. Changing it up when you get dreads can be a challenge. Dreads can’t be washed daily because they’d never properly dry.
Dreads can actually get moldy and form mildew inside when left wet for too long! Dreadlocks do need a good shampoo about once a week. You’ll have to be sure you thoroughly rinse the shampoo out of your locs and let your hair dry completely.
6. You’ll Hear Everyone’s Opinion
Dreads bring negative Nancys out of the woodwork, so expect to hear comments from anyone who doesn’t dig your locs. You’ll get everything from rude remarks to well-meaning questions about whether or not you wash them, why you chose dreads, etc.
For some reason, dreads are like a call to action that says “Talk to me about my hair!” Knowing this upfront can help you approach these situations with a calm, prepared answer.
7. They’re Not Meant to be Temporary
Dreads are a long-term hairstyle, not one you should plan to have briefly (unless you’re okay with shaving your head or cutting your hair very short). The knotting, tangling, and matting required to form mature locs takes time.
And once it’s done, those knots are quite set. It’s hard and very time-consuming to comb dreads out, but it can be done. Don’t opt for dreads if it’s a hairstyle you only want to experiment with.
8. Patience Is Key
The final thing to keep in mind before getting dreads is to be patient. Dreads don’t form overnight, and they require a lot of time-consuming maintenance. Everything from washing them to maintaining them takes time and requires patience.
But if you do your research to maintain and clean them properly, your patience will be rewarded with gorgeous locs that are tight, uniform, and easy to care for.
Frequently Asked Questions
How do you start dreadlocks?
There are many ways to start dreadlocks, such as backcombing, palm rolling, and waxing, but the most popular way is to backcomb. Use a fine-toothed comb to backcomb your hair, starting at the ends and working your way up. Twist the hair as you go, working in a downward motion until each strand of hair is matted.
Can you get dreads naturally?
Yes, dreads form when locks of hair become matted together and are not combed, groomed, or manipulated in any way. If you do not want to wait for your hair to dread naturally, you can use a technique known as backcombing to speed up creating dreads. This process involves teasing the hair until matted knots form.
How many years does it take to get dreads?
It typically takes two-three years for most people to fully form dreadlocks. However, this can vary wildly depending on your hair thickness, the texture of your hair, and whether you use dreadlock wax or other products. If you're impatient, you can start twisting your locks into dreads as they form to speed up the process.
Do dreads fall out?
Dreadlocks can fall out for various reasons, including neglect, matting, poor hair care, and lack of maintenance. To help prevent your dreadlocks from falling out, avoid excessive manipulation and combing, make sure your scalp stays clean, and use an oil or wax to keep them in place. You should also tighten new growth regularly to keep the locks tight and in place.
Can dreads be undone?
Dreadlocks can be undone, but it's a painstaking process that can take many hours. If you're not careful, you can easily damage your hair. Gently remove each dreadlock one at a time using plenty of hair conditioner, and slowly tease each section apart with your fingers.
So, How Do You Get Dreads?

Tatsiana1/Shutterstock
Now that you know how to get dreads and some of the difficulties that come along with this style, what do you think? Dreads aren’t for everyone.
But if you have the patience to see them through to maturity, we say go for it. Using any of the 4 methods above, you can start your dreads today and get one step closer to strong, mature locs.