
Jump to:
Box perms are usually a no-no for fine or thin hair, but there’s one type that is safe and gentle enough to use on fragile hair.
Learn about box perms for fine thin hair and see how to do your own perm step-by-step in our guide. We’re sharing helpful tips to ensure you get perfect results from your DIY perm!
Looking for Box Perms for Fine Thin Hair? Start Here.

Buritora/Shutterstock
If your hair texture is fine or you’re experiencing some thinning, you’ve probably heard that perms – in a salon or done at home – are a bad idea. In some cases, they are.
But there are special box perms for fine thin hair that are gentle enough to leave even the finest hair intact and undamaged. The right type of perm on fine or thinning hair makes all the difference.
A perm can be your key to fuller-looking, voluminous hair with the perfect amount of waves or curls. But if you’re planning on perming at home, you need to choose the type of box perm that won’t result in breakage, fried ends, or turn your hair to mush.
Non-damaging box perms for fine thin hair are easy to find – when you know what you’re looking for. Knowing how to pick out the best box perms with gentle ingredients designed for fine or thinning hair is key.
In this guide, you’ll get all the info you need to pick the right perm and get perfect results from your box perm for fine, thin hair. We’re covering the following:
- Best types of box perms for fine thin hair
- Step-by-step directions for doing a box perm at home
- Tips for achieving the best results from your box perm
- Things to consider before using a box perm
Ready to take a look? You’ll be one step closer to healthy, voluminous curls!
Read Next: The 9 Types of Perms, Explained
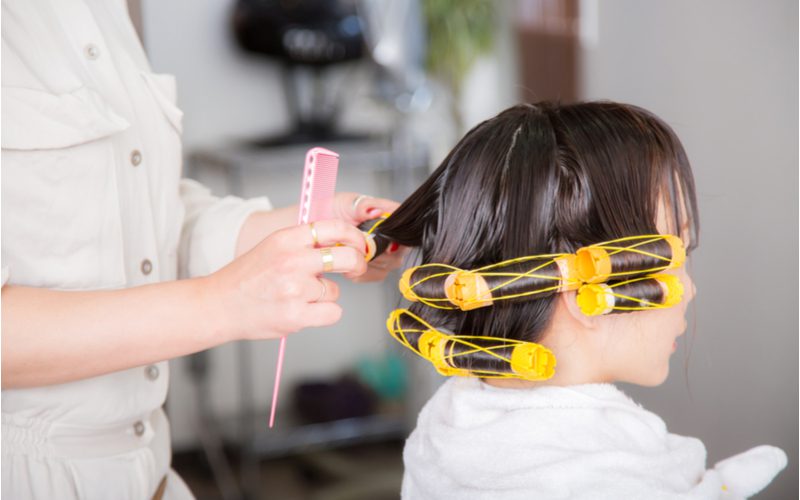
What Type of Perm Works for Fine, Thin Hair?

Srisakorn Wonglakorn/Shutterstock
Fine, thin hair poses a special challenge for perming. It’s easy to damage this hair type.
Most perms have the potential to damage even healthy, coarse, thick hair thanks to the harsh alkaline chemical (ammonium thioglycolate) used as the active ingredient. So what type of perm will be the best fit for easily damaged, fine, thin hair?
Why, that would be an acid perm.
Acid perms, also known as hot perms, acid waves, or acid-balanced waves, are much gentler on hair and cause less damage than alkaline perms (AKA “cold perms”).
That’s because the active ingredient in acid perms has a lower pH that is closer to the natural pH of your hair and scalp. Typically, acid perms have a pH somewhere between 4.5 and 7.0 while the pH of human hair is around 5.5.
Compare that to the average pH of alkaline perms – usually between 9.0 and 9.6 – and you can see why acid perms are so much better for fine, thin, easily-damaged hair.
Acid perms are recommended for the following hair types and characteristics:
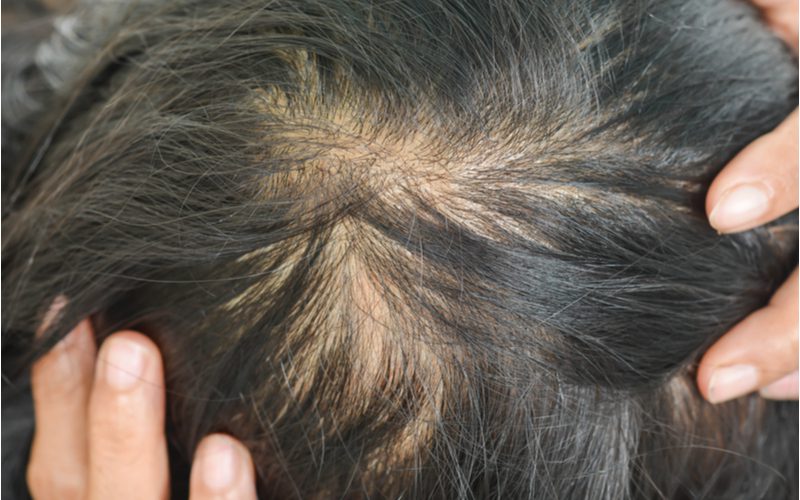
- Fine hair (about the same thickness as a thread)
- Thin hair with fewer hairs on the scalp
- High porosity hair
- Damaged hair
- Flat, limp, or lifeless hair
- Recently processed hair
If your hair is fine, thin, porous, damaged, flat, or has been processed (color, bleach, etc.) recently, you need an acid-balanced perm. That means bypassing most of the box perms you’ll see in stores and online, which are usually alkaline (more damaging) perms.
Opt for boxed perms that indicate an acid perm. These kits may say:
- Acid perm
- Acid-balanced
- Acid waves
- Acid-balanced waves
We like Zotos Quantum Extra Body Acid Perm or One ‘N Only Acid Perm With Argan Oil the best for at-home acid perms.
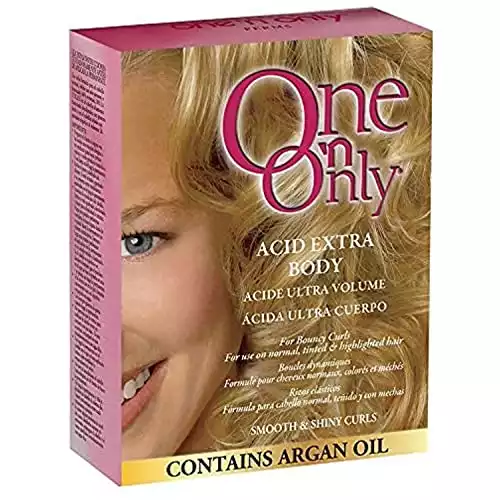
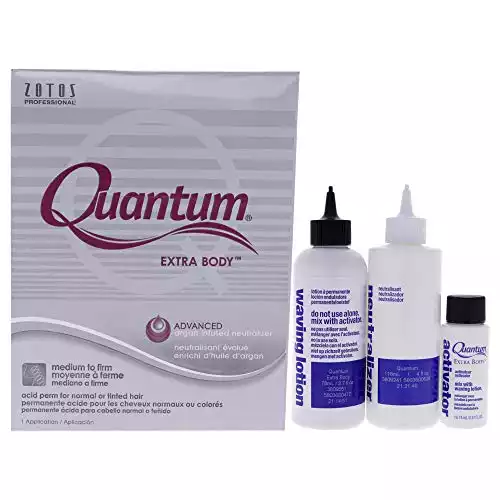
These kits contain gentler perm chemicals that are a perfect fit for fine, thin hair. Any box acid perm should work – just make sure you’re not accidentally purchasing an alkaline perm!
At-Home Perms for Fine Thin Hair: Step-By-Step Guide
Now that you know acid perms are the best types of box perms for fine thin hair, we’re going to show you step-by-step how to use one to safely perm your hair at home.
At-home perming can be nerve-wracking, especially for a beginner, but you can’t go wrong if you follow the directions to the T! For starters, acid box perms generally have 3 chemicals inside:
- Perm solution/waving lotion
- Activator
- Neutralizer
These should be clearly labeled in the box for your use. The perm solution or waving lotion will be mixed with the activator (the active ingredient), then applied to your rolled hair on perm rods. Neutralizer is applied as the final step, then rinsed out to reveal your soft, healthy curls.
It’s almost everything you’ll need to do your own acid perm at home, but not quite. You’ll also need to grab some perm rods, end papers, cotton coil, a plastic shower cap, and a clean spray bottle filled with water. We’ll cover these supplies in more detail in just a bit.
Quick Overview
- Wrap clean, damp hair on perm rods (size of your choice)
- Mix waving lotion with activator
- Apply activated waving lotion to rolled hair
- Cover with plastic cap
- Process 10-20 minutes
- Apply neutralizer and wait 5 minutes
- Rinse thoroughly
Your acid box perm will instruct you to wrap/roll your clean, damp hair on perm rods, mix the perm solution with the activator (GMTG, or glyceryl monothioglycolate), apply it to your wrapped hair, cover your hair with a plastic cap, process for 10-20 minutes, and neutralize for 5 minutes.
The final step is rinsing your permed hair thoroughly. At that point, you can air dry and style your new, voluminous curls the way you want!
How to Do Perms for Fine Thin Hair At Home
Note that these instructions are general in nature for acid perms and should only be used as a guide. Make sure to closely follow the directions on your box perm to get the best results.
Supplies You’ll Need
- Acid perm kit
- Perm rods in the size of your choice
- End papers
- Cotton coil
- Plastic shower cap
- Spray bottle
- Latex gloves
Choosing your perm rod size is probably the most challenging part of perming your hair at home. Acid-balanced waves work best to create large, soft curls with definition, so we recommend using a larger perm rod with your perm kit.
Perm rods are usually color-coded by size. The smallest is red (creates tight, kinky curls), then blue, pink, gray, white, and purple (the largest rod size for big, soft curls or waves). Different rod sizes can give you waves or curls, depending on the length of your hair.
We recommend using the larger rod sizes with an acid perm – purple, white, and gray – to get the best results in fine, thin hair. End papers make the job of rolling your hair on the perm rods so much easier.
They keep the ends contained so every hair gets saturated with waving lotion and neutralizer during the process. Plus, it keeps your ends in place so you can focus on evenly wrapping your hair for the most consistent curls.
Cotton coil is used to prevent the acidic perm solution from dripping onto your neck, face, and ears during the process. Don’t skip this protective barrier – it will help prevent irritation!
A plastic shower cap is needed to help contain the solution once applied to your hair and hold in your body heat to make the process faster. You might find that your acid perm kit contains one, but if not, grab some from the dollar store.
A spray bottle is helpful to ensure your hair is evenly damp once it’s rolled up. Latex gloves will protect your hands from the acidic perm chemicals while you work. Once you’ve gathered your supplies, it’s time to perm!
Directions
Before you begin, shampoo your hair without conditioning. You want your hair squeaky clean with no added moisturizers for the perm to have the best effect. Brush through your hair gently to remove any tangles and lightly towel-dry so it’s damp throughout.
1. Do a Basic Perm Wrap
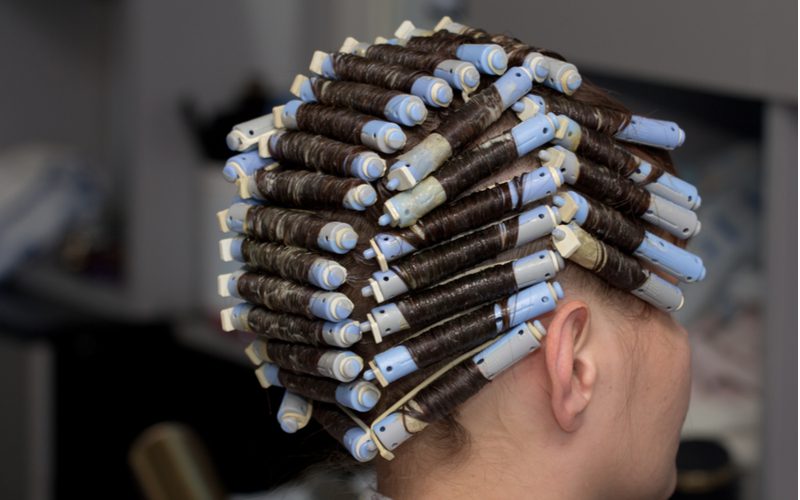

Schankz/Shutterstock
To do a basic perm wrap, you will be wrapping the top middle section in a single row all the way back to the nape of your neck. Then, you’ll wrap both sides in 2 rows horizontally downward toward your shoulders.
This will give you a natural-looking curl pattern that hangs in a flattering way around your face. Take a section of hair almost as wide as your perm rod and open an end paper to close over it like a bookmark in a book.
Slide the end paper down the length of your hair until it’s covering the ends. Lay the papered ends over an opened perm rod and begin rolling under until you reach your scalp.
Secure the rod by stretching the “button” attached to a bungee or elastic across the rod and plugging it into the open end of the rod. Repeat for all sections. Make sure your hair stays damp while you roll your hair onto the perm rods.
If you notice sections drying as you work, mist lightly with your spray bottle. When you’re finished wrapping all of your hair, mist all over with your spray bottle to ensure every section is damp.
2. Mix and Apply the Perm Solution
Before mixing your activator with your waving lotion, go ahead and wrap a long section of your cotton coil around your hairline. Wrap a towel around your neck for extra protection and put on your latex gloves.
Pour the contents of the activator bottle into the waving lotion or perm solution squeeze bottle. Shake the bottle gently to combine the chemicals.
Squirt the activated waving lotion directly onto the hair-wrapped rods, saturating the tops of all the rods and then the undersides. If any solution drips past your cotton barrier, replace the cotton coil with a fresh section and clean up any drips on your skin with water.
Once all rods are evenly saturated, cover your head with a plastic shower cap. Pull the front outward, twist it, and clamp with a small hair clip.
3. Let the Perm Process
Unlike “true” acid perms, at-home acid-balanced waving perms don’t require heat to work. These types of box perms for fine thin hair will process at room temperature with no need to sit under a dryer.
All you have to do is set a timer and let the perm process! Most acid-balanced perms need to process anywhere from 10 minutes (for damaged, porous, or processed hair) to 20 minutes (for thick, virgin, or undamaged hair).
Follow the recommendations below to find the right processing time for your hair.
- Thick, virgin, or undamaged hair: 20 minutes
- Medium, processed, porous, or lightly damaged hair: 15 minutes
- Fine, processed, highly porous, or thin hair: 10 minutes
Processing time should be the total amount of time the acid perm solution is in contact with your hair. You should check your curl progress at the 5 minute mark by unrolling a single rod and looking at the hair.
You only need to do this if you have fine, thin hair or if your hair is at least 40% highlighted. If your curls are too loose or not yet apparent when you check at the 5 minute mark, roll the test curl back up and recover.
Continue checking every 2 minutes. Try not to exceed 10 minutes total – 15 minutes is the maximum amount of time you should have the waving lotion on fine or thin hair.
4. Rinse and Neutralize the Perm Solution
Once you’re finished processing, you need to stop the chemical reaction happening on your hair by rinsing your hair and applying the included neutralizer chemical. The neutralizer is what locks or sets your hair into the new curly shape.
Rinse your hair for 3-5 minutes to ensure you remove all of the waving lotion. If you have a handheld shower head, it makes this process a lot easier! After rinsing, use a clean towel to gently blot each wrapped rod.
Wrap a new cotton coil section around your hairline to protect your skin. Shake the included neutralizer bottle and squeeze to apply it evenly to the tops of all rods, then the undersides.
Make sure you’ve fully saturated every rod with neutralizer and set a timer for 5 minutes. You should have a little neutralizer left over to use for the final rinse. After 5 minutes is up, begin removing your perm rods as gently and carefully as you can.
You don’t want to disturb the new curl pattern. Once your hair is fully unrolled, squeeze the rest of the neutralizer into your loose hair and massage it in lightly for about a minute.
5. Do a Final Rinse
A final rinse is all that stands between you and gorgeous, healthy curls! Rinse your hair for at least 3-5 minutes to remove all traces of the neutralizer chemical. Do not shampoo or condition.
Allow your hair to air dry to give it a break from blow drying and hot tools after processing. Your fine, thin hair should be full of voluminous, soft, natural-looking curls!
Things to Consider


Dean Drobot/Shutterstock
It’s totally possible to successfully perm fine, thin hair at home as long as you use the right type of perm. Acid perms are the best option for very fine or thin hair without lots of volume.
These gentler formulas won’t damage fragile hair like harsher alkaline perms and still give you long-lasting curls and body. But while acid perms may seem miraculous for fine or thin hair, there are still a few things to consider before you try one at home:
- Perming your hair at home is risky. If you follow the directions closely and ensure you don’t leave the chemicals on your hair too long, you shouldn’t have any issues perming at home. But there’s always a risk with doing chemical treatments at home when you’re not a professional! Even gentle acid perms can damage your hair if left on too long or if the chemicals aren’t properly mixed. Be careful with DIY perms and if you’re not confident you can pull it off, go to a pro.
- Acid perms form weaker, softer curls. If you have fine or thin hair and want tight ringlets, acid perms probably won’t give you the results you want. Acid perms create soft, loose curls that have a natural look. Many people love the softer curl of an acid perm, but if that’s not you, you may want to skip perming altogether. An alkaline perm could be too damaging for your hair type.
- Acid perms last 3-6 months. While alkaline perms can last 6 months or longer, acid perms may start loosening up around the 3-month mark. This may mean you need to perm again sooner, but many like the look of the softer, loosened curls as the perm begins to fade out.
- The first 48 hours are important. Don’t wet, shampoo, condition, brush, or add excess product to your newly-permed hair during this critical period. Any type of water – even sweat – is a no-no for the first 48 hours after a perm. Weighing your hair down with excessive hair products could also cause curls to unravel. Be extra gentle and hands-off with your newly permed hair!
- Start using a wide-toothed comb. If you’ve had fine or thin hair for years, you probably haven’t been using a wide-toothed comb to detangle and brush it. But now that you’ve got soft, voluminous curls, that’s exactly the tool you’ll need! Use a wide-toothed comb to avoid causing breakage and keep your new curls from getting frizzy.
- Start taking a supplement for stronger, thicker hair. Perming fine, thin hair is one way to make it look thicker and healthier. You can also start taking a hair growth supplement to help thicken and strengthen your hair naturally. Taking a daily supplement like Folexin can increase your hair count and density (thickness) after about 3 months.
Perms for fine thin hair can really shake up your look, encourage more air drying, and visually fill out your hair. If you’re planning on doing your own acid perm at home, remember what you’ve learned from this guide and you’ll get great results!