Jump to:
Wondering how to clarify hair? You’re in the right place. Clarifying is a great — and often necessary — hair care process that helps strip off dirt and grime, helping your natural beauty shine through. Read on to learn more.
How Clarififying Products Work
Clarifying is the process of removing dirt, grime, natural oils, and build-up from your hair. If you use hair products regularly, freshen up with dry shampoo rather than traditional shampoo, or need to remove minerals from your hair before bleaching or coloring, then clarifying will help.
Since clarifying strips your hair so well, it also removes natural oils and hydrating elements that help to keep your hair healthy, shiny, and smooth. So understanding how to use clarifying treatments alongside reparative ones is crucial.
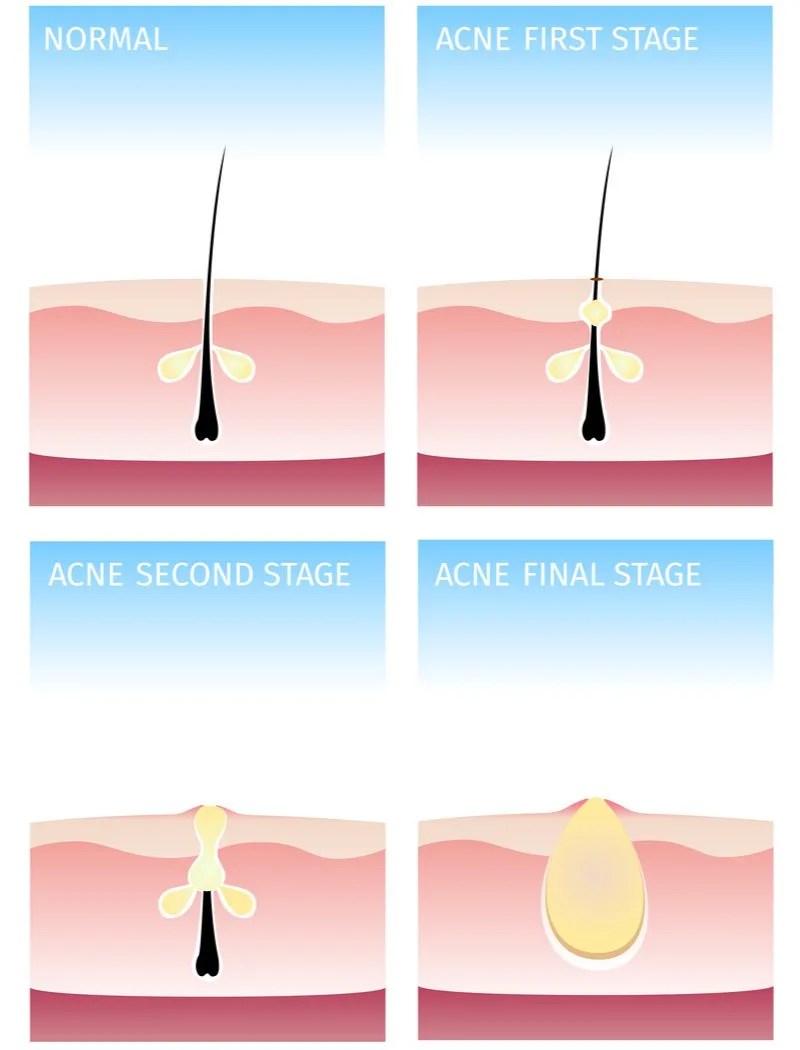
Clarifying products are really helpful for your scalp. Imagine your scalp is just like the rest of the skin on your body – because it is! When dirt and grime sit against it too long, your pores can become blocked, congested, and irritated. Clarifying products help mitigate these problems.
Why It Matters

Gritsalak Karalak/Shutterstock
Not only do they soothe your scalp by cleansing it and allowing it to breathe, clarifying products also help combat an out-of-whack pH, which is caused by mineral or product build-up sitting on the scalp for too long. Clarifying also helps balance oil production in oily hair types, increasing volume and the overall healthy look of your hair.
Let’s dive right into these three steps to learn how to choose or make the right products for you and learn how to apply them correctly for clarified hair that stays strong and healthy.
How to Clarify Hair in 3 Easy Steps
Although clarifying is a beneficial way to deep clean your hair, it’s important to do it correctly and make sure to reinfuse your hair with moisture and nutrients afterward. Here’s how to clarify the right way in three easy steps:
- Find (or make) a good clarifying product that fits your needs
- Use the mask, shampoo, or rinse
- Follow up with a shine boost, nutrient infusion, or moisture mask
As simple as these steps are, there are lots of options out there for specific clarifying products and even recipes to make your own at home. These treatments will vary in their recommended use, as will the nourishing products you choose to follow-up your clarifying treatment.
While the process can be condensed into three steps, each of these can be completed in as little or as much time as you need. Make sure that you take your time to pick products and understand how to use them correctly.
Step 1: Selecting a Clarifying Product

4 PM Productions/Shutterstock
There’s a good chance that you already have some slightly clarifying products in your shower without even realizing it. Products that induce foaming, like sodium lauryl sulfate and sodium stearate, are used for clarification in many shampoos.
However, with the big push for clean beauty, many companies have started to leave out ingredients like this because of the harmful, harsh effects they can have by overly stripping your hair. But don’t worry — using a clarifying treatment with a balanced formula here and there can be beneficial and healthy, unlike using these ingredients every time you wash your hair.
How do you choose a good product that’ll strip your hair without damaging it too much? The brutal truth is that all clarifying products will damage your hair to some extent, but it’s up to you to choose the level of clarification that you need.
Making Clarifying Products at Home
You can either choose a clarifying shampoo, rinse, or treatment to purchase, or you can make one yourself! Many naturally clarifying ingredients, like apple cider vinegar, baking soda, and even herbs like rosemary are already in your garden or cabinet.
The best thing about making your own clarifying rinse or shampoo is that homemade products are often less damaging to your hair than commercially made ones because they typically include fewer chemicals and more natural ingredients. They’re also far less expensive!
There are many recipes for clarifying treatments, but make sure to follow the recipes exactly. Using these treatments incorrectly can still cause damage to your hair. For example, clarifying treatments should focus, in most cases, on your scalp and avoid contacting the rest of your hair.
Purchasing a Clarifying Product
If you decide you’d rather purchase a product online or in-store, do your research. There are dozens of clarifying products on the market, and their claims can be misleading. However, you can still find a good product formulated to deep clean your scalp and hair while doing as little damage as possible if you do your due diligence.
You will find that stylists and hair professionals tend to swear by certain brands and products (and there’s usually a good reason why), so check to see which ones are highly recommended for the effect you most want. For people who use lots of products often, a scalp scrub could be best, whereas people with textured hair will want to be careful to select a product that won’t be too drying.
Step 2: Time to Clarify

Rido/Shutterstock
After choosing which product to use, your next step is to apply the treatment. You’ll use the clarifying treatment in the same way you’d use any other hair product.
Of course, these treatments come in all shapes and sizes: shampoos, rinses, scrubs, and more. So make sure to follow the directions on the package or the proper use as explained on the label to ensure you get the desired results.
Leaving the treatment on your hair for too long could cause unnecessary overdrying that can make the last step, revitalizing your hair, more difficult.
Keep in mind that clarifying shampoos and treatments aren’t meant for daily use. Stylists recommend different timetables depending on your hair care routine and hair type. For example, people who use products every day should aim for a clarifying treatment about once or twice a month, but others won’t need one that often.
Step 3: Follow Up With Repair

Aquarius Studio/Shutterstock
Once your hair is squeaky clean (sometimes literally—just wait and see!), it’s time to maximize that great, clean feeling by reintroducing some hydration, shine, bounce, and smoothness.
There are plenty of ways to do this: again, you can purchase a product, make one at home, or use a product that you likely already have in your hair care arsenal. One of the most crucial aspects of this two-part step is to use a rinse-out conditioner after your clarifying treatment.
A rinse-out conditioner will help restore your hair to a smoother, easier-to-detangle texture while still wet. Brushing out your freshly clarified, wet hair without conditioning first is a nightmare you don’t want to experience!
After conditioning, you can also choose to use a hydrating or reparative treatment like a hair mask or leave-in conditioner. However, keep in mind that using an overly heavy product, especially if you have fine or thin hair, could negate the whole process of clarifying your hair by coating it with more product and chemicals.
Deep conditioning masks, which are made to be rinsed out anywhere from five to twenty minutes, are a great way to go. Many are formulated without ingredients that’ll build up in your hair and make you feel like you need to clarify all over again.
Read Next: How Often Should You Do a Hair Mask?
Things to Consider
Clarifying can be intimidating if you’ve never done it before, but it’s necessary to keep your scalp fresh and clean and your hair free of build-up.
- DON’T use a clarifying treatment regularly. Use only as needed for your hair care routine and hair type.
- DON’T leave your treatment on too long or focus it on the length of your hair, which will be overly drying and damaging to your hair.
- DO focus your clarifying treatment on your scalp to help remove build-up that irritates the skin.
- DO follow up your treatment with a conditioning mask or treatment to help repair and hydrate your hair.
- DON’T go for harsh ingredients. Try to stick to products with balanced, natural formulations or good, nourishing ingredients that won’t overly strip your hair.
So How Do You Clarify Hair?
How do you know if trying a clarifying treatment is right for you? If your scalp feels a little gunky and irritated or even itchy, it’s time to consider a clarifying treatment. Also, check to see if your area has hard water. This can cause mineral build-up in your hair that’s best removed with a clarifying treatment.
Check with your stylist before you choose a clarifying treatment. These products can remove build-up that dulls your color while also taking some of your color with it. So, make sure to choose a treatment safe for color-treated hair.
Whether you choose to make one at home or purchase one with a quality formula, make sure to follow the directions carefully to ensure that your scalp ends up fresh and clean with minimal damage to your hair.
