
Jump to:
If you’re wondering how to do a fade haircut, you’ve come to the right place. But before you bust out the clippers, there are some things to consider. Read on to learn all you need to know.
Wondering How to Do a Fade?
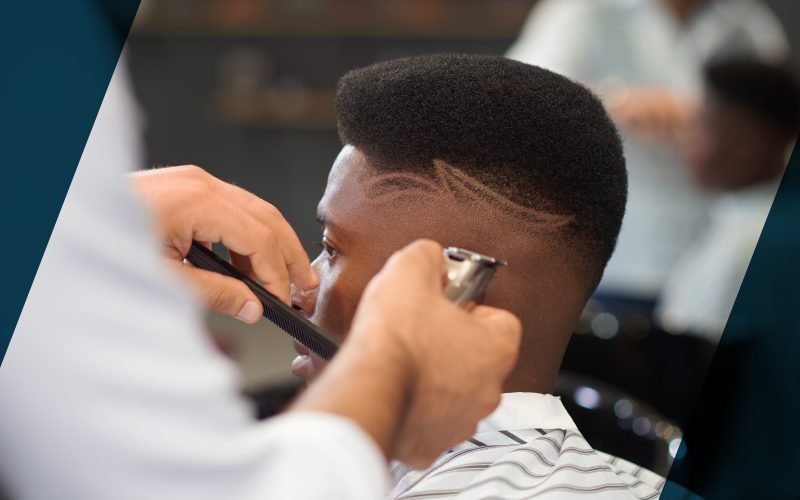
Fades look great on every face shape and hair type. Because of the seamless transition from long to short hair, they look like they’re complicated to do. But the truth is that they’re pretty simple to pull off at home!
Fade haircuts are a type of tapered haircut where the hair gradually gets shorter closer to the bottom hairline.
Typically, fades leave the hair on top longer than the back and sides. They’re usually done with clippers for precision. The key to creating a perfect fade is using various clipper guard sizes and a steady hand. Think you’ve got the skills?
We’ll show you how to do it step by step. You can choose from so many types of fades. From low, classic, and high fades to drop fades and skin fades, there’s no limit to ways to customize this popular haircut.
Learn how to do a fade haircut at home with a few bonus tips from our fade specialist and licensed cosmetologist, Teresa Fulcher, in this guide.
How to Do a Fade Haircut in 5 Steps
Doing a fade at home requires a few supplies and materials for the best result. Here’s what you’ll need to turn your house into a mini barbershop.
What You’ll Need
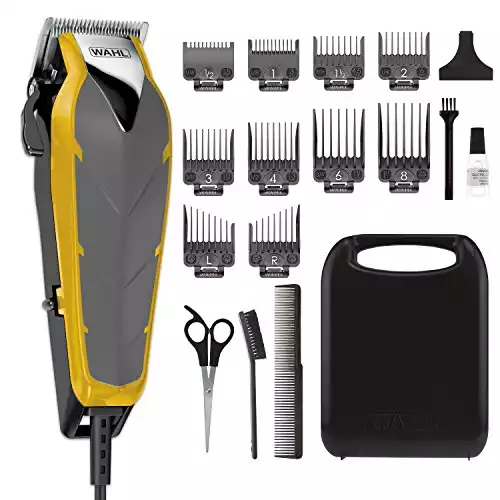
- Clippers and a variety of clipper guards
- Cape or towel
- Fine-toothed comb
- Spray bottle
- Hair clip (optional)
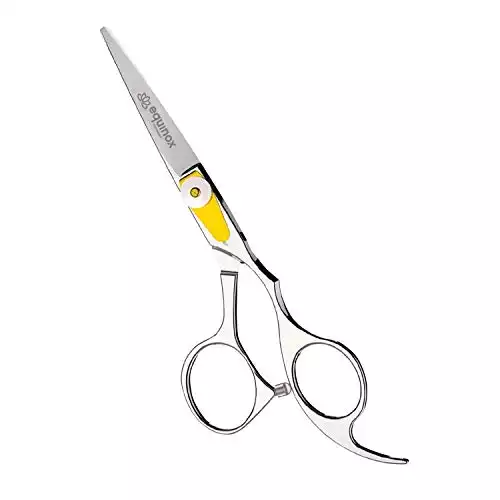
- Scissors (optional)
It’s important to use the best quality clippers you can afford. We’ve got a few great recommendations for clippers here. Quality clippers will be sharp and come with a set of clipper guards in various sizes (usually a total of 8 guards). These sizes will range from a very short ⅛” to a longer 1″.
Before you begin, read through all the steps in the process to get a sense of what you’ll be doing. Make sure you’ve determined how long you want your hair to be at the longest and shortest points.
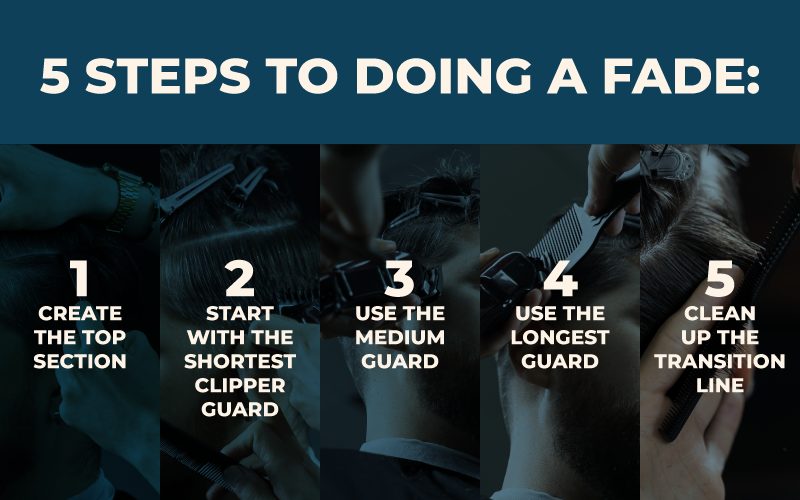
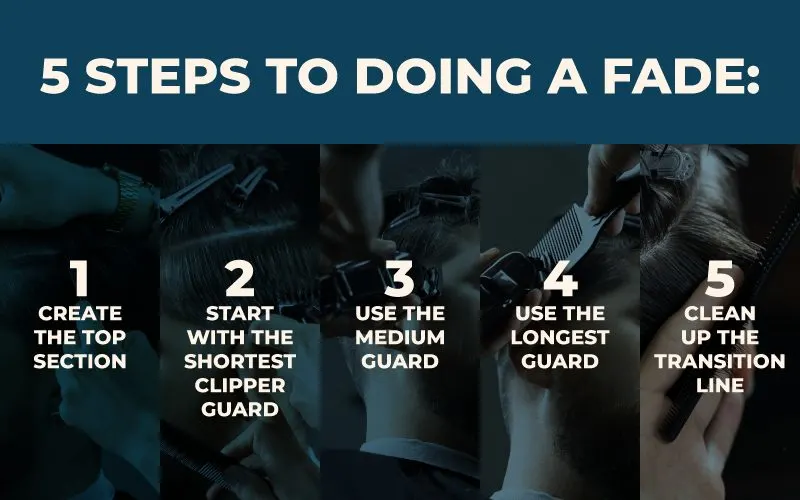
5 Steps to Doing a Fade:
- Create the Top Section
- Start With the Shortest Clipper Guard
- Use the Medium Guard
- Use the Longest Guard
- Clean up the Transition Line
To do a classic fade haircut, you’ll leave about 3″ (or more) of hair on top that won’t be cut with clippers. The #3, #2, #1, and 0 (no clipper guard) are commonly used for this kind of fade. If you’d prefer your fade to be a little longer, try clipper guards #4, #3, #2, and #1 instead.
Read Next: 30 High Fade Haircut Examples
1. Create the Top Section
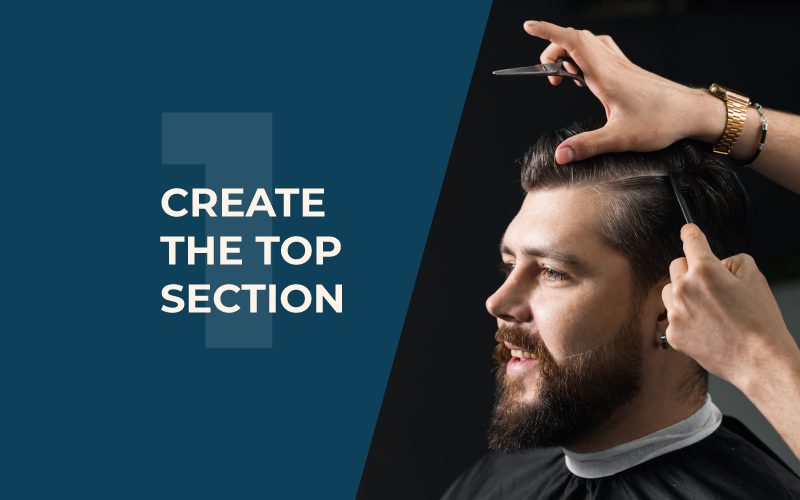
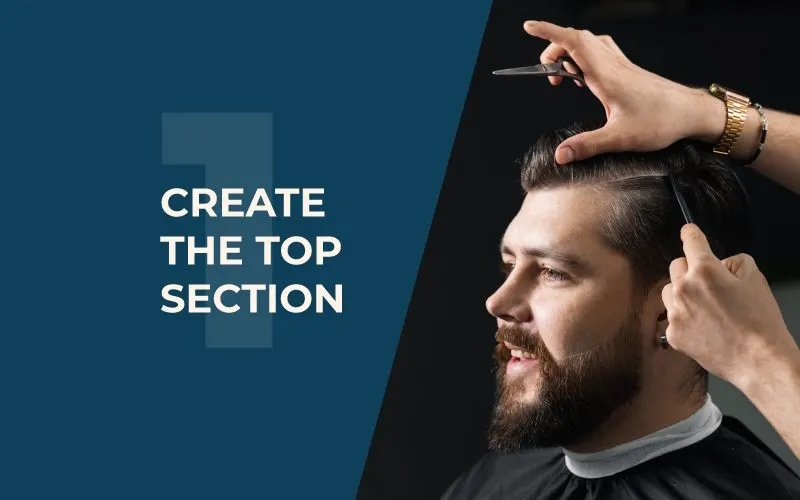
The top section of your hair is what will be left longer. It’s important to consider the shape and contour of your head when parting off the top. The goal is to transition the fade from long to short lower than or no higher than the place where your head starts to curve inward toward the apex or top of your head. For most guys, this is just a few inches above the ears.
Why is this so important? If you fade your hair too high, the overall shape of the cut will look unbalanced, leaving you with an egg-shaped appearance. It will also be much harder to blend if the fade line is too high.
Go ahead and find where you want the long section to end and give it a spritz or two of water with your spray bottle.
This helps you comb it out of the way since it won’t be cut with clippers. If you have a clip, it’s helpful to clip the top section out of the way for now.
Otherwise, make sure the hair on top stays out of the way while you work on the sides and back. Wrap a towel or cape around the neck and shoulders to keep hair out of your clothes and off the neck as you work.
2. Start With the Shortest Clipper Guard
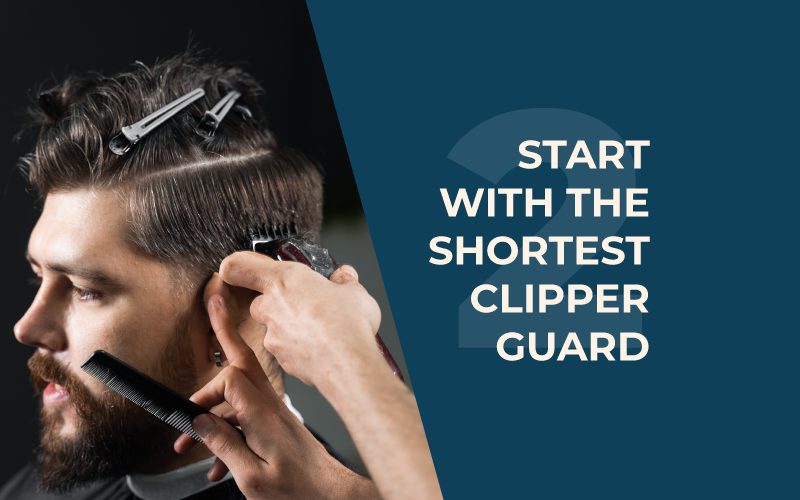
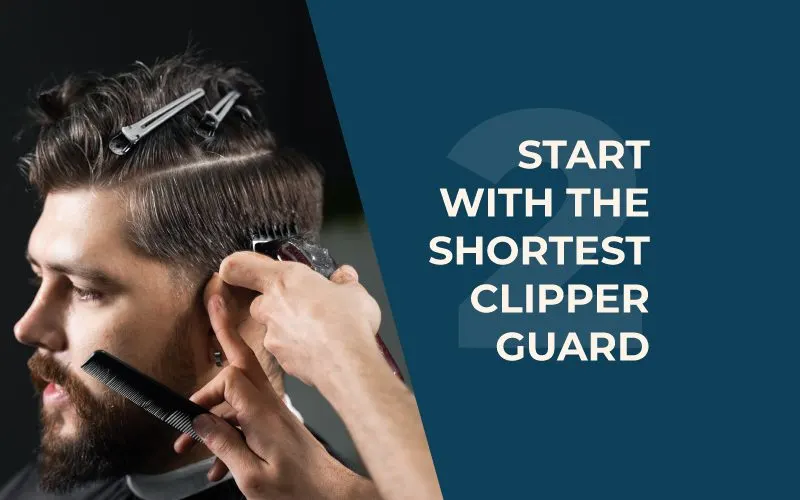
Snap the shortest clipper guard you’ll be using – typically a #1 (1/8″) or #2 (1/4″) – into place on your clippers. If your clipper has a taper lever on the side, adjust it down so it’s open. This gives you the longest length possible with the guard you’re using.
Starting from the bottom of the hairline and about 1 to 1 ½” inches upward, use a vertical in-and-outward motion (a C shape) to cut that horizontal strip of hair.
Stylist Tip: You should be coming in with the clippers, gliding them briefly upward against the head, then flicking outward as you reach the top of the section you’re cutting as you move the clippers around the head. It’s roughly a C-shaped motion. This leaves the hair at the top of this section a little longer so it seamlessly fades into the next length you do.
Now, adjust your lever upward a bit (not all the way) to partially shorten the taper. This time, use your C-shape motion to come in and flick outward, stopping about halfway up the short section you just cut.
Finally, close that lever completely by adjusting it as far upward as it will go. Do short little upward flicks just on the very bottom of the hair. If you’d like the bottom to be faded out completely to skin, you can remove the clipper guard and do those upward flicks with a light hand at the very bottom.
Stylist Tip: The taper lever is a great way to get a more seamless fade and customized haircut. When you snap a clipper guard on for the first pass, make sure that lever is all the way open – giving you the longest length – and then do two more passes.
For the 2nd pass, close the lever halfway for a medium length on that guard and only cut halfway up the section you’re working on.
For the 3rd and final pass, close the lever all the way to get the shortest length on that guard. Do short, controlled flicks upward on the bottom of the section you’re working on. This gradually transitions the length of the hair better than using the raw guard length for the entire section.
3. Use the Medium Guard
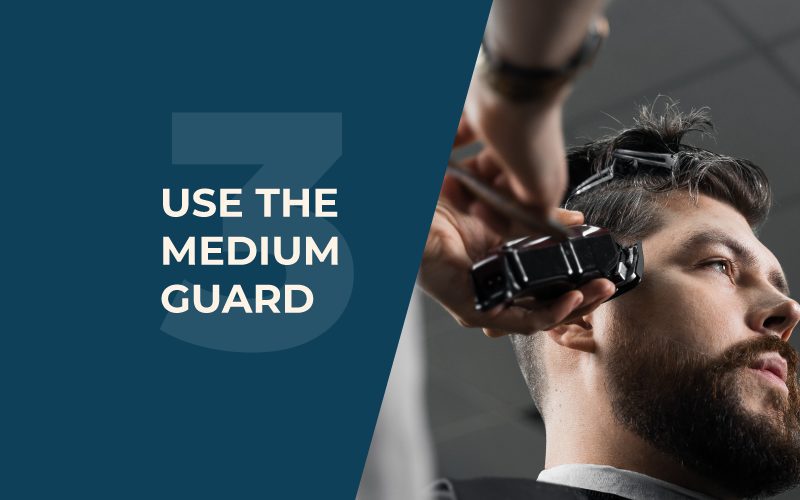
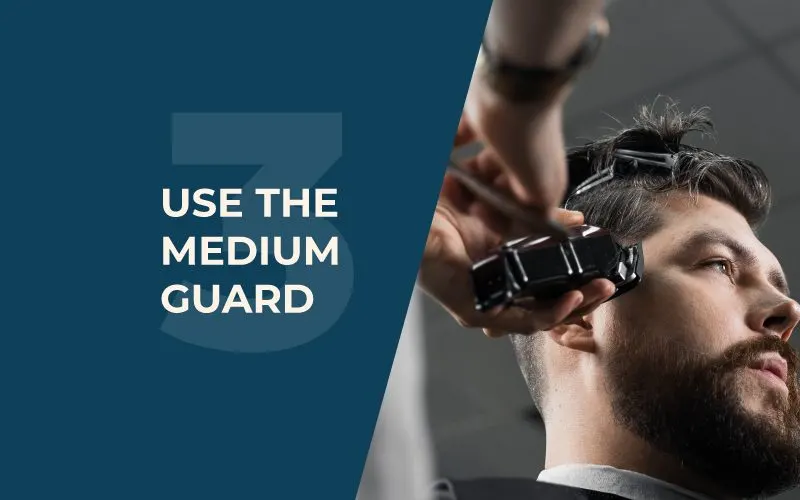
The mid-length guard (or guards) you’ll be using will blend into the short bottom section you’ve just cut. Again, remember to start with the taper lever all the way open for the first pass.
If you started with a #1 guard, you’d now snap on a #2. If you started with a #2 on the bottom, grab your #3 guard and snap it into place. You’re going to do the same thing here as you did in the last step.
Come in with the clippers in a C-shape motion (taper level open all the way) and glide upward for about 1″ to 1 ½”. Move around the head in that horizontal strip the same way – inward, upward, and flicking outward.
Adjust your taper lever upward halfway to get a slightly shorter length, and on the second pass, only come up about halfway in the section you’ve just cut.
For the 3rd pass, move the lever all the way upward to close it (for the shortest length) and flick it upward in small, tight movements at the bottom of this newly cut section.
4. Use the Longest Guard
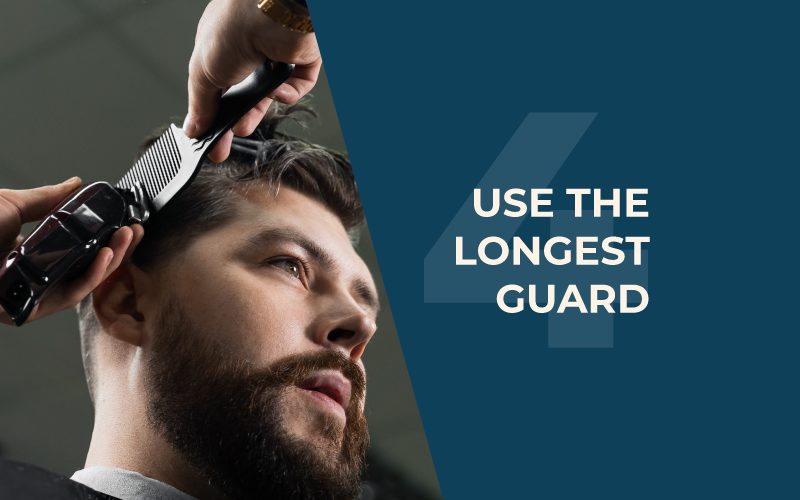
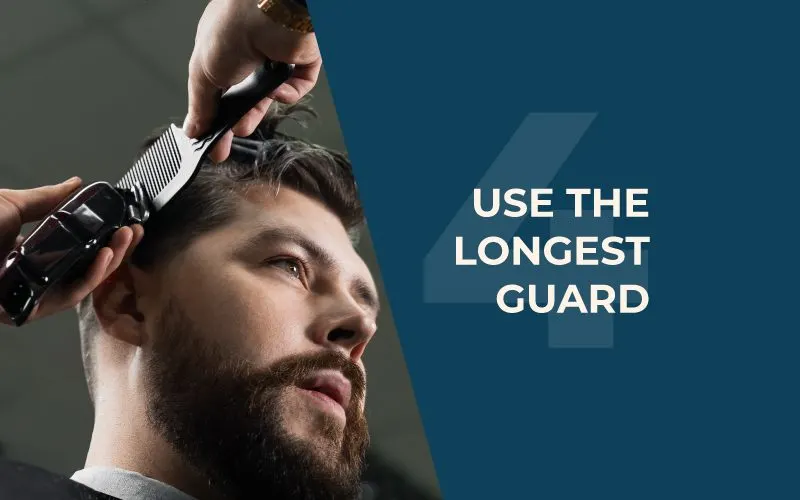
The hair should now be halfway faded, with the bottom and mid-section of the head completed. It’s time to grab your longest clipper guard to do the top section of the fade.
We’re not touching the long hair on top at all yet. Snap on your #3 or #4 guard (one size up from your last guard) and open that lever all the way again by adjusting the handle downward.
Make sure the long section on top is completely out of the way and that you’re happy with where the top section ends. Use the C-shape motion to come in, glide upward to the edge of the top section, and flick outward at the top.
Move around the head using this same motion. If you’re cutting your own hair, doing the back can be tricky. Do the best you can, or ask a friend to help you out with the back section.
Adjust the lever upward halfway, then come around the head with the C-shape motion about halfway up this longer section. Then, flick outward.
Adjust the lever upward for the shortest length on this guard and make short, gentle flicking motions upward on the very bottom of this long section.
At this point, your hair should be nicely faded from the shortest length at the bottom to the longer length near the top. All that’s left to do is transition the top cleanly into the faded sides and back and trim the top if needed.
5. Clean Up the Transition Line
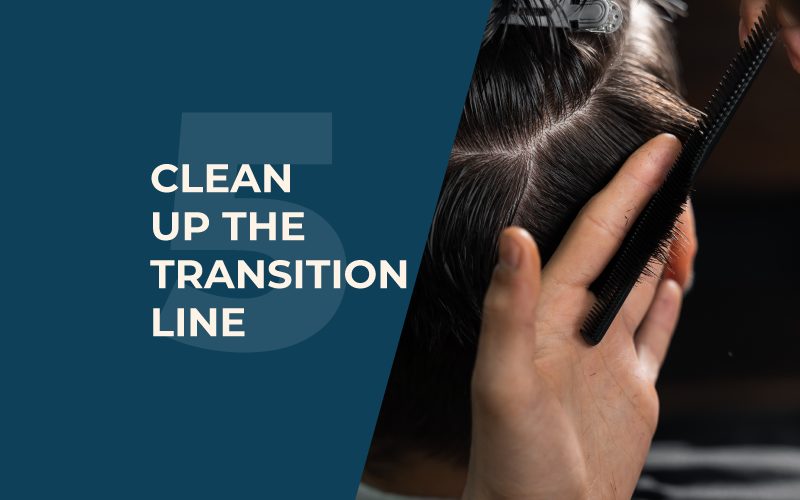
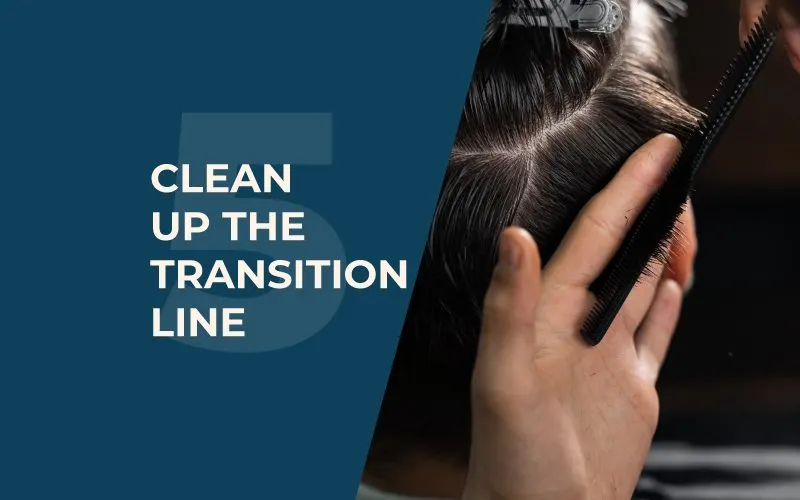
The transition line where the longer top section of the hair meets up with the now-faded sides is important to get right. You can leave it as-is if you’d like a stark contrast between the length. If you choose to do this, you may want to use thinning shears on the ends of the longer hair to add texture and to soften the blunt line or thickness of the transition.
But many prefer to give it a gentle taper to blend it better.
There are two ways to do this. If you’re very comfortable using the clippers and have mastered that C-shape swooping motion, you can manually blend the edges by swooping in a fraction of an inch and flicking outward on just the edges of the long section.
Be careful not to get near the scalp or go in too deep to the top section! You should never follow the inward curve of the head with the clippers. Instead, you want to gradually pull away from the scalp, so the hair gets longer and further away from the skin the higher you go. If you’d rather have a little guide while you blend the sections, grab a comb.
The comb will help you hold the hair being cut away from the head so just the tips can be buzzed off. Read the stylist’s tip below to learn how to perfectly taper the top into the sides and back with a comb.
Stylist Tip: Use a comb to perfectly transition the long hair on top into the shorter hair on the back and sides. Start at the edge of the longer section on top and insert the teeth of a fine-toothed comb at the scalp. Always make sure you’re not pushing the top of comb inward. The angle should always be perfectly horizontal or even slightly outward.
Pull the comb upward to the length you want (start with a longer length – you can always take off more if needed). Then, tilting the comb slightly outward to avoid a blunt edge, run your clippers over the top of the comb.
Repeat for the rest of the hair around the edges of your longer top section. This creates a perfect, tapered transition. If the hair on top needs a trim, you can grab your scissors (the sharper, the better) or use the comb-and-clipper method to get a consistent length.
Trimming the Top With Scissors
To trim with scissors, make sure the hair is slightly damp with your spray bottle. Use the comb to pull a small section upward, then slide your index and middle finger upward along the hair section until the amount you want to trim is left at the top of your fingers.
Carefully snip the section while still holding it upward, then use the comb to grab the next small section and repeat. Once you’re finished trimming, move through the hair grabbing random sections and holding them upward to ensure they’re all the same length.
Trimming the Top With a Comb and Clippers
If you don’t have sharp shears or would rather use the comb-and-clipper method, it’s very simple. Make sure the hair is only slightly damp or dry (using clippers on wet hair is bad for the clippers and often results in an uneven cut), and grab a small section of hair on top.
Use the comb to bring it straight upward. Stop the comb at the length you want to trim the top to. Keeping the comb steady and straight, run the clippers across the top.
Move the comb to the next section and repeat. Once you’re finished trimming, use the comb to lift random sections of the top and make sure they’re all the same length.
Customizing Your Fade

The instructions above show you how to do a classic fade that gradually and equally transitions from longer to shorter. If you’d rather try a high fade, low fade, or drop fade, there are a few easy changes you can make.
- High fades start fading into short hair higher up on the head than classic fades. If you’re doing a high fade, you might start with a 0 (no clipper guard – shaves to the skin) on the bottom section instead of a #1 or #2. A high fade might go as follows (from the bottom and upward): 0, #1, and #2, and #3.
- Low fades start fading into short hair lower down on the head than classic fades. If you’re doing a low fade, the shortest sections will be much smaller and start further down. To do a low fade, you might use the 0, #1, #2, and #3 guards.
For a low fade, it’s helpful to start just above the ears with a #2 guard, then switch to a #1 below that section. Snap on the #3 to blend the #2 section into the longer top. Finally, come through without a guard (0) on the clippers to buzz the area from the base of the head up to your #1 guard line.
Make your fade into a drop fade by leaving more of the hair at the top-back of your head long and letting it “drop” downward in the back a bit. Fade into the shorter lengths around this dropped section.
Step-by-Step Video Walkthrough
Should You Do a Fade Haircut at Home?
While you can definitely do a fade haircut at home, is it recommended? That depends on a few things, so keep these points in mind before pulling out the clippers.
Will you be doing your own fade? Doing a fade haircut on yourself can be pretty difficult. The sides aren’t a problem for most, but reaching the back can be tough. It’s even harder because special swooping motions and multiple passes on different lever settings are required to get a seamless fade.
Trying to hold the clippers steady, keep a light hand, and see where you’re cutting in the back can be very challenging. If you plan to do your own fade, make sure you have two mirrors set up facing each other so you can get a good view of the back as you work.
Clipper skills and familiarity are essential. Well-meaning wives, girlfriends, and buddies might be willing to do your fade haircut, but it’s important to have someone familiar with clippers do the cut.
Someone who knows how to use clippers won’t be too heavy-handed and will understand the gentle C-shaped motion needed to keep harsh lines from forming in the hair.
Doing fades is a lot more complex than doing an all-over, one-length buzz cut. Be picky about who cuts your hair at home. If no one knows what they’re doing, just go to a barbershop for a fade you’ll love.
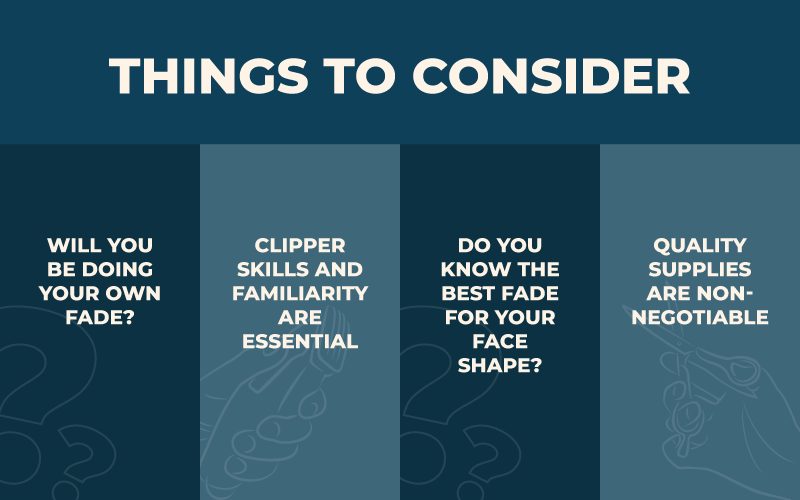
Do you know the best fade for your face shape? Before you opt for a fade haircut at Salon Tu Casa, you need to know which type will flatter your face shape best.
For reference, high fades look great on round, oval, heart-shaped, and square faces. Low fades are perfect for oval and heart-shaped faces. Drop fades will work for any face shape.
Quality supplies are non-negotiable. Cheap clippers and dull scissors can turn your fade into a nightmare, no matter how good your skills are. Even dirty clippers, uncalibrated blades, and dry blades that need oiling can seriously mess up and snag your hair.
If you’re going to commit to doing a fade at home, make sure you’re starting with the best quality supplies you can afford. Don’t skimp on maintenance, either.
You should clean and oil your clipper blades after each use to keep them in good condition for the next haircut. Most clipper kits come with a small brush to clean hair out of the blades and a vial of clipper oil (usually mineral oil) to keep them lubricated.
So, should you do a fade haircut at home? The answer is yes if you…
- Have good clipper skills (or the person doing your cut does)
- Have the right setup to see the back (if you’re doing it yourself)
- Know the right fade for your face shape
- Have quality supplies and equipment
If you’re unfamiliar with using clippers, have trouble cutting where you can’t see in the back, don’t know which fade will look best on you, or have an old clipper kit that doesn’t work well, you’re better off going to a barbershop or salon.