Jump to:
Wondering how to to bleach hair? You’re not alone. With salon prices at all-time highs, doing it yourself can save you big money. But what actually goes into the process? Read on to learn all this and much more.
How to Bleach Your Hair
When learning how to bleach hair, you need much more than just lightening power. You’ll want to ensure that you get the results you need without damaging your hair beyond repair.
The Quick Answer
- Determine If Your Hair Is Healthy Enough to Bleach
- Decide on a Formula
- Decide on a Color
- Prepare for Bleaching
- Apply the Bleach
- Remove the Bleach
- Care for Your Bleached Hair
To get the best results, you have to plan, prepare, and proceed accordingly. But is it really this simple? Yes and no. But don’t worry — we’ve broken down the steps for you in detail below.
Step 1: Determine If Your Hair Is Healthy Enough to Bleach

Dean Drobot/Shutterstock
Bleach is notoriously damaging to hair, so you don’t want to try to bleach hair that’s already in need of some TLC. If segments of your hair, such as the ends, are dry or broken, they might turn out a different color than the rest of your hair.
If your hair needs repair, focus on that before you attempt the bleaching process. If your ends aren’t salvageable, get a trim before you decide to work with bleach. Even if you love your long hair, it’s worth sacrificing an inch or so to have even color throughout.
Damaged hair is often very porous, and when you try to bleach (or otherwise color) it, the hair shaft absorbs the dye much more quickly than expected. This often leads to a color change that was more intense than intended, which further damages already damaged hair.
On the other hand, hair that is thick and shiny can have very little porosity. This means that it will repel the product rather than absorb it. For hair with low porosity, you may need to use more bleach than the manufacturer directs, and you may need to leave it on longer than recommended.
And to make matters more complicated, you can have simultaneously have porous, damaged hair and healthy, resistant hair on the same head. How? Hair that is closest to the root, or the new growth, is never quite as damaged as the ends of your hair. That hair has lived with you quite a while and seen some stuff (sun, chemical services, heat styling). This all means that you may have to formulate a different plan for lightening the various areas of your hair to ensure an even color.
Step 2: Decide on a Formula
TY Lim/Shutterstock
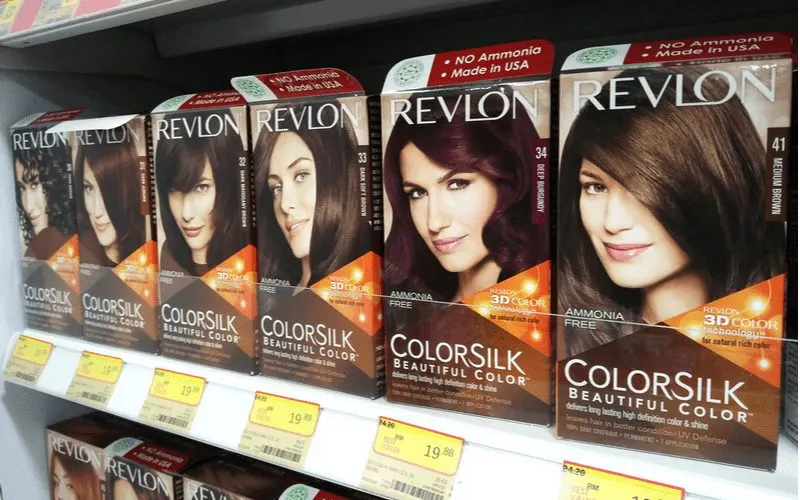
Most people who bleach their hair use commercial chemical bleaches. And if you’re looking for a drastic change, that’s pretty much your only choice. However, if you only plan on going a few shades lighter, you may want to look into some natural alternatives.
For those who are interested in avoiding commercial bleaches, some natural choices include:
- Lemon juice
- Vinegar (apple cider vinegar for warm tones, distilled white vinegar for cool tones)
- Honey
- Baking soda
- Chamomile
- Salt
All of these preparations work best when heat is added to the mix, so sit in the sunshine or put on a shower cap and warm your hair with a hair dryer.
Keep in mind that while you may have reasons why you want to avoid commercial bleach preparations, there is no guarantee that these more natural bleaches will not damage your hair.
Your hair lightens due to a chemical reaction, and natural bleach alternatives cause the same reaction (otherwise, your hair would not change color).
Step 3: Decide on a Color
Parilov/Shutterstock
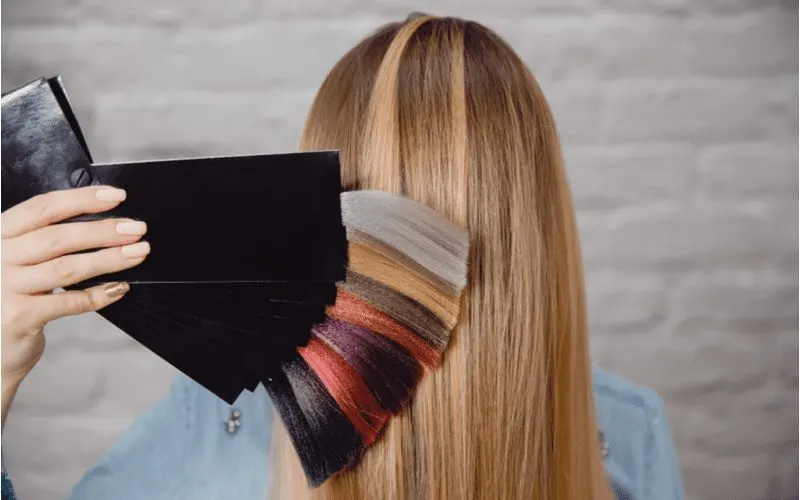
Before you do anything else, you need to decide what kind of effect you’re going for. Do you want your new look to be classic ash blonde, dramatic platinum, or warm golden? Or do you have dark hair that you want to dye in a bright, fun color, and the bleaching is an intermediate step?
Consider your skin tone and undertones when you’re choosing your new hair color. People with yellow or olive complexions tend to look better with warmer shades, while people with blueish undertones are well suited for cool hues.
You can use a color wheel to see which shades are closely related and which ones are opposites. If there is a shade that appeals to you, you can check out similar ones and also learn which ones you’ll likely want to avoid.
Step 4: Prepare for Bleaching
Ekaterina Kkch/Shutterstock
Things can get messy, especially if you are using commercial chemical bleach. Bleach stains are impossible to remove from clothes, towels, and hard surfaces. Wear an old t-shirt or pajama top that you won’t mind possibly ruining. Likewise, use old towels or towels that are already white. Remove rugs from your bathroom.
Make sure that your hair is dry and clean; this means no dry shampoo or other styling products. Your hair does not need to be freshly shampooed, although it can’t be overly oily.
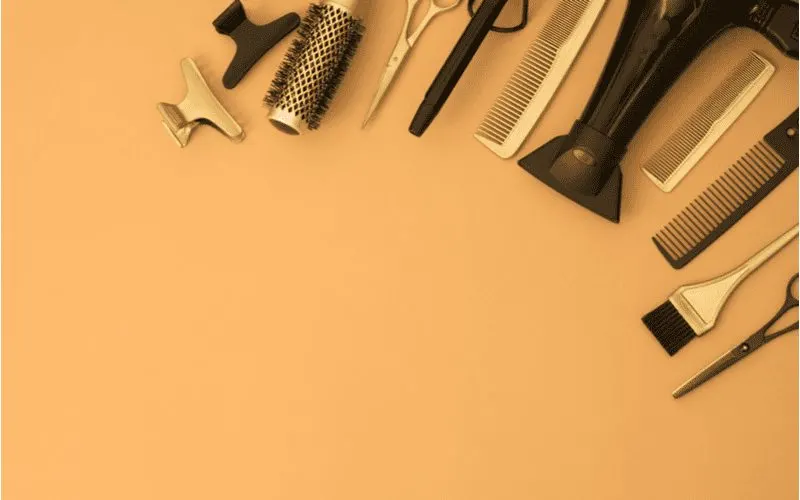
Gather everything you’ll need: this includes hair clips, a comb, shampoo that is safe for color-treated hair, disposable gloves, a disposable shower cap, and whatever bleach preparation you will use.
You may also want a brush to apply the bleach. Apply a light layer of cold cream or other heavy moisturizer around your hairline and neck to protect delicate skin.
Step 5: Apply the Bleach
Michelle Aleksa/Shutterstock
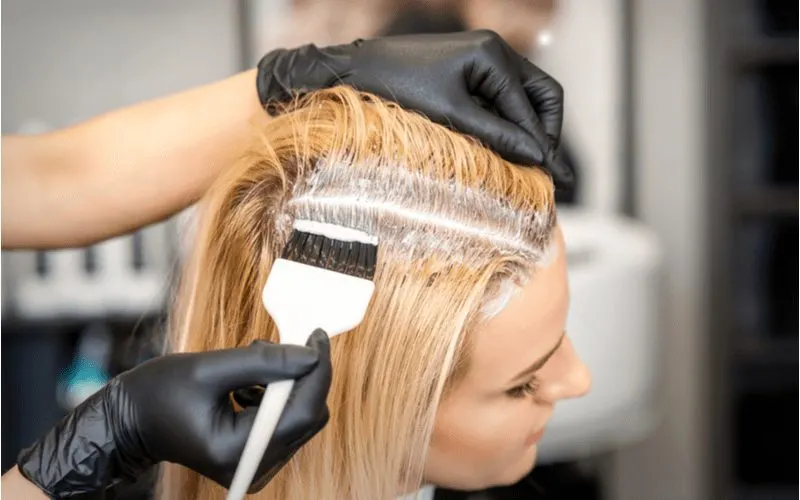
Divide your hair into at least four sections (more if your hair is long or thick). Clip every section out of the way, except the one that you are currently working on. Subdivide your working section into smaller segments that you can easily manage.
Apply bleach to each segment, starting approximately one inch away from the scalp and going to the end of the hair. You may want to protect the root section with foil while you are doing this.
Bleach is activated by heat, and since your roots are close to your scalp, they are warmed by body heat and will lighten much more quickly than the rest of your hair. Repeat for each segment in the section, and then repeat for each section.
Then go back and apply bleach to the roots. Cover your hair with the disposable shower cap and let the bleach work its magic according to the manufacturer’s recommendations, possibly adjusted to account for porosity and other factors.
Step 6: Remove the Bleach
Tetiana Tychynska/Shutterstock
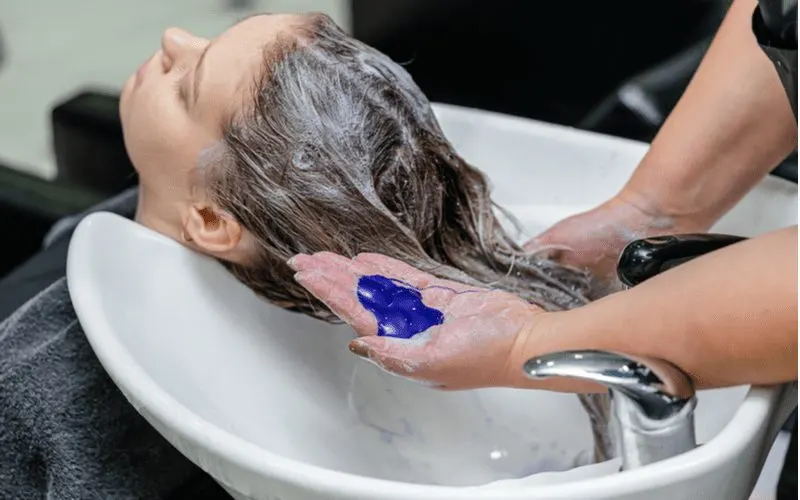
Take off the shower cap and rinse your hair with lukewarm water. Hot water can do further damage to dry or brittle hair, and your hair has been recently traumatized by the chemical reaction from the bleach.
Then wash it thoroughly with a shampoo that is safe for color-treated hair. You may need to wash your hair twice to remove all the bleach. Be gentle and do not scrub, but be thorough and make sure that all the bleach has been removed.
You can use a deep conditioner to repair some of the damage that the bleach caused. No matter how careful and conscientious you are, bleaching your hair is a harsh process, and your hair will likely benefit from conditioning. Rinse thoroughly and gently towel-dry your hair.
Step 7: Care for Your Bleached Hair
Body Stock/Shutterstock
Your newly bleached hair now needs special care to remain fabulous. Both natural and commercial bleach preparations rely on a chemical reaction to lighten your hair, and that chemical reaction can also damage your hair.
Do not wash your bleached hair too often; shampooing, blow-drying, and styling your hair can weaken and damage it. Also, the natural oils in your scalp protect your hair, and they should be preserved as much as is reasonably possible.
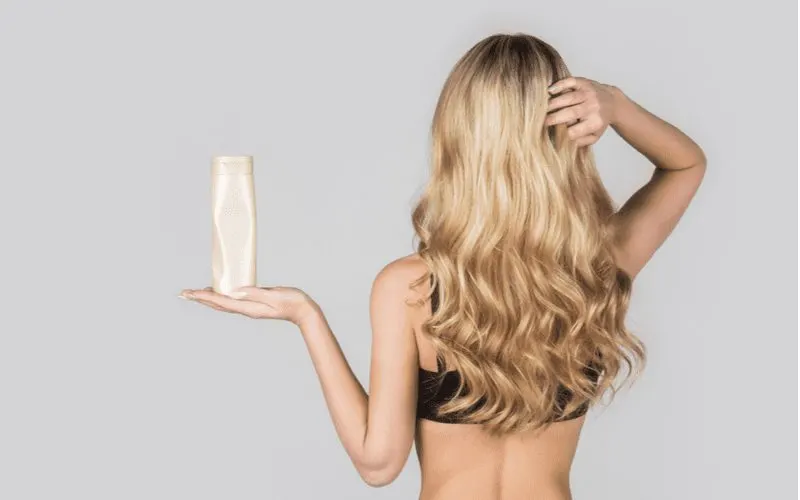
You can use a dry shampoo, and you should try to find one designed for blonde hair or chemically treated hair. When you need to wash your hair, make sure to use one safe for chemically treated hair.
Purple shampoos are also recommended for bleached blonde hair, as they tone down brassiness and help preserve the color. Always use a nourishing conditioner or hair mask after you shampoo your hair.
Bleached hair tends to be dry and brittle, and you will want to try to alleviate that as much as possible. Try to avoid drying or styling your hair with heat. If you do need to blow-dry your hair, use the lowest setting that actually gets the job done.
And if you do use heated appliances to dry or style your hair, make sure to use a leave-in conditioner or other heat protection styling product.
Trim your hair frequently. Bleached hair is dry and tangles easily, and bleaching hair raises the cuticles, all of which can lead to more split ends and even more damage. Trim the dry, damaged ends regularly to prevent further damage.
Things to Consider

Mark Nazh/Shutterstock
Bleaching (hair or anything else) is something that doesn’t lend itself to do-overs since it’s impossible to un-bleach something and start over. To get the best results from this permanent procedure, you need to:
- Determine whether your hair is healthy enough to bleach
- Decide on a formula
- Decide on a color
- Prepare for bleaching
- Apply the bleach
- Remove the bleach
- Care for Your bleached Hair
So, How Do You Bleach Hair?
Bleaching your hair at home may seem daunting, but it’s definitely doable. Take your time and do plenty of research on products, preparation, and procedure. You’ll be able to get the look you want and keep your hair healthy and beautiful.
