
Jump to:
Don’t know how to shade your hair at home? You’re not alone. In this post, we’ll share a step-by-step guide on shading hair and keeping it healthy if you miss an appointment with your colorist. Read on to learn more.
How to Shade Hair in 10 Steps
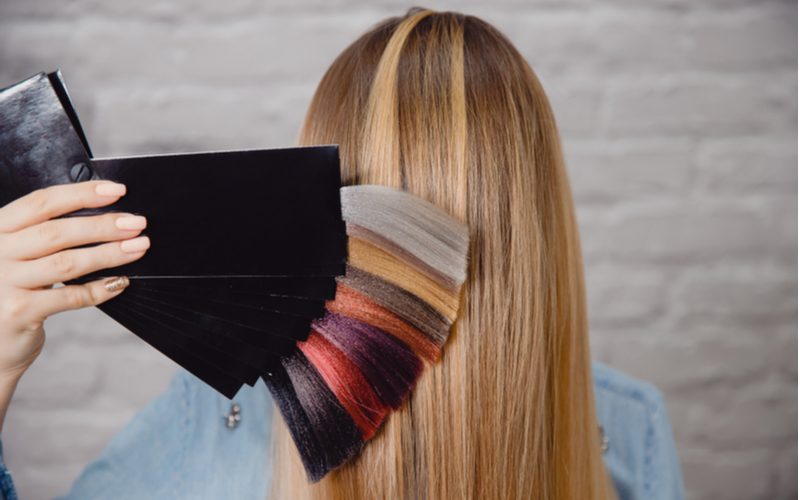
Parilov/Shutterstock
Hair coloring is an art that is growing more and more popular. As a result, hair color manufacturers produce various shades of color that are thrilling to see and generate original and inspiring effects.
Here are the basic steps for shading your hair at home:
- Choose the best shade
- Buy more than one box of your favorite shade
- Perform a strand test
- Set up all your tools on the counter
- Wear your disposable gloves
- Cover the surfaces around you
- Protect your facial skin from the dye
- Shade your hair
- Put on a shower cap
- Wash the dye out
Those are the basics. Now let’s explore exactly what each of these steps entails. But first, you’ll need a few tools:
- Hair color
- A color brush and bowl
- Mirror
- Disposable gloves
- Disposable shower cap
- Makeup removing wipes
- Petroleum jelly, or lip balm
Once you have your tools, you’re ready to start shading.
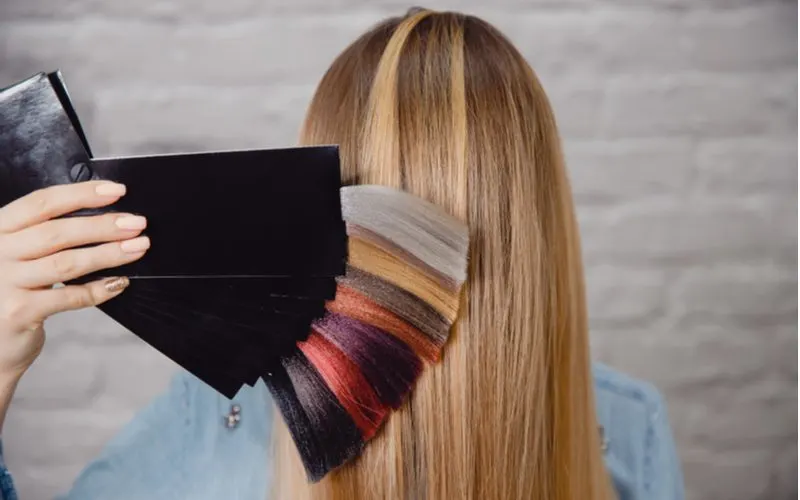
Step 1: Choose the Best Shade
When selecting the best shade for your hair, try to find one as close to your most recent or current shade. Then, you can visit your local store, hold a section of your hair, and compare it with the dye you want to purchase.

The color of the dye is usually on the box. As such, the process of holding a part of your hair to these boxes can help you choose a shade that perfectly matches your hair color.
To avoid any mistakes, go for two shades close to the shade you believe is a perfect match for you. With this, you can rest assured you have the perfect shade that matches your hair ‒ even if it’s not what you selected as your first choice.
Step 2: Buy More Than One Box of Your Favorite Shade
Imagine running out of dye when you’re halfway shading your hair. It’d be embarrassing, frustrating, and even shameful because you couldn’t tell the approximate amount of shade your hair needs.
While the amount of dye you buy primarily depends on the length and thickness of your hair, it’s generally better to buy two boxes of your favorite shade.
You can keep the extra box and use it in the future if one box is enough. However, if your hair is at least shoulder-length, consider buying two or more boxes of dye. There are high chances you’ll need the extra box.
Step 3: Perform a Strand Test
Although this step is quite crucial to the outcome, most people usually bypass it. Performing a strand test is especially important when you are trying out a new shade. To do this, trim a bit of your hair and color it.
Wait for a few minutes and check the results. If you like the results, proceed to dye your hair. You can also dye hidden sections of your hair and see the results. The strand test can help you avoid strange results.
Note: You should always stick to one color of shade unless advised differently by a professional.
Step 4: Set Up All Your Tools on the Counter
Like your hairstylist, set up all the tools you’ll need during the whole process. Then, be sure to read the instructions on the dye box to find out everything you need for flawless hair shading.
Having a well-laid-out plan helps you avoid stopping mid-process. Clear steps also let you know the areas you need to work on and the time the dye should stay on.
Step 5: Wear Your Disposable Gloves
Other than the gloves that come with the dye, you’ll want to purchase spare gloves. You need a pair when dyeing your hair and another one when washing the hair shade out.
An extra pair can also help if the original gloves are soiled and you can no longer use them. Buy one or two extra pairs of disposable gloves to protect your hands and skin from stains.
Step 6: Cover the Surfaces Around You
If you’re not careful, the dye can stain clothes, sheets, and towels. Before dyeing your hair, cover the surfaces around you with layers of newspapers or garbage bags. Wear an old robe or a shirt with buttons to avoid difficulties removing them when you want to rinse your hair.
Step 7: Protect Your Facial Skin From the Dye
Nobody is perfect enough to dye their skin without staining a bit of skin. And because your facial skin is highly sensitive, make sure you put some barriers between your hair and hairline.
That said, you can use a thick line of petroleum jelly, lip balm, or moisturizing cream around your hairline. Also, wipe off any dye spills using a washcloth, pad, or damp cotton swab.
Step 8: Shade Your Hair
Before you start the dyeing process, ensure your hair is dry. Experts believe that hair saturated with water can produce undesired results because the dye will be diluted and not take to your hair strands.
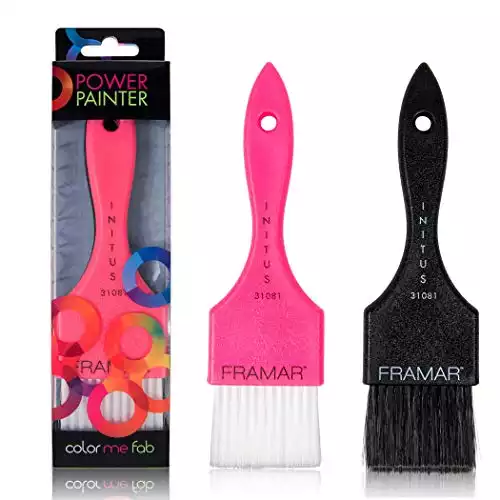
To dye your hair, squeeze the dye from its bottle into a bowl, and mix it. Then, use a brush to paint your hair with the dye. Although squeezing the hair dye onto your head might seem easy, it can also be imprecise and messy.
In addition, you should start applying the shade at the roots of your hair since hair regrowth happens at the roots. It can sometimes be challenging to color the back of your head. However, using a mirror ensures you evenly color all parts of your head.
In addition to your bathroom mirror, we recommend you use a handheld mirror. After shading your hair, wait for the color to develop – the amount of time is usually available in the instructions.
Step 9: Put on a Shower Cap
Use a disposable shower cap to cover your head while the dye dries. The cap prevents the dye from dripping. You can also use cleansing wipes, washcloth, pad, or damp cotton swab to rub your hairline and remove any dye on your skin.
Step 10: Wash the Dye Out
Put on another pair of gloves and wash the dye out. Next, use a shampoo and thoroughly scrub your scalp while running water over it. Let the water run until it is clear. Next, apply the shampoo one last time and then a conditioner for the best color-treated hair.
Things to Consider When Caring for Dyed Hair


LADO/Shutterstock
Other than knowing how to shade hair, you need to learn how to care for it. There’s nothing worse than spending time and money on your hair and then letting it fade in a week or two.
Sun Protection
The sun is a bleaching agent; it breaks down any artificial and even natural color pigment in your hair. You can prevent unwanted fading by keeping your hair out of the sun.
If you can’t keep out of the sun, cover your hair with a scarf or hat. Covering your hair is especially important if you plan to stay outdoors for too long.
Use Sulfate-Free Conditioners and Shampoos
Many personal care products contain an anionic detergent known as sodium laureth sulfate (SLES). The sulfate is responsible for producing a forming effect in conditioners and shampoos.
The sulfates strip your hair of its color by removing its natural moisture and oils. Try as much as you can to use sulfate-free conditioners and shampoos.
Avoid Very Hot Water While Shampooing
Hot water is not good for your hair color. Whenever you wash your hair with hot water, your hair cuticles usually open. The open cuticles allow the hot water to wash off dye from your color-treated hair.
Apply Oil Treatment
If you want your color-treated hair to shine, apply oil treatment at least once a week. Hair gloss treatments or color-depositing shampoos deposit a certain pigment on your hair, making it look shiny. The colors the treatments deposit on your hair ranges from black to blond, red, and brown.
In addition, the treatments ensure your hair looks healthy and shiny ‒ which is something everyone wants. Oil treatments also form a protective layer in your hair, protecting it from damage — especially from the sun.
Check Your Diet
Does what you eat have anything to do with the color of your hair? Well, yes. The foods you eat influence how your hair looks. Nutrients from the foods you eat provide your hair with the energy it needs to grow. Foods rich in protein and iron usually build strong keratin.
This is responsible for strengthening hair, stimulating growth, and improving its texture. Foods for healthy hair include fish, meat, egg whites, soy, and spinach. Grains, vegetables, fruits, and nuts can also strengthen your hair.
Read Next: Keratin Treatments and Why You Need Them
Wash Hair Less Frequently
If you want the color of your hair to last longer, avoid washing it regularly. Less washing also means that you will retain your hair’s natural moisture, oil, and vibrant color. Wash your hair at most two times every week. The less you wash your hair, the longer the dye will last ‒ it’s that simple.
So, How Do You Shade Hair?
Still wondering how to shade your hair and keep it healthy without the help of your colorist? We hope not — that’d mean we didn’t do our job. If you’ve never dyed your hair at home, there’s no reason not to try out the tips mentioned above. Follow these steps and you’ll have a new shade of hair in no time.