
Jump to:
Anyone with dark hair knows the difficulty of attaining fun colors. To achieve quality results, we must first learn how to bleach black hair, which can be tricky.
Luckily for you, we have compiled all the necessary information into one handy guide so you can feel confident when working with your hair. Read on to learn how to lighten black hair safely at home.
Bleaching Black Hair: A Summary

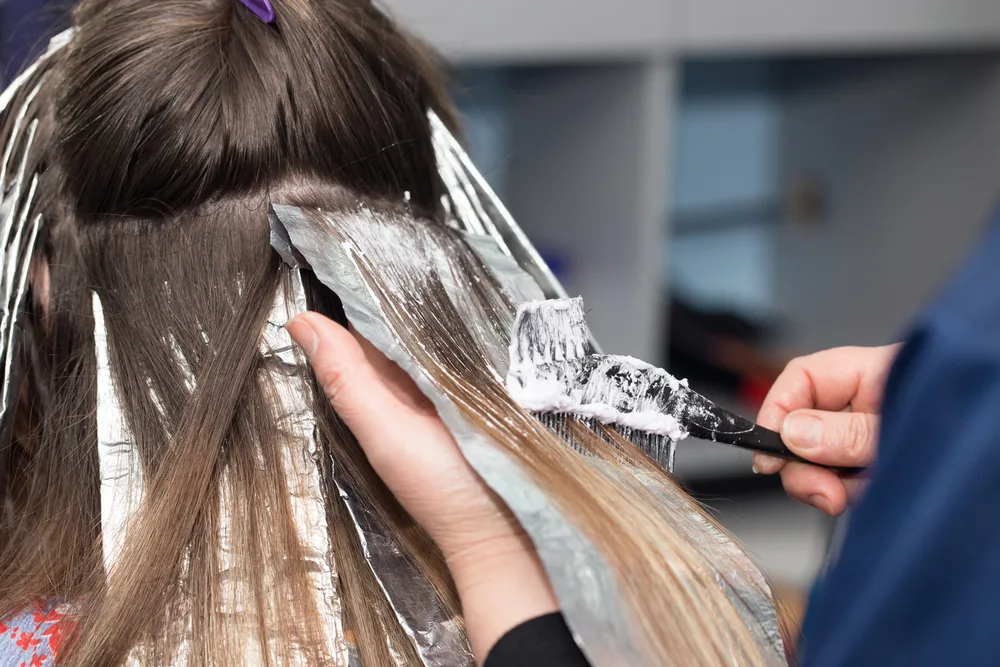
Schankz/Shutterstock
Most people want to experiment with their hair color and try out new looks. For those of us with black hair, this gets difficult. Black hair is harder to lighten, limiting our hair color options.
You may want to head to a salon or pay someone to bleach your hair. However, this is very pricy. You can do it yourself at home with little difficulty if you follow these steps:
- Prepare Your Hair
- Gather Your Supplies
- Get Ready to Bleach
- Mix Your Bleach
- Do a Strand Test
- Bleach Your Hair
- Rinse Your Hair
- Repeat the Process
- Apply Toner
- Condition Your Hair
You must know what you’re doing to avoid a disastrous outcome. We will explain the steps in detail so you are fully informed and can bleach your black hair without damaging it.
You Might Also Like:
- The 10 Stages of Hair Bleaching
- Should I Bleach My Hair?
- Does Bleaching Your Hair Damage It Forever?
How to Bleach Black Hair in 10 Easy Steps
Bleaching your hair is harsh and can cause damage. The process strips your hair of necessary moisture and nutrients. We recommend using care and following these steps precisely to avoid harm.
1. Prepare Your Hair
Before you bleach your hair, you must ensure you prepare for the process. Hair lightener, or bleach, contains harsh chemicals that mix with peroxide to create a mixture that will pull the pigment out of your hair.
The darker your hair, the more difficult this can be. Since black hair requires stronger bleach and lengthier exposure to potentially damaging chemicals, you must assess the health of your hair to protect it.
Bleaching damaged hair will not only damage it further, but it will also not look great. If you have split ends, trim them. If you have breakage or either dry or oily hair, determine the reason and seek treatment.
Ensure your hair is as healthy and damage-free as possible before beginning. We recommend a deep conditioning treatment before you bleach your black hair. This treatment will hydrate your hair and give it the desired moisture.
Since you will likely need multiple sessions to lift your hair to your desired color, you want it to be as healthy as possible. While you want your hair to be clean for the bleaching session, you should minimize potential damage and pain.
For this, shampoo your hair two or three days before bleaching it and avoid any heat during those days. Don’t use blow dryers, curling irons, or straighteners.
2. Gather Your Supplies
Now that you have prepared your hair and made it healthy and ready to bleach, it’s time to gather the supplies. These include:
- A barrier lotion like coconut oil, olive oil, or petroleum jelly
- Gloves: buy extra in case you need them
- Clothing and towels you don’t mind getting lightener on
- Comb or brush: we prefer a wide-toothed comb
- Clips to section your hair
- A tinting brush and bowl
- Processing cap
- A neutralizing shampoo
- Lightener (bleach)
- Toner
- A stopwatch, timer, or smartphone to keep track of time
You may identify other supplies you will need as you plan your bleaching regimen. Have everything on hand before you start to avoid any interruptions and prolonging your bleaching treatment over the specified time.
Read Next: The 5 Best at-Home Bleaching Kits of 2026
3. Get Ready to Bleach
Gather all your materials, throw on that old t-shirt, and get started. Once you have made sure that your space is clean and ready and your clothes are protected, apply your barrier. We frequently use petroleum jelly for this step.
Apply it anywhere on your skin the bleach might touch. These areas are your hairline, ears, the back of your neck, and elsewhere on your face or shoulders. Do not get the barrier substance into your hair.
Section your hair and use the clips to hold the sections out of the way. Sectioning will ensure that you work with smaller amounts of hair at once, making it easier to avoid mistakes. Now, put on some gloves and get ready to mix up your bleach solution.
4. Mix Your Bleach
You will be mixing your powder bleach with a creme developer. Read the directions on the bleach packet thoroughly to know how much of the developer you will use. Follow the instructions perfectly.
You don’t want to cause any damage by improperly mixing chemicals. Developers come in 10 volume, 20 volume, 30 volume, and 40 volume strengths. The 40 volume developer is the strongest. We don’t recommend trying to use it at home.
Since you will bleach black hair, use a 20 or 30-volume developer. The 10-volume developer is not strong enough for dark hair. Use a 20-volume developer to be more cautious.
If you are experienced and wish to use the 30-developer, you might be able to bleach your hair quicker. Choosing a bleach powder can also be tricky. There are many brands and types of hair bleach on the market.
You will probably benefit from a blue powder lightener. Often, powder bleach and developer can be purchased together in a combo pack.
Buying them together is the easiest way to get the products you need. Mix the developer and powder in the bowl until it reaches the correct consistency as indicated on the packaging. Now you are ready for a strand test.
5. Do a Strand Test
Using the tinting brush, apply the bleach mixture to a small patch of hair. Start your timer and wait. Check your hair from time to time. Once you see that your hair has reached the desired shade, stop the timer.
Rinse out that small section and get ready to apply the bleach to the rest of your hair. Be careful not to get the rest of your hair wet.
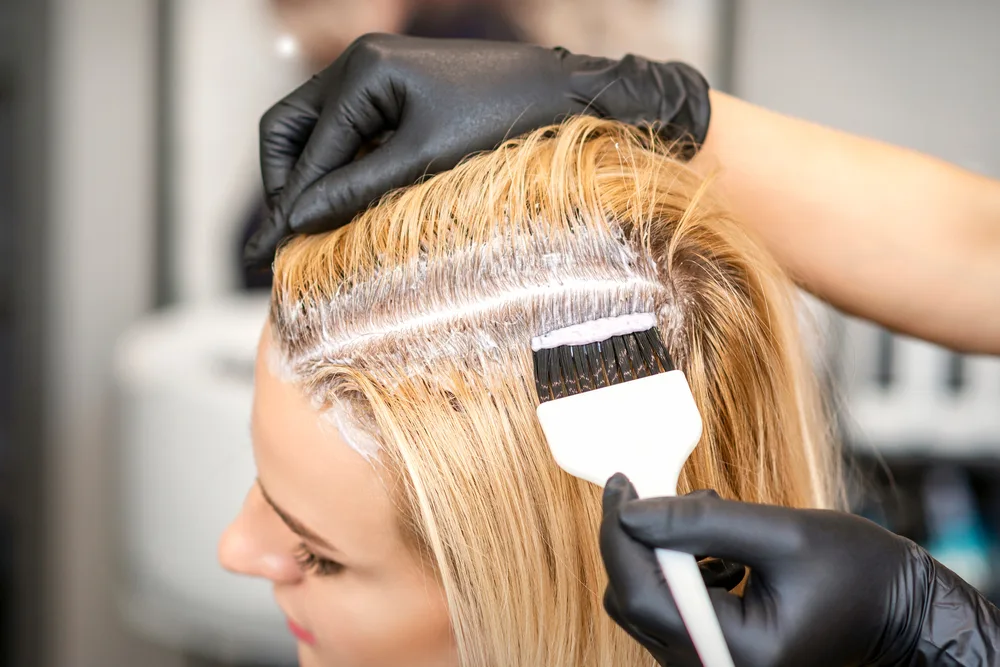
6. Bleach Your Hair
You now know how long it will take for your hair to reach the right level of lightness. Set your timer for that amount of time. One by one, take each section down and apply the bleach.
Start near your scalp, but leave about a half-inch or inch of roots. Work quickly since your timer is running. Once you have thoroughly coated each section of hair, clip it back out of the way.
When all sections are soaked with bleach and clipped, use your tinting brush to apply the lightener to your roots. Check for any spots you may have missed. If desired, put on the developer cap.
Wait for your timer to go off. If you feel burning or pain, immediately skip to the next step. You can always repeat this process after your hair and scalp recover.
Read Next: How Long to Leave Bleach in Hair
7. Rinse Your Hair
Once your timer has gone off, it’s time to rinse the bleach out of your hair. Using lukewarm water, rinse all of the solution out of your hair. As soon as you finish rinsing, use the neutralizing shampoo.
You may need to repeat this step. We recommend using cool water for your final rinse. Cool or cold water will close the pores in your hair.
8. Repeat the Process
If your hair is not as light as you want, it’s okay to bleach it again. However, wait at least one day (the longer, the better) between sessions to give your hair time to recover.
Bleaching your hair again too soon after the first time might welcome more damage. You don’t want to risk permanently damaging your hair. Your hair could even fall out if you bleach it too often.
Read Next: How Often Can You Bleach Your Hair?
9. Apply Toner
Once your hair has reached the lightness you desire, it’s time for the toner. Only use a toner if needed to cancel out unwanted red, yellow or orange shades. Follow the directions on the packaging to mix the toner with the developer and apply it to your hair.
There are different color toners to cancel out different shades. Another option is purple shampoo. You will not need a developer for this product. You can use this once weekly to remove any brassiness from your now-blond hair.
If you plan on staying blond, a toner will probably be necessary. Sometimes you can skip this step if you are going to dye your hair, but we still recommend toning.
10. Condition Your Hair
As mentioned earlier, bleaching is damaging, and you must hydrate your hair to protect it. You can use a deep conditioner, protein treatment, hair mask, or another product. Avoid brushing your hair too much or using heat styling tools for at least the first week.
It’s essential to protect your hair from further damage and to do everything in your power to replenish the nutrients you removed while bleaching it. Healthy hair should always be your priority.
Frequently Asked Questions

Michelle Aleksa/Shutterstock
Can you bleach black dyed hair?
Yes. However, we recommend that you use a clarifying shampoo or hair dye remover before attempting to bleach previously dyed hair.
How often should I bleach my black roots?
Reapply bleach to your root area every 4-6 weeks, depending on how quickly it grows. Be consistent so that your hair doesn’t grow out too much in the meantime.
Should I bleach my roots last?
Yes. Because the roots are the newest and healthiest parts of your hair, they will lift much faster than the rest of your head. Bleach the mid-section and ends of your hair first to avoid color inconsistencies.
How long should bleach sit in hair?
You shouldn’t leave the bleach on your hair for more than 30 minutes. If your hair has still not lifted enough after that time, rinse the bleach out and repeat the process after a day or two.
What toner should I use?
Use the color wheel to select the best toner to use on your hair. The color on the opposite side of the color wheel from the color you are trying to eliminate is what you want. For example, green toner will get rid of red tones, purple toner will get rid of yellow tones, and blue toner will get rid of orange tones.
So, How Do You Bleach Black Hair?
As you have seen here, the most crucial part of bleaching your black hair is protecting it and keeping it healthy. Focus on your hair’s health before, during, and after the process.
Remember that you can lift your hair over several sessions to minimize damage. When taking things slowly, you’ll be able to have beautiful hair even if you decide to go as light as possible.
Follow our steps carefully and thoroughly, paying attention to the directions on any product you use. You should be able to comfortably and safely bleach your black hair at home.