
Jump to:
Salon-quality hair care can be time-consuming and expensive, but with a little bit of time and a few supplies, you can apply a hair glaze at home without shelling out the extra bucks for a session with a professional stylist every few months.
This guide will walk you through everything you need to know to do a professional-quality hair glaze at home. Ready to jump in? So are we!
Glazing Hair at Home: A Summary

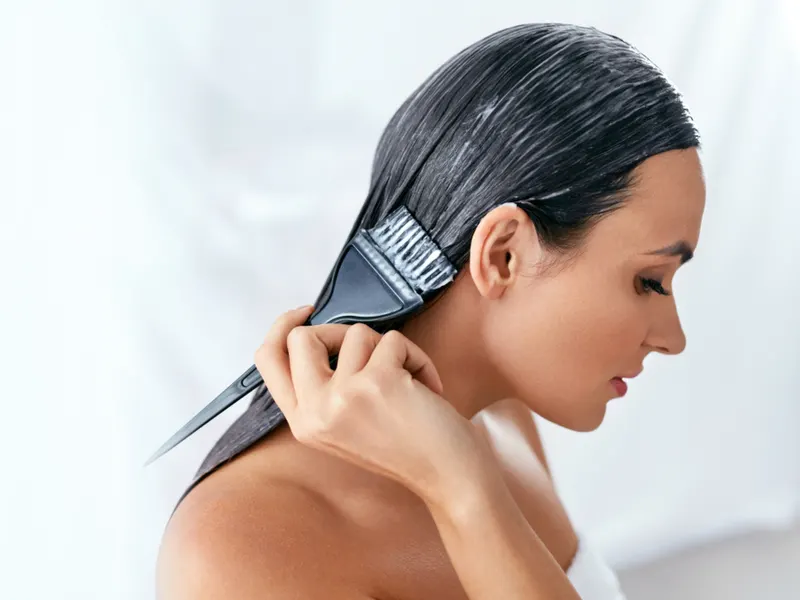
puhhha/Shutterstock
Sure, you could go to the salon for a hair glaze treatment, but it’ll cost you $30 or more even at a budget-friendly beauty school. Once you know what you’re doing, the process is pretty simple, and it won’t take you more than thirty minutes at most.
- Prepare Your Hair
- Prepare The Glaze
- Apply The Glaze
- Wait For It
- Rinse It Off
Hair glaze can be a great way to add a smooth, light application of color to your hair without the intensity of using a full dye. Unlike traditional hair dye or hair gloss, hair glaze uses no ammonia or peroxide, so it’s less damaging to your hair.
It’s more like an intense deep conditioning treatment that adds just a touch of color, smoothing flyaways and frizz at the same time.
Read Next: What Is Hair Glaze?
How to Apply Hair Glaze at Home in 5 Easy Steps
Before you get started, you’ll need a few supplies. You can find a lot of these at your local big-box stores, such as Wal-Mart or Target, but for best results, go to a beauty supply store that’s open to the public, like Sally Beauty Supply.
If you’ve colored or processed your hair at home before, you probably already have some of these items. Here’s what you’ll need:
- A hair glazing product of your choice
- A clarifying shampoo
- Conditioner
- An old towel that you won’t mind staining
- Something to tie up your hair with, like a clip or an elastic band
- A glass or plastic mixing bowl (if needed – follow the directions on your glazing product)
- Gloves, either plastic or rubber
- A wide-tooth comb
- A shower cap (optional)
- Petroleum jelly (such as Vaseline)
1. Prepare Your Hair
Styling products and your hair’s natural oils interfere with dye’s ability to penetrate the hair, so you’ll want to make sure your hair is very clean before you begin.
Start by washing your hair with a clarifying shampoo, one that includes a “sulfate” somewhere in the ingredients, which strips the hair of anything that may be gunking it up. After washing, restore some moisture with a healthy handful of conditioner.
You can use your usual conditioner if you like, but be aware that any silicone ingredients will coat your hair, making it harder for the dye to penetrate it, resulting in weak or uneven color. You can get a silicone-free conditioner like Alberto VO5 Clarifying Conditioner for about a dollar a bottle.
Whatever conditioner you use, make sure to rinse your hair thoroughly so there’s no residue left behind, then towel dry and detangle with a wide-tooth comb.
You’ll want to avoid any frustrating snags and tangles when you’re trying to work the glaze through your hair, so make sure to comb it thoroughly in advance, making sure it’s completely free of knots before you start.
2. Prepare the Glaze
Follow the directions on your glaze product carefully. Some, like Clairol Jazzing, can be applied straight from the bottle, while others require some degree of mixing. If your product requires mixing, use a non-metallic (glass or plastic) bowl and mixing utensil.
Metal bowl can cause the dye to oxidize in the bowl instead of on your hair and may release harmful chemicals. Be sure to mix your product immediately before application so that the coloring reaction happens in your hair, not in the bowl.
Wait until the last minute before you’re ready to apply the glaze to mix it if mixing is required. If you have a one-step product that doesn’t require mixing, simply shake it and move on to Step 3.
3. Apply the Glaze
Work in a bathroom, kitchen, or outside to avoid staining carpet. You may also want to lay down a drop cloth or old sheet for an extra layer of prevention. It’s easier to prevent spills than to clean them up later.
Wear an old t-shirt that you’re not worried about staining, just in case things get a little messy. Drape the towel around your shoulders to protect against dye drips. Apply a thin layer of petroleum jelly around your hairline to act as a dye barrier, so you don’t stain your skin.
Just be careful not to get any on your hair. Finally, put on your gloves to avoid staining your hands. Following the directions of your glaze product, begin working the glaze through your hair.
One-step glaze products like John Frieda Luminous Glaze can be poured into your hand and gently worked through the hair from root to tip. Some products, like Clairol Jazzing, include a handy applicator tip that makes it easy to get the glaze mix right where you want it.
If your glaze product requires mixing, you can use a brush or comb to spread the glaze evenly through your hair, or simply use your hands to run it through your hair like you would with shampoo.
Just be sure to work it gently into your hair, running your fingers through it to keep it from tangling while you work. Tangles may cause the product to act unevenly. Make sure your hair is completely coated without leaving behind any remaining dry patches where the glaze hasn’t reached.
Areas you’ve already gone over will feel tacky to the touch. If you find any spots the glaze hasn’t covered, take the time to go over them again. When you’ve completely saturated your hair, it should feel thick and heavy, like it’s full of conditioner.
Don’t be afraid to add more glaze to your hair to ensure complete coverage. You want your hair to be fully saturated with the product so that it colors and conditions evenly. This whole part of the process should take anywhere from five to fifteen minutes, or more for very long, thick hair.
4. Wait for It
If your hair is long, tie or clip it up to avoid staining or dripping. If your hair is too short to tie up, you can leave it alone or tuck it into a shower cap to keep your hair from laying on your skin.
Just remember to wash it out when you finish glazing your hair to clean out any old, lingering dye, especially if you plan to use it later on clean hair. Then let the glaze settle in, following your glaze product’s directions carefully.
In some cases, you’ll leave the glaze in your hair for as little as three minutes, though some glazes can be left in for hours.
Generally speaking, the longer you leave the product in your hair, the more intense the color result and conditioning will be. Some glaze products recommend using heat to enhance the results. You can use a hairdryer or a special dryer bonnet to direct heat at your hair for bolder color and deeper conditioning.
However, because hair glaze has such a subtle color result, applying heat won’t make a significant impact on the intensity of your color. Feel free to skip this step if you’re short on time.
5. Rinse It Off
Wash the glaze out of your hair with clean water for at least five minutes. You can use a sink to rinse it lightly, especially if you have shorter hair, or wash it thoroughly in the shower.
Once you feel that the hair glaze has been fully removed, apply your favorite conditioner (with or without silicones) and style as usual with your preferred hair products.
The result should be a light, pleasant tint of color to your hair that lasts about a week, with no outside assistance or touch-ups from a stylist needed, and is easy to redo at home whenever you want a change or to counteract fading and brighten up the color again.
Hair glaze products are often gentle enough for daily use, and you should reapply once a week for best results. Enjoy!
Frequently Asked Questions

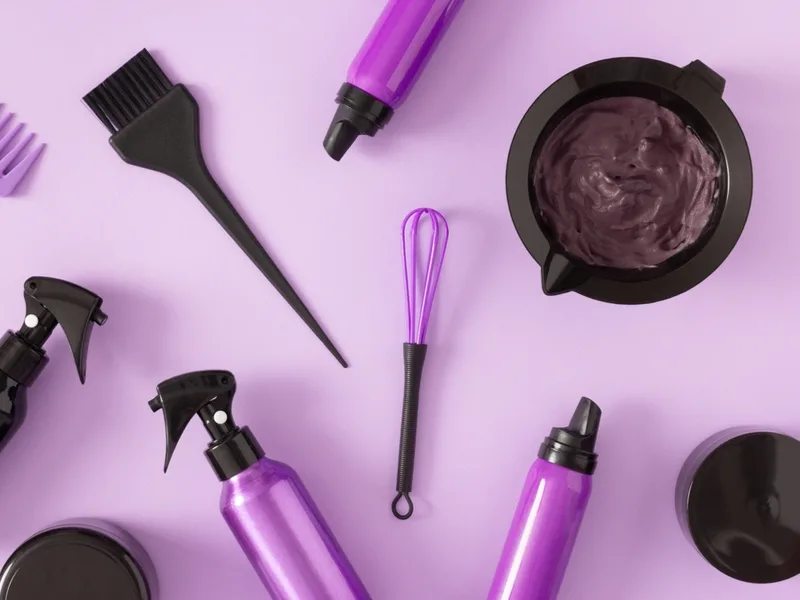
Jayannpo/Shutterstock
Here are some questions that we’re frequently asked about using a hair glaze at home:
What’s the difference between a hair glaze and a hair gloss?
A hair gloss is a more concentrated dye mixture than a hair glaze and can potentially just be used as another name for an outright undiluted hair dye. By comparison, a hair glaze results in minimal staining to any of the actual underlying keratin, making it both less intense in the resulting color and far less long-lasting.
How long does hair glaze last?
The color from using a hair glaze can last anywhere from one week up to an entire month, depending on the strength of the dye and how well it soaks through into the keratin structure of your hair. As a rule of thumb, the longer you leave the mixture in your hair before washing it out, the more thoroughly the dye will permeate your hair.
Will applying hair glaze cause damage to my hair?
Hair glaze is much lighter and less potent than hair gloss or undiluted dye and won’t deeply penetrate the keratin fibers of your hair enough to do any harm to it. On a long-term basis, it’s actually much safer for your hair than a regular dye because it won’t fully penetrate the cuticles.
Why do I need to do a clear glaze even if I’m not adding any new colors to my hair?
It keeps your current color fresh and vibrant for longer than it otherwise would be. In addition, a clear glaze mixed without any colored dyes can form a coat over the strands of your hair.
What are some of the best hair products for a hair glaze?
It’s perfectly fine to just use one you’re used to for making your glaze. However, some generally pretty reliable options include Oribe Glaze For Beautiful Color, Living Proof Color Care Whipped Glaze, and most Redken brand hair dyes.
Should You Use an At-Home Hair Glaze?
You can get salon-quality results by mixing and applying hair glaze at home with ease and confidence, now that you know how to do it right. You don’t have to pay high salon prices to get a perfectly good tint to your hair color or even leave the comfort of your own home.
Just mix, prepare, apply, wait, and rinse — then you’re done!
And unlike hair glosses and other dye products, because hair glaze uses no peroxide or ammonia, it leaves your hair healthier than before. Keep your hair looking healthy and vibrant for longer by glazing your own hair at home.