
Jump to:
If you’re wondering how to French braid your own hair, you’re in luck. We get asked how to do this on a regular basis, so we made a guide to walk you through the process. Read on to learn all you need to know.
How to French Braid Your Own Hair in Six Steps
French braids are practical and appropriate in just about any environment, from the gym to the boardroom. To create your own fabulous French braid, you’ll need to:
- Start with clean, dry hair and any appropriate styling products
- Section off a small piece at the top of your head
- Start braiding your hair
- Continue braiding while incorporating the rest of your hair
- Finish your braid and apply hair spray as desired
Below, we’ll cover each of these steps in greater detail and show you a few things to keep in mind before starting. Ready to jump in? So are we.
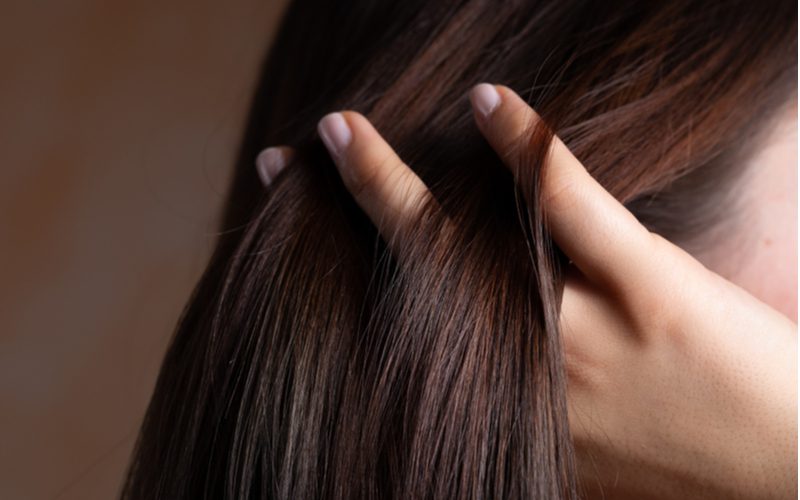
1. Start With Clean, Dry Hair


Rido/Shutterstock
As with most hairstyles, you’ll want to start with clean, dry hair. Wash and condition your hair as you normally do. Shampoo ingredients to avoid include:
- Phthalates: These are used as binding agents in cosmetics. They are linked to hormonal imbalances in both men and women and damage to the liver, kidneys, thyroid, and immune system.
- Formaldehyde: Formaldehyde is used as a preservative. However, it’s known to cause dermatitis and to worsen eczema. Worse, formaldehyde is classified as a carcinogen. You don’t want that anywhere near your body!
- Sulfates: Many manufacturers include sulfates in shampoos because they create a thick lather, and people like that. However, sulfates can damage both skin and hair, so they should be avoided.
- Parabens: Parabens are a preservative. They can cause allergic dermatitis and other skin issues. They are also estrogenic and have been linked to breast cancer.
- Hexachlorophene: This chemical compound is sometimes added to cosmetics because of its antibacterial properties. It can irritate the skin and eyes, and it can cause gastric distress if swallowed.
Dry your hair thoroughly. You can use a microfiber towel or a blow dryer on the coolest setting. You’ll want to make sure that your hair is completely dry before you start braiding because wet hair is heavier and harder to braid. Your braids will also last longer and frizz less if you start with dry hair.
If you have thin or fine hair, you may want to apply a small amount of your favorite texturizing product or even a very light spritz of dry shampoo. This helps reduce flyaways when you’re braiding it. If your hair is thick, coarse, or curly, you can use a little leave-in conditioner to make it manageable.
Comb your hair with a fine-tooth comb to remove all tangles. It should be as sleek and smooth as possible when you start braiding. This will make your braid neater and more even.
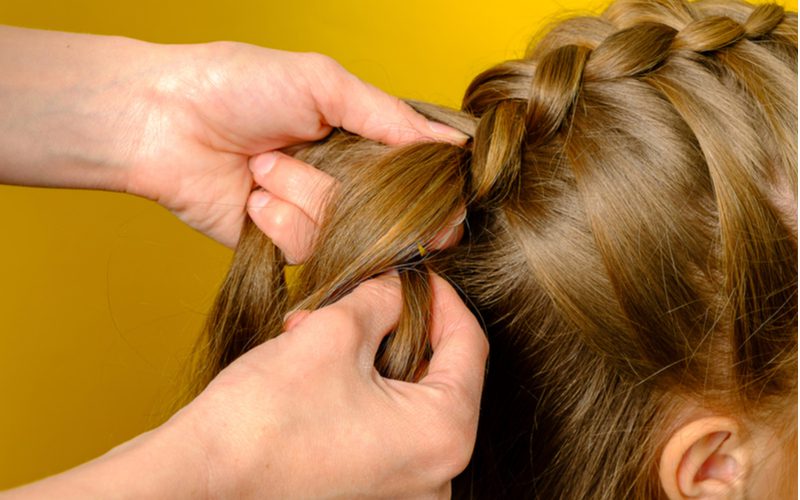
2. Section Your Hair

Sruilk/Shutterstock
You’ll need about 2 inches of length at a minimum for this to work. If you wish to make two braids, part your hair cleanly in the center (from forehead to nape). Pull one side of your hair into a loose ponytail or alligator clip. Braid the other side as directed, then release the clipped hair and repeat on that side.
Start at the top of your head and in the center of your hair. Section off a small, horizontal segment as cleanly as possible. Use your fingers to divide that segment into three equal pieces vertically (again, as cleanly as possible).
Make sure to keep all three pieces separate with your fingers as you get ready to braid. If you find that they are already messy and tangled, start over and consider using a texturizing spray to get a little more control.
3. Start Braiding
You’re probably familiar with standard braids, but here’s a refresher if needed. Start by crossing one of the outer pieces of hair over the middle piece. Then cross the other outer piece over the middle piece.
Pause to make sure that you still have three distinct sections of hair and that they haven’t become tangled or otherwise messy. Keeping the sections separate is the key to a fabulous French braid, so take your time and be careful.
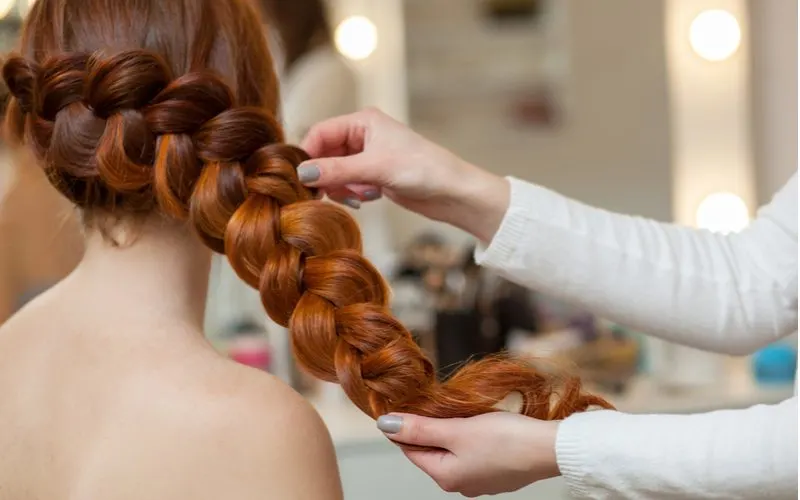
4. Braid in the Rest of Your Hair

Eveniy Agarkov/Shutterstock
This part makes a braid a “French” braid and not just a standard braid. Every time you cross an outer piece of hair over the middle piece, you’ll incorporate a little extra hair. Your braid will get thicker as you move down your head, and by the time you’re done, all hair will be in the braid.
Keep holding all three pieces of hair. Now, take the outer piece (from the side that you crossed over first, not the most recent side) and add a small section of hair from the front of your head on that side. Smooth it out as well as you can to avoid bumps and ridges.
Cross that outer piece, including both the original hair and the new addition, over the middle piece, just as you did before. Repeat the process with the outer piece on the other side. You’ll now add a small section of hair from the front of your head on the other side and cross that outer piece over the middle.
Now go back to the first side, add another section of hair from the front of your head to the working piece, and cross it over the middle again. Repeat again on the other side. Continue braiding this way until all of your hair is in the braid. Then continue braiding the standard way until all of your hair is braided.
You can make the braid as tight or as loose as you want. However, remember that tight braids are harder on the hair, leading to stress and breakage. Conversely, loose braids don’t last as long, and can look messy (although sometimes “messy” is a style).
5. Finish Your Braid

dimid_86/Shutterstock
When you’ve reached the end of your braid, secure the ends with a covered elastic hair tie. You can use one that matches your hair color for a discreet, elegant look, or you can pick something bright and fun. If you’re careful, your braid can last a day or two, so you can even switch it up for a different feel.
Use your hands to smooth down the side of your head to minimize bumps or ridges. If your hair feels frizzy or there are still stragglers, you can apply some product to keep it neat. Spritz your braid with hairspray or your favorite styling spray.
6. Consider Variations

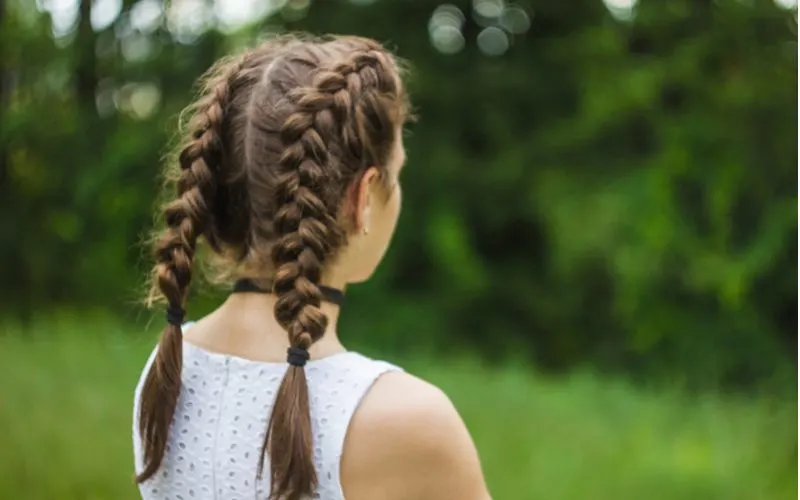
zheka0210/Shutterstock
When you’re comfortable with the basic French braid that we described, you may want to branch out with some variations on the classic French braid.
- Dutch braid (also known as inverted French braid): Instead of crossing the outer pieces over the middle, you cross them under. This raises your braid and makes it more prominent. It can look very striking if you want to experiment with temporary color or glitter.
- Fishtail braid (also known as Grecian braid): Divide the hair into two pieces instead of three. There is no middle piece here. Just cross the pieces over each other while incorporating sections of hair from the front.
- Four-strand braid: Divide your hair into four sections instead of three. Bring the outer section over the second section and under the third. Then bring the other outer section over the third section and under the second. Repeat while incorporating sections of hair from the front of the head.
- Cornrows: Cornrows are a traditional African style, but they hit the mainstream in the 1980s. Cornrows are tiny, tight French or Dutch braids arranged in rows or patterns over the entire head.
French Braiding Things to Consider
French braids actually sound much more complicated than they are! Once you get started, it will make a lot more sense actually doing it than reading about it.
- If your hair is thin, you may want to use a texturizing product. If it’s thick, curly, or frizzy, you can use a moisturizing product.
- Try making one French braid in the middle of your head or one braid on each side.
- Pick fun, patterned elastics or scrunchies to finish off your French braid.
- Once you have mastered the basic French braid, you can try new and different braids.
- When you take your hair out of the French braid, it will be delightfully wavy.
So, How Do You French Braid Your Own Hair?
To French braid your own hair, you start by sectioning off a small section at the top of your head. Start braiding your hair, and gradually incorporate sections of hair from each side until all of your hair is securely in the French braid.