Jump to:
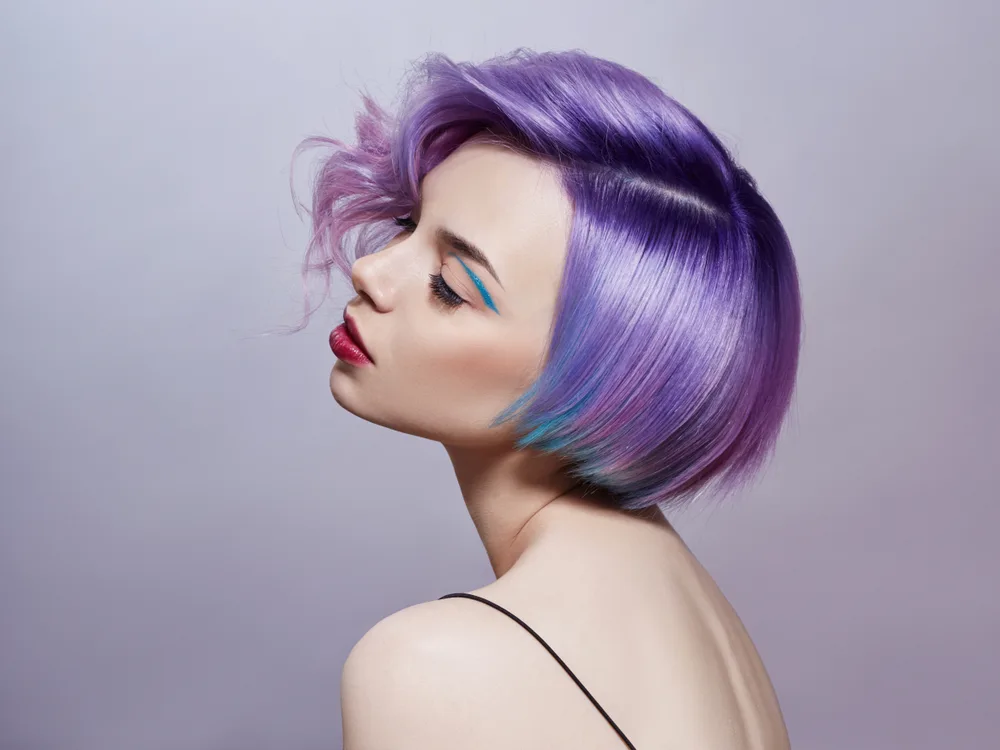
If you have dark hair, you know that dying it a different color can be a challenge. Purple can be tough to work with since the tones in this color often already match some of the darkest hair colors.
If this sounds like you, don’t give up just yet, because there are some steps you can take to achieve this enviable look. And you can bet that we’ll show you each one in detail below.
Dying Dark Hair: A Summary

IvaFoto/Shutterstock
If you’re researching how to dye dark hair, you’re likely trying to achieve a lighter and more vibrant look than your current color. Before you start, here’s a quick overview of the steps you’ll have to take:
- Don’t Wash
- Pick a Color
- Brush and Section
- Bleach
- Apply Color
- Rinse
- Aftercare
It might seem like a long list of chores at first glance, but with some planning and preparation, dying your hair is manageable.
How to Dye Dark Hair Purple in 7 Easy Steps
If you follow these instructions, you’ll love your lavender locks in no time.
1. Don’t Wash
Semi-permanent hair dye and bleach are made from chemicals that work by penetrating deep into the cuticle of your hair and changing it from within. This process strips moisture and leaves your hair vulnerable to breakage.
It is essential to take care of your hair well before attempting to dye it to prevent damage. If your hair is dry and brittle, make a long-term plan to get it healthy. Use conditioner often for a few weeks before coloring your hair.
Using high-quality, nourishing hair masks twice a week can help rejuvenate your strands and make them strong enough to withstand the harsh dying process.
It’s also important to avoid excessive heat and exposure during his time frame. You might want to avoid your curling iron and opt for lukewarm showers. Don’t forget to protect your hair from the sun because UV rays damage your hair as well as your skin.
After your hair feels healthy and happy, it’s time to prepare for the big event. It’s important to avoid washing your hair for 24 to 48 hours.
Your scalp is a fantastic section of skin that produces the ideal oils your hair needs to keep it safe from dehydration. Brush the oil through your hair in the days preceding your dye job to coat the strands with this natural moisturizer.
2. Pick a Color
For some people, this step is the fun part, but it makes some want to rip their hair out of their head and end the debate. It can be helpful to add some time between the bleaching and coloring processes.
You don’t want to rush into a commitment in a fit of decision fatigue. While you’re letting your hair heal and bulk up for a few weeks, relax and find the perfect color for you. Choosing a color that will look excellent on your robustly pigmented locks is important.
That’s not the only consideration, however. Matching your skin tone will likely play a bigger role in how well your dye job looks than correcting your current hue.
Read Next: What Color Should I Dye My Hair? Quiz
3. Brush and Section
After your hair is ready and you’ve decided which color you want, it’s time to dye it. It goes without saying that you should have your supplies on hand before you start mixing because after those colors come out of the bottle, they’re hard to contain.
You don’t want to go wandering around after you get started. Here are some supplies you will definitely need:
- Towels
- Old T-shirt
- Gloves
- Hair Brush
- Tinting Brush
- Bleach Kit (Optional)
- Coloring Kit
- Conditioner
More often than not, this process is easier with a partner. Grab a buddy who is willing to help you. Set up your station in an area such as the bathroom or kitchen.
Use towels and clothing that are easy to clean or that you don’t care about turning purple. Next, you should brush and section your hair. To section it, divide it into at least four quadrants – two on top and two at the back of your head.
You might need more sections depending on how thick your hair is. For best results, section it with a comb and secure it using clips. And, importantly, remember that you don’t want to get it on your skin.
Read Next: How to Remove Permanent Hair Dye From Skin
4. Bleach
If you’ve purchased a bleach kit, follow the instructions exactly. Using a bleach kit can help you save time and energy researching all of the supplies you will need at home. The most crucial elements are the developer and bleach powder.
These ingredients are what make up the bleach that you will apply. After the bleach is ready, separate your sections further into small chunks and apply the bleach carefully to the strands.
You don’t need to do the roots just yet, so start about two inches away from the scalp. Ensure that you cover the strands completely to avoid getting patchy color when you complete the process. After the strands are done, you can add bleach to the roots.
It’s important to wait on this if you’ve never colored your hair because the heat from your scalp starts to process the bleach faster than the dye on the roots.
Waiting prevents your roots from becoming lighter than the rest of your hair, which won’t appear natural. If this is not your first time bleaching or dying your hair, the circumstances change slightly; some people might need to color everything simultaneously.
Talk to a stylist if you’ve worked with dye on more than a few occasions. After the bleach has coated your hair for the appropriate amount of time, rinse it with cold water.
At this point, you can decide if you want to tone your hair to take away any brassiness you don’t want showing up in your color. In some cases, people with dark hair can skip the bleach.
5. Apply Color
Deciding whether or not to add color to your hair immediately after bleaching depends on whether or not it’s strong enough to withstand the process. If your hair feels brittle or weak, it’s best to wait a few weeks and let your strands recover a bit before adding the color to it.
If you feel unsure, ask your stylist. You might want to test your new color on a patch of hair first that you can easily hide.
This might be your saving grace if you don’t like the color as much as you thought you would. After you’re sure you have the right color, it’s safe to proceed. Again, you will section your hair with a comb.
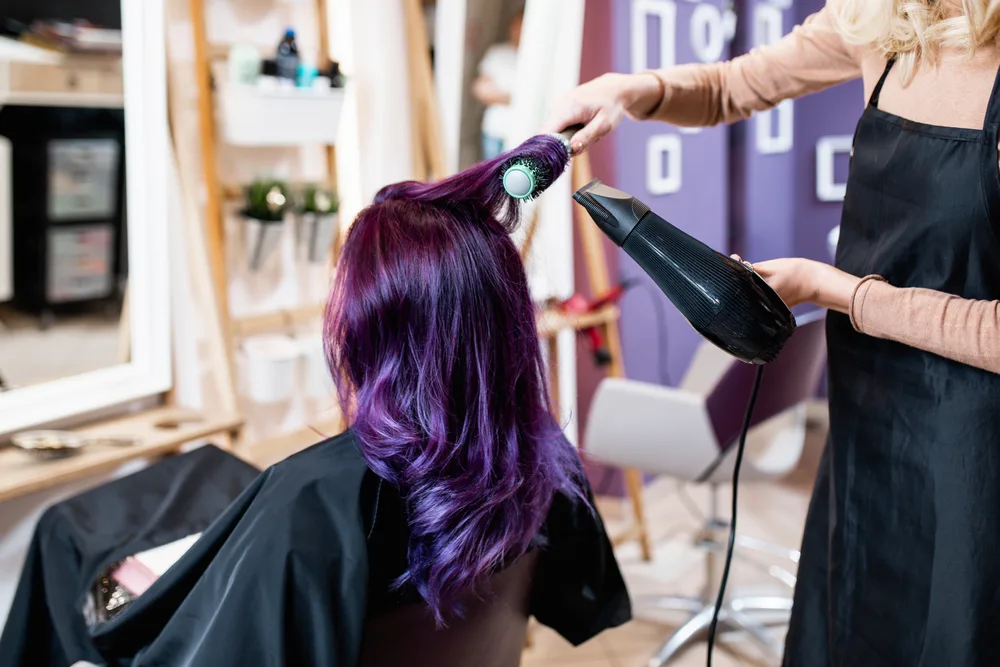
Read the instructions on the coloring kit and apply the color to the strands first, then move on to the roots. Leave the dye in for the correct amount of time for your desired hue.
It’s important not to leave it in for more than 45 minutes because this can cause significant damage to your hair. Choosing a high-quality dye and rinsing the dye properly will help you obtain the vibrance you are looking for.
6. Rinse
After it’s time to rinse, it’s important to follow the instructions on your kit. Rinse your hair in cold water until the water runs clear. At this point, it’s also wise to wipe away any excess dye on your face, neck, or hands to prevent staining.
Follow this step immediately with shampoo and conditioner if the box for your color kit recommends doing so. You might find sample sizes of shampoo and conditioner in the kit for this purpose.
Remember to work the color through your hair thoroughly at this point to get full coverage. If your kit does not recommend a wash immediately, you can go ahead and rinse your hair. Then, wait at least 72 hours after the first rinse before washing your hair.
You should practice running your dyed hair under cold water every time you rinse or wash it, at the end of the process. Doing so will help control breakage and prevent frizz, which might occur since your hair is vulnerable after coloring.
7. Aftercare
Caring for color-treated hair with the correct products and technique is essential for long-lasting color. Use color-safe shampoos designed for your color and hair type. It’s also crucial that you use conditioner often.
Double-check that bottles are labeled “sulfate free” before purchasing. Keeping your hair healthy and hydrated is one of the best ways to maintain the vibrance of your color.
It’s also best to keep your hair away from excessive heat, and this includes styling tools. Of course, this isn’t a perfect world in which we all have time to let our hair air dry.
If this is the case for you, try to get into the habit of setting your hairdryer to cool. Don’t forget to take advantage of styling options like heatless curlers or creating beachy waves with your hands and some hairspray.
Frequently Asked Questions

Hedgehod94/Shutterstock
If you’ve still got questions about how to achieve those purple tresses, you’re not alone. Sometimes it’s not as simple as a dye job. Here are some frequently asked questions.
Can you color dark hair without bleach?
Yes, you can color dark hair without bleach. This technique can help you achieve a more natural effect and protect your hair from unnecessary damage. Adding subtle, fun colors to your hair is a great way to freshen up your hair and face.
What shade of purple should I dye my hair?
If you need some help picking out which shade of purple you should go with, ask an expert to help you find your skin tone. Matching your hair color with your skin is the best way to pull off a flawless look when going with an offbeat color.
What color looks good with dark hair?
You might discover that purple is not the ideal choice for your dark locks. That’s perfectly alright, and if you find yourself in this predicament, you can choose another color that goes well with dark hair. Some popular picks include dark red, blue, and emerald green.
Does purple hair dye fade?
All hair dye fades over time, even those that claim they are permanent. Our hair is constantly exposed to different elements and continues to grow and change after we dye it. Purple colors in hair are notorious for fading quickly, so keep that in mind when selecting a high-quality product.
Why is dark hair so hard to dye?
Colors naturally show up better on a lighter, contrasting canvas, so dying dark hair is more of a challenge. If you don’t want to lift your original color, make sure to pick a hair dye that’s reputable for transforming dark pigments.
So, How Do You Dye Dark Hair Purple?
Don’t let the common headaches of dying dark hair get in the way of your gorgeous new hairdo. Purple has become one of the most desired colors for people with different face shapes and hair colors, so rest assured there are answers out there.
Some patience and a little know-how are the only things standing between you and that Instagram-worthy style you’ve been looking for.
