
Jump to:
Dyeing your hair at home is a convenient and affordable alternative to going to a hair salon. However, if it’s your first time going solo, coloring your hair can be a bit intimidating.
If you don’t know what you’re doing, you could end up frying your hair or turning it the wrong color. For your peace of mind, we’ve compiled a step-by-step guide to dye your hair at home by yourself.
DIY Hair Coloring Preparation

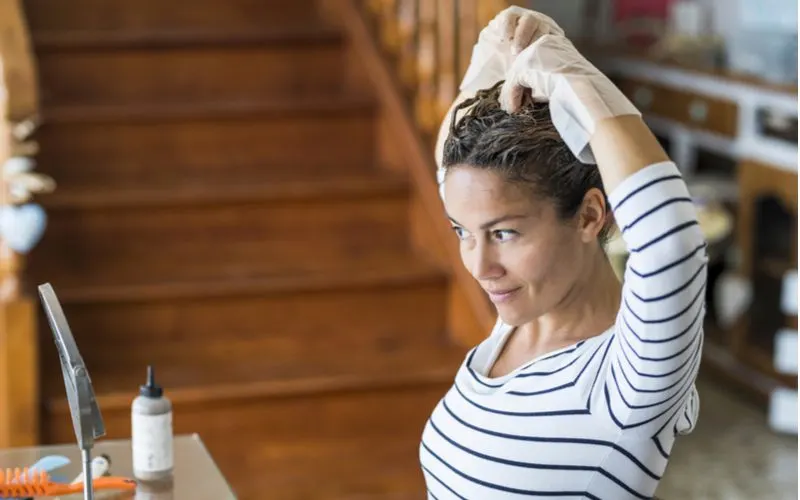
simona pilolla 2/Shutterstock
Most people shy away from DIY hair coloring for fear of it not turning out quite like they expected. Some concoctions can even fry your hair or give your skin and scalp a bad reaction. Being cautious in your hair dye selections can help you stay safe.
Choose a high-quality hair color to apply and follow the instructions carefully. Before you begin, make sure you have access to these tools:
- A high-quality hair color (tested and proven safe and effective in improving your hair color)
- Wipes for removing make-up
- A shower cap (disposable)
- Two mirrors (a handheld and a bathroom mirror)
- Two pairs of disposable (latex-free) gloves
- A Vaseline cream or clear-solid lip balm
- A plastic bowl
- A color brush
Next, you can begin your hair dyeing procedure.
How to Dye Your Hair at Home by Yourself in 7 Steps
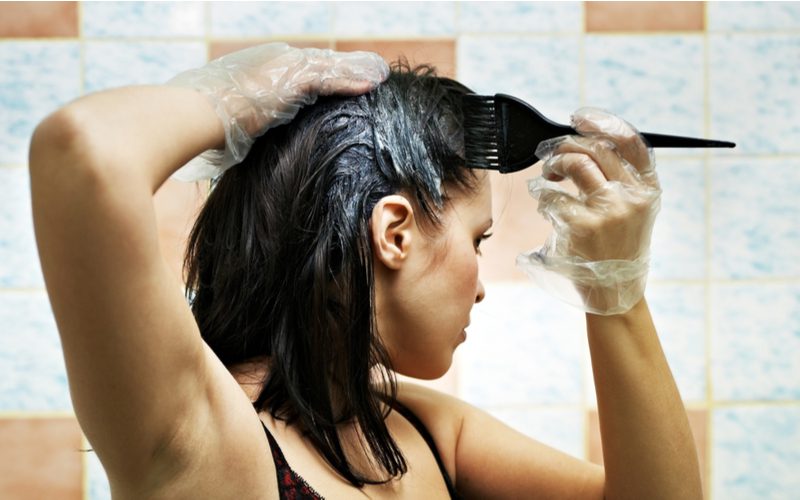
26kot/Shutterstock
DIY hair dyeing requires skill, patience, and basic knowledge of hair color science. A first-time hair coloring can be an overwhelming experience, so we have streamlined the process to just 7 easy steps:
- Find the Best Shade
- Get Two Boxes of the Hair Dye
- Avoid Mixing the Hues for a Custom Color
- Don’t Skip the Strand Test
- Protect Your Skin, Clothes, and the Sink
- Assemble All the Necessary Tools on a Counter
- Get Into the Hair Dyeing
Now we’ll get into the details of each step to make sure your hair dyeing goes smoothly.
1. Find the Best Shade
For best results, look for shades close to your current shade. You can hold up a section of your hair to the advertised color on a boxed dye to compare. When you identify a close match, pick from the next two hues on either side a shade that will neutralize your undertone.
Neutralizing your undertone will help your hair color look more natural and therefore terrific.
Warm-toned hues pair well with people who have a naturally cool undertone, and cool-toned hues do the same for anyone with a warm undertone. Either cool or warm-toned shades will give you great results if you have a neutral tone.
2. Get Two Boxes of the Hair Dye
If you don’t know how much dye your hair requires, you should get two boxes instead of one. If you have a lot of hair, you might find that a single box will only color half or three-quarters of it.
Buying two boxes preemptively saves you a trip to the store in the middle of your hair coloring adventure.
If you do end up only using one box, you can return the second one to the store or save it for the next time you color your hair. Boxed dyes have a long shelf life, so the second box will keep for a long time even if you decide not to dye again right away.
3. Avoid Mixing the Hues for a Custom Color
Don’t try to make your own custom color by mixing two dyes. You probably won’t get the right shade unless you’re a professional mixer.
On a more serious note, sometimes the mixture of two hair dyes will create a harmful pigment that can become deposited in the hair shafts or the hair follicles. This pigment can sometimes lead to cancer risks.
Step 4: Don’t Skip the Strand Test
The strand test will help you know beforehand how your new color will look. You can trim off a few of your hairs or choose a section of hair to dye.
Then, follow the box’s instructions to color the chosen section. Once you’re done, you can examine the effects to see if you like the result. If you do, you can get to coloring. If you don’t, you can find a different color with no harm done.
Step 5: Protect Your Skin, Clothes, and the Sink
While most hair dyes won’t react with your skin, they can stain your hands, forehead, and scalp. An old button-down shirt or robe and latex-free gloves will protect your clothes and hands.
Similarly, a thin layer of clear-solid lip balm or Vaseline around your hairline will keep the dye from staining your scalp.
Hair dye can also stain your sink, so be sure to cover up the porcelain with newspaper or nylon papers before you start. You may also want to lay newspaper on the floor for extra security.
Step 6: Assemble All the Necessary Tools on a Counter
Gather all your tools in an easy-reach area. This way, you’ll have them all conveniently on hand for each step. You can also take a few moments to read through the steps a few times so you know what to expect.
If you jump right in, you might, for example, realize you need an accessory halfway through the process and have to dash out of your bathroom searching for it, potentially dripping dye all over the place.
Understanding the process beforehand will give you confidence and time to ensure everything you need is right at your fingertips.
Step 7: Get Into the Main Play: Hair Dyeing
After doing the necessary preparations, you can begin dyeing your hair. Hair experts recommend applying the dye onto dry hair strands for maximum absorption. Wet hair makes it difficult for the dye to bind with the strands and can give you an uneven result.
Below are the steps to effectively dyeing your hair:
Apply the Dye from the Roots
Your roots are the least damaged part of the hair because they are also the newest. By applying dye to your roots first, you allow them more time to fully absorb the dye.
Divide your hair into four to six sections and apply the color to the roots. Then, allow the dye to sit for the appropriate time. Next, use a comb to distribute the dye evenly to the rest of your hair. Evenly distributing the dye will prevent a two-tone effect.
Use Two Mirrors
Using two mirrors can help you avoid patchy coloring on the back of your head. If you aren’t sure how to find the correct angle, this YouTube video can help you use a bathroom mirror and handheld mirror to your advantage.
Avoid Squeezing the Dye from the Bottle
Squirting the dye from the bottle can result in uneven distribution and a two-tone effect. For this reason, hair experts recommend using a brush and a bowl to mix and apply the color evenly.
Highlight the Hair Strands with a Toothbrush
After painting your hair, you can highlight a few strands with a toothbrush to give your hair a brighter and more appealing look. To prevent fading, apply the highlight sparingly on areas where the sun would land.
Remove the Dye Spills From Your Head
Don’t allow time for dye spills to settle on any unwanted areas of your head. Keep facial cleansing wipes on hand for wiping up the spills immediately.
Put On a Shower Cap
After painting, allow enough time for the dye to process. A shower cap can enhance the processing efficiency by keeping the hair together while inhibiting dye drips at the same time.
How to Maintain Your Dyed Hair

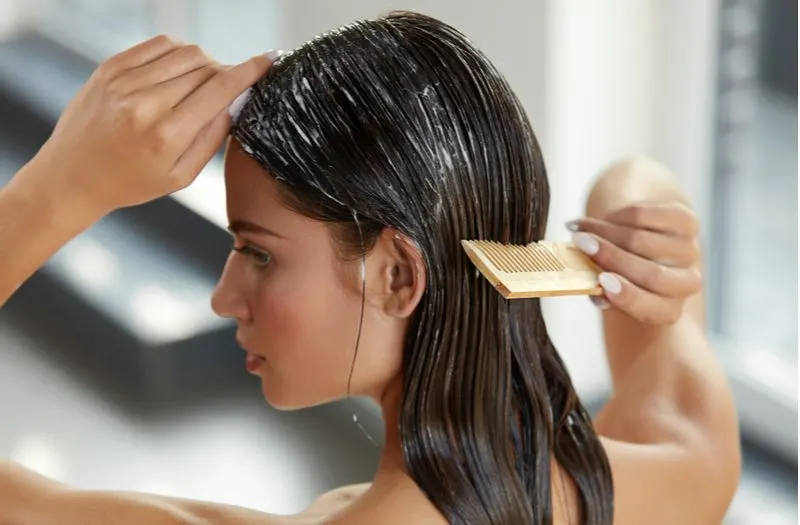
puhhha/Shutterstock
After painting, you should keep the dyed hair in good condition by using these tips:
Keep the Dyed Hair from Water and Bad Shampoos
If the dyed hair comes in contact with water, the chlorine and other minerals may interfere with the hair cuticle and cause it to lose pigmentation.
Additionally, washing your dyed hair with unfriendly shampoo can also cause the leaching of dye molecules. Try to find a dye-friendly shampoo to help your color last longer.
Revitalize Your Hair Color With the Best Treatments
You can reinvigorate your hair color by using a color-boosting shampoo, hair gloss treatment, or a conditioner once a week.
Keep Your Dyed Hair Protected from the Sun
UV rays can damage the chemical bond between hair molecules and dye, resulting in your color fading faster than normal. Covering up your dyed hair when you go outside can prevent sunlight from bleaching it and help you keep the right shade for longer.
Frequently Asked Questions about Hair Dyeing

Elena Kitch/Shutterstock
Below are answers to the most frequent questions that people have asked about hair dyeing:
Can the dye cover my grey hair?
Yes, hair color can completely cover your grey hair. However, success will depend on your grey hair density and the formula you use. For instance, you may need a permanent hair dye if more than 50% of your hair is grey.
How frequently should I shampoo my hair after dyeing?
Experts recommend washing your hair with a dye-friendly shampoo at least once a week and at most thrice a week. Generally, intense colors need less cleaning, so if you have a more vibrant shade, you should wash it less often than you would a softer shade.
How long should I wait before changing my hair dye?
Changing your hair dye depends on the condition of the hair and the type of dye you have applied to it. If your hair is in good condition, you can change the color within four to seven weeks. The longer you wait, the less possible damage you’ll do to your hair.
However, this applies to non-permanent dyes only. For permanent dyes, you’ll need the assistance of a hair expert to change the color successfully.
Can I dye and highlight my hair on the same day?
Yes, you can dye and highlight your hair on the same day if your hair is in good condition.
Can I lighten my hair without bleaching?
Yes. You can lighten your hair three to five tones with a super-lightening color treatment. However, to go beyond five tones you will likely need bleaching.
So, How Do You Dye Your Hair At Home By Yourself?
Dyeing your hair by yourself can be daunting, but it’s a simple enough task if you take it a step at a time. Familiarizing yourself with the procedure beforehand can give you the confidence to dye your hair correctly.
Careful preparation will ensure you have everything you need when you need it. Then, with your favorite shade, protection from stains, and this article’s help you can easily apply your hair dye.
Remember to follow the instructions on the box for your specific dye. After you’re done, simply take maintenance measures to care for your hair, and enjoy your new locks!