
Jump to:
Whether you’re trying to save money or prefer to take your hairstyle into your own hands, learning how to cut layers in hair is a valuable skill. We’ll teach you how to make beautiful, high-quality layers. Read on to learn more.
How to Cut Layers in Hair: A Summary
You don’t need to attend beauty school to create head-turning layers in your hair. Instead, the steps below will help you create professional-looking layers.
- Gather your materials
- Decide how you want to layer your hair
- Shampoo your hair
- Part your hair into four sections
- Layer the front section
- Layer the sides
- Layer the back
- Check your work
Now, let’s get you learning how to cut layers in hair that’ll look blended and stunning.
How to Cut Layers in Hair in 8 Steps
By following the steps below, your family and friends just might start lining up asking you to layer their hair.
1. Gather Your Materials
Arguably, the most important aspect of cutting layers in hair isn’t the way you cut them but the quality of the scissors you use. So, no, you should never use the scissors sitting in your junk drawer.
Instead, hop online and order a pair of professional-grade barber scissors. They often call these scissors “shears.” You may also be able to find barber scissors at a beauty store or even your local drugstore.
You should look for barber scissors that contain the following properties:
- Stainless steel material
- Convex edge
- Appropriate length
While there are many excellent styles of barber scissor edges, convex edges are ideal for beginners because they make it easy to guide the shears through your hair.
To choose shears that are a good length for you, you should find a blade that’s approximately the length of your middle finger. From there, the handle part should fit comfortably in the palm of your hand.
That said, every stylist has their individual preference on what size scissors they prefer to use. So, while there’s no right or wrong size, it’s hard to go wrong with the middle finger rule when you’re just starting to learn how to layer hair.
Other tools you’ll need to cut layers in your hair include:
- Comb
- Mirrors (one for the front, the other for the back)
- Towel
- Well-lit location
- Access to a sink
- Spray bottle (optional)
Needless to say, a bathroom is typically the best place to cut layers in your hair.
2. Decide How You Want to Layer Your Hair
Even a good pair of shears can’t help a scenario where you don’t know how you want the end result of your layers to look. Therefore, it’s crucial to use photos of your past haircuts or those you find online to guide how you want your layers to turn out.
Research shows that layers in hair help give people personal expression as well as them being an indication of regional trends.
So, we recommend taking a photo of yourself and, on your laptop, marking the areas where you want to layer to help you achieve your ideal look. The great—and intimidating—thing about layers is that there’s a near-endless way you can arrange them.
However, below are some general rules to help you decide on the types of layers you may want to use for your hair:
- Long layers are best for curly and full-bodied hair
- Short layers are ideal for thin hair that you want to give more body to
- Round and squattier faces do best with long layers
- Narrow and heart-shaped faces look great in short layers
Determining your hair part in advance is another essential part of planning your layers. It’s important to embark on your layering journey using the hair part you want to rock.
3. Shampoo Your Hair
You’ll want to work with a clean head of hair when cutting layers. Otherwise, grease and dirt could interfere with the quality of your cut.
According to a study on the impact of shampoo on the molecular structure of human hair, most shampoos have a primary and secondary surfactant to aid in deep cleaning. However, it’s important to use gentle motions when shampooing your hair, for abrasion can harm your hair cuticles.
After you get out of the shower, use a wide-toothed comb to work through the tangles. Then, take a towel and gently squeeze the water out of your hair.
Again, it’s important not to give your hair a vigorous rub to avoid damage. Once your hair is damp but not dripping, you’re ready to start dividing it in preparation for the layers.
4. Part Your Hair Into Four Sections
In most cases, you’ll want to prepare your hair for layering by parting it in the middle. That way, you’ll cut even layers on either side of your head, and you’ll have the flexibility to style your hair in many different ways.
However, if you always wear your hair in a side part, you can also layer it using the side part as a base. For the purposes of these steps, we’ll walk you through cutting layers in your hair by assuming that you’ll be parting your hair in the middle.
So, start by parting your hair down the middle. That means half your hair will fall to the right and the other half to the left.
Next, section out the frontmost part of your hair that falls against your forehead (the part that makes up your bangs). Take this section of hair, twist it into a single strand, wrap it in a circle, and use a clip to pin it to your hair.
Don’t worry if you have trouble with it the first time—you’ll be using this same twisting and pinning method every time we say “clip,” so you’ll get practice. Then, clip the hair at the remaining left and right sides of your face, grabbing all hair from the ear forward.
Use clips to hold these halves in place. You’ll now have three clips in your hair. Keep in mind that since hair follows the shape of your scalp, the hair at the back of your head tends to be denser than that at the front.
You won’t be touching the hair underneath the back section of your head. However, you’ll need to layer the topmost part. So, gather the top section of your hair at the back of your head and clip it.
That way, you’ll achieve a layered look while ensuring your hair maintains plenty of body. With four clips in your hair, you’re ready to proceed to the next step.
5. Layer the Front Section
Unclip the frontmost section of your hair (the bangs), and pull your hair straight out at a 90-degree angle. That ensures your layers will be uniform. Use your forefinger and middle finger to hold your hair in place.
Then, move your hair down so that it’s in front of your face while moving your forefinger and middle finger downwards until they’re at a point where you want your shortest layers to start.
A good rule of thumb is to start your shortest layer below the earlobe or jawline, depending on the length of your hair. You may even want to begin your layers at the shoulder if you have long hair. However, keep in mind that your hair will shrink after it dries.
So, when in doubt, it’s best to make the layers a bit longer than you want them. That way, you can go back and touch up after you have time to assess your work.
6. Layer the Sides
You can start with the right or left side of your hair for this step, per your preference. In either case, you’ll follow a similar strategy as we described above.
You’ll want to start by holding out your hair at a 90-degree angle from your head to ensure your hair is even. Then, trim your layers according to the length and angle you mapped out earlier.
As a tip, if you prefer softer layers that blend well, it’s best to cut your layers at an angle rather than using a horizontal line. Follow this same process for the other side of your head, doing your best to cut your layers the same length as the other side.
7. Layer the Back
Layering the backside of your head is always the trickiest for obvious reasons—you’ll need to rely on a second mirror to see what you’re doing. When cutting your back layers, make sure the layers are as long or longer than your side layers.
At this point, you may also need to use the spray bottle to keep your hair damp. Feel free to get creative with your back layers, adding a few different lengths.
8. Check Your Work
The time has arrived to assess your hard work. Use the spray bottle to dampen your hair again. Then, use a comb to part your hair in the middle and check that the layers are even. If you notice unevenness, carefully make any trim adjustments needed.
Assess your hair from both a vertical and horizontal perspective to catch any stray pieces that need trimming. The good news is if you really mess up, hair grows 0.5 – 1.7 centimeters per month. So, you’ll soon have an opportunity to redo your layers again.
Frequently Asked Questions
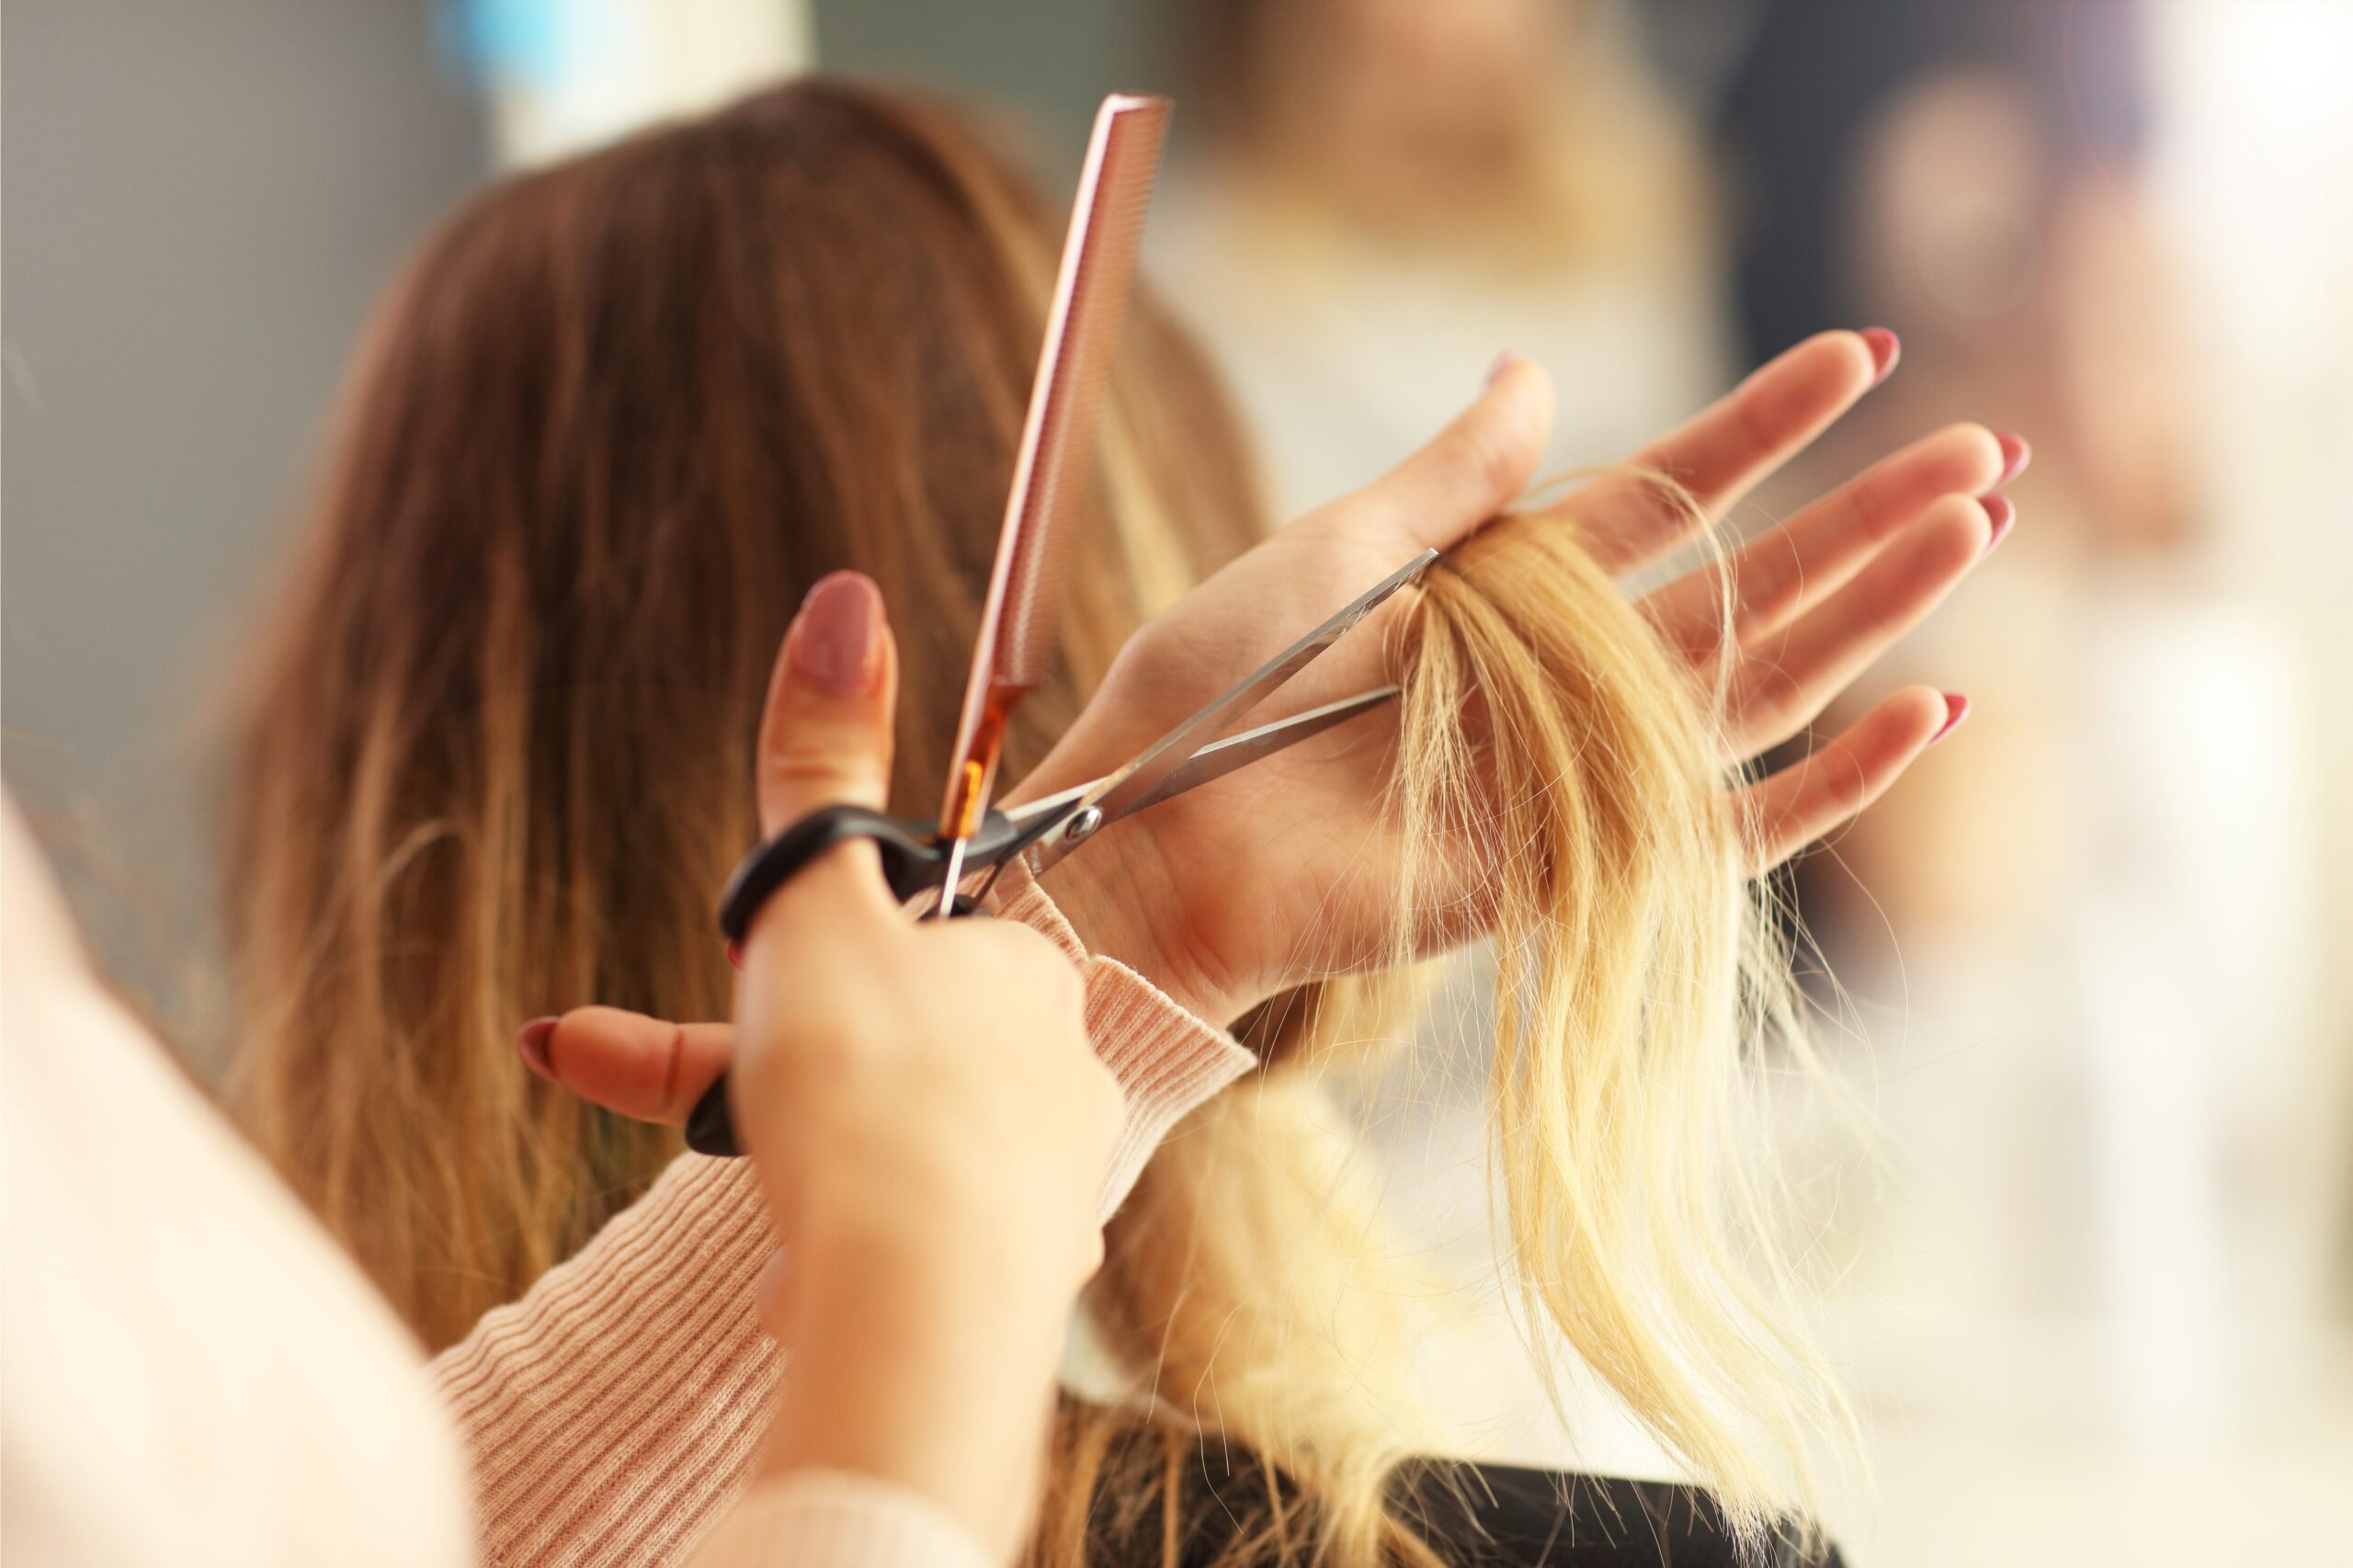

Kamil Macniak/Shutterstock
Are you still curious about how to cut layers in hair? If so, the answers below should help.
Are there different ways to cut layers in hair?
Yes, there are different ways to cut layers in hair. If you want an easier (but less precise) method than what we described above, you can make a ponytail on the crown of your head. Then, place a hair tie towards the end of your ponytail and snip off the hair horizontally.
What angle should I cut my hair for layers?
You can cut long layers (typically at the back of your head) at a 90-degree angle. Shorter layers are best at a 135 – 180-degree angle.
How do you blend layers in hair?
To blend layers in your hair, keep your scissors pointed at an angle rather than cutting your hair horizontally. Blended layers typically involve cutting more hair to achieve a blended look.
Can you cut layers with regular scissors?
You should never cut layers with regular scissors. Such scissors can cause split ends, damaged hair, and a painful experience with tugging and pulling.
How do you make layers less choppy?
You can make layers less choppy by incorporating an additional layer in your hair. Also, make sure to cut your hair at an angle.
So, How Do You Cut Layers in Hair?
So there you have it — how to cut layers in hair. Cutting layers in hair takes practice, but with the help of a good pair of shears, you can create a salon-perfect look. By mapping out how you want your layers to look in advance, you’ll be setting yourself up for success.