Jump to:
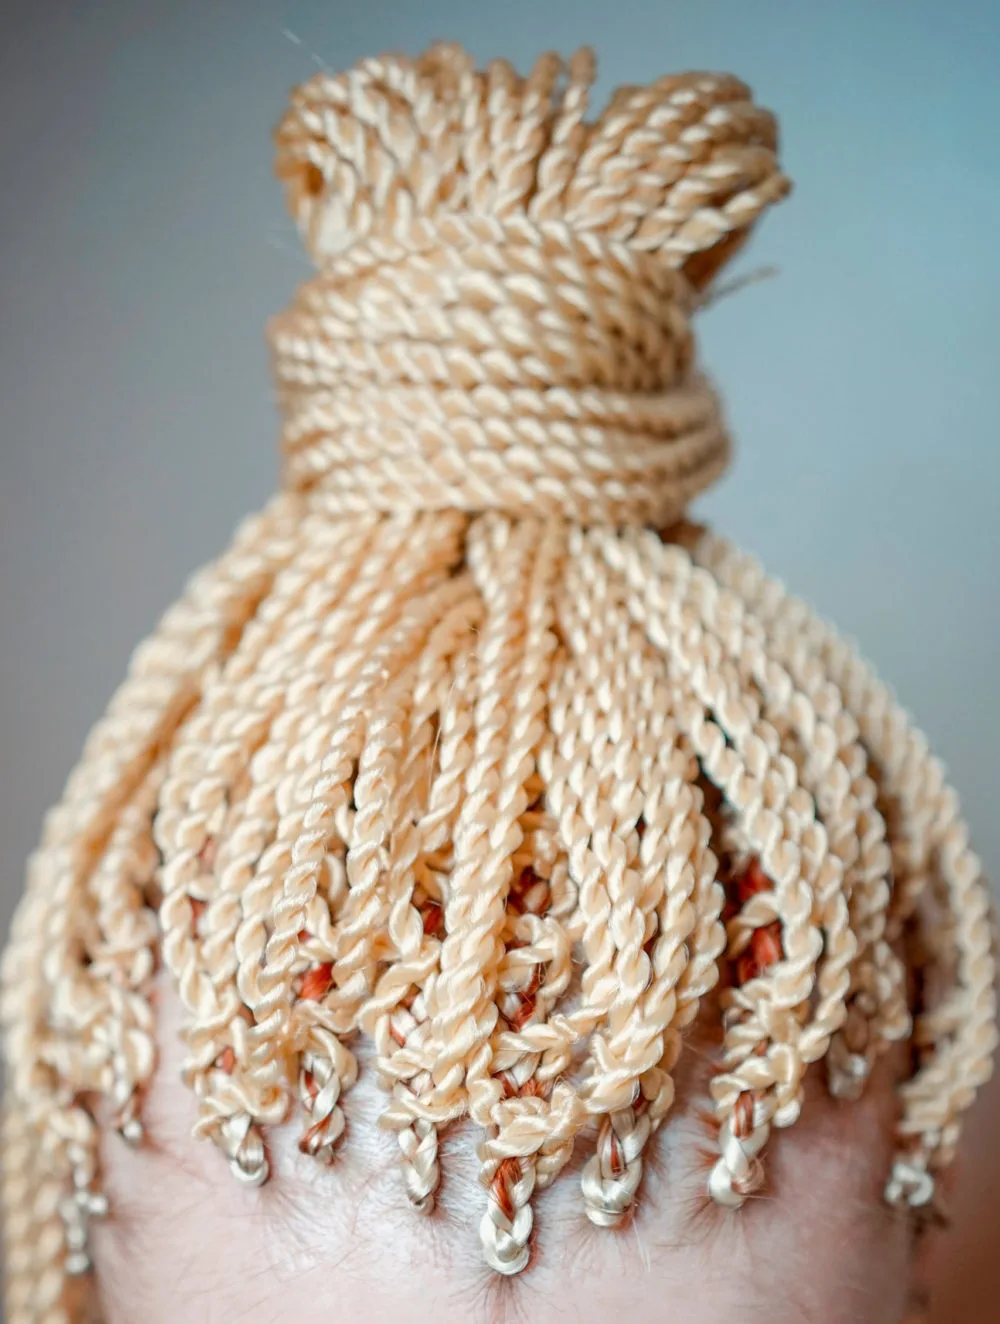
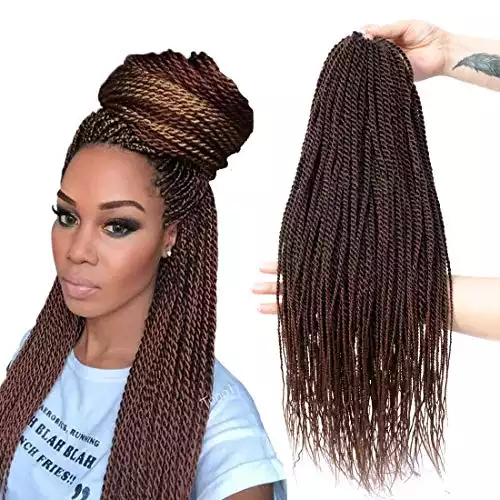
Senegalese twists are a unique and gorgeous braid style you can complete at home. However, when people set out to create this hairstyle, they often struggle to decide how many hair extensions they need.
How Many Packs of Hair Do You Need to Senegalese Twists?
There is no one-size-fits-all answer to this question, as it depends on how much hair you have and the texture of your hair. So, how many packs of hair should you buy for Senegalese twists? Well, the answer is not quite that simple.
Some people do Senegalese twists with as little as five extension packs (or three human hair bundles), while others need eight. It all depends on the overall volume of your hair.
Either way, you need to know how to create Senegalese braids to determine precisely how many packs of hair you will need. Read on to learn how to determine how many packs of hair you’ll need for your own Senegalese twists.
How to Create Senegalese Braids in 8 Steps
While this process can take a while, the results are fabulous. Leave yourself an entire day to accomplish this style and follow the detailed steps below.
1. Gather the Materials
Before you start, gather all the materials required to create Senegalese twists. For Senegalese braids, you will need the following materials:
- Shampoo and conditioner
- Comb and/or brush
- Hair extensions
- Scissors
- Rubber bands (optional)
- Detangling spray (optional)
- Hot water
- Oil
It’s best to have a brush to prepare your natural hair and a comb for separating sections.
2. Prepare Your Hair
To prepare your hair for Senegalese braids, first, make sure your hair is long enough! Your natural hair only needs to be ¾ or one inch long to be suitable for Senegalese braids.
You can create Senegalese braids with natural or relaxed hair! Once you confirm your hair is long enough, wash and condition it. Then, Detangle thoroughly using a brush or comb. Use a detangling spray if necessary.
Let your hair dry naturally, and ensure you keep it detangled as it dries. Do not use any hair products at this point, such as oils, leave-in conditioners, or mousse.
Note: You can blow dry your hair on super low heat, but letting it dry naturally is ideal, so it is as stretched as possible.
3. Choose Your Extensions
How to choose the best hair extensions for your Senegalese twists could be an entire article in itself. Here, you’ll get a brief overview of the different extensions and how to choose the best ones for your hair and style.
You can use the following types of hair extensions:
- Kanekalon (synthetic)
- Toyokalon (synthetic)
- Marley (synthetic)
- Natural human hair
They all have different benefits and can make beautiful Senegalese twists. Read reviews of hair extensions to decide which type is best for your hair routines and maintenance.
You’ll also need to decide on the color of your hair extensions. Most people choose extensions that match their natural hair color, but you can choose something more unique!
4. Prepare the Strands
Preparing hair extensions is an easy step. First, separate the strands of human hair or synthetic extensions. Separate the strands based on how wide and thick you want your Senegalese braids to be.
Once separated, bend each strand into a U shape, as the bend in the U is where you’ll weave your natural hair in.
Hold the bent strands around the bottom of your scalp, and then trim the extensions to your desired length. You can always cut more, but not less, so be careful when trimming the extensions.
5. Separate Your Hair
The number of sections you use will depend on how much hair you have. You’ll need to make at least eight sections if you have thick hair. But to start, no matter how much hair you have, part your hair naturally.
Then, using clips or elastics, section your hair into quadrants: right front, right back, left front, and left back. Once the quadrants are ready, divide each quadrant into two subsections. If you don’t have much hair, you may not need to make these subsections, leaving you only four sections.
6. Twist Extensions Into Hair Sections
Twisting the hair extensions into your sectioned hair is the most lengthy part of this process. Place a hair extension between one section of your hair.
Take the subsection and twist it between your fingers to the right or clockwise. Twist until the piece of hair becomes a coil. Make sure you twist starting at the scalp.
You should twist the extension and your real hair as one. Then, after two sections, wrap the twisted hair around each other in the same direction to combine the hair and weave the extensions into your hair.
7. Repeat Step 6 for All Sections
If you separated your hair into eight sections, repeat step 6 seven more times. However, if you have thinner hair, you may only need to repeat it four to six times. As mentioned, you can create fewer sections if you have less hair.
Take your time with this step, as rushing through can result in braids that don’t last very long or look wonky. While doing this, you may notice the ends of the coils coming undone. Don’t worry! The next step will seal the ends.
8. Treat the Ends
Once you finish twisting all your hair sections and coiling the extensions into your natural hair, you need to seal the ends to keep the braids in place. To seal the ends, boil water and pour it into a bucket or bowl.
Re-twist and braids that have come very loose, and then dip the ends of your hair into the hot water. Be careful not to burn yourself. Submerge your hair for fifteen seconds, and then let it dry naturally.
Once your hair dries, treat the ends with oil to lock in moisture and prevent the twists from drying out over time. Finally, allow your hair to dry naturally again, and then your Senegalese twists are all set!
Frequently Asked Questions

Gorgeoussab/Shuttestock
If you have more questions about Senegalese braids, refer to the commonly asked questions and answers below.
What types of braids are similar to Senegalese twists?
There are a few similar types of braids if you want to try something other than Senegalese twists. These include box braids, crochet braids, Havana twists, rope twists, faux locs, micro braids, tree braids, Ghana braids, yarn braids, Nubian twists, or Marley twists.
How long will Senegalese twists last?
When done properly, Senegalese twists will last between eight and 16 weeks. The lifespan of Senegalese braids often depends on how well you take care of the twists.
How long does it take to do Senegalese twists?
If it’s your first time creating Senegalese twists, it can take as long as six hours. Of course, the more hair you have, the longer it will take. But you should never rush this process if you want the braids to look amazing and last a while.
How do I care for Senegalese twists?
Caring for your Senegalese braids is important if you want them to last as long as possible. The first maintenance tip is to only wash the twists once a week. No exceptions! Dilute your shampoo with water to help the twists last longer.
Apply a mist of leave-in conditioner daily to keep the braids moisturized and soft. Next, use light hair oil on your scalp two or three times a week. Lastly, wrap your braids in a silk or satin scarf before going to sleep!
What’s the best oil for Senegalese twists?
If you already have a favorite hair oil you use often, it is likely okay to continue using it on your Senegalese twists. But the most recommended oils for caring for your twists are peppermint, coconut, standard castor, or Jamaican Black Castor oil. You can also use micellar water to prevent breakage and frizz.
So, How Many Packs of Hair for Senegalese Twists?
Most people need three to four packages of synthetic hair, equaling about eight extensions or five bundles of genuine hair. The more hair you have, the more extensions you need.
And if you want thicker Senegalese braids, use extra extensions for a voluminous and luxurious style! This hairstyle can be backbreaking, but well-worth the stunning results.

